After a virtual service is created with an IP address automatically assigned to it, it may be required to have more FQDNs pointing to it. This section explains how to option the NSX Advanced Load Balancer DNS VS to achieve this result.

To configure using NSX Advanced Load Balancer UI:

Procedure

  1. Navigate to Applications > Virtual Services to display a list of virtual services and their IP addresses.
  2. Click the pencil icon to edit the configuration of the DNS virtual service.
  3. Select Static DNS Records tab and click Create DNS Record.

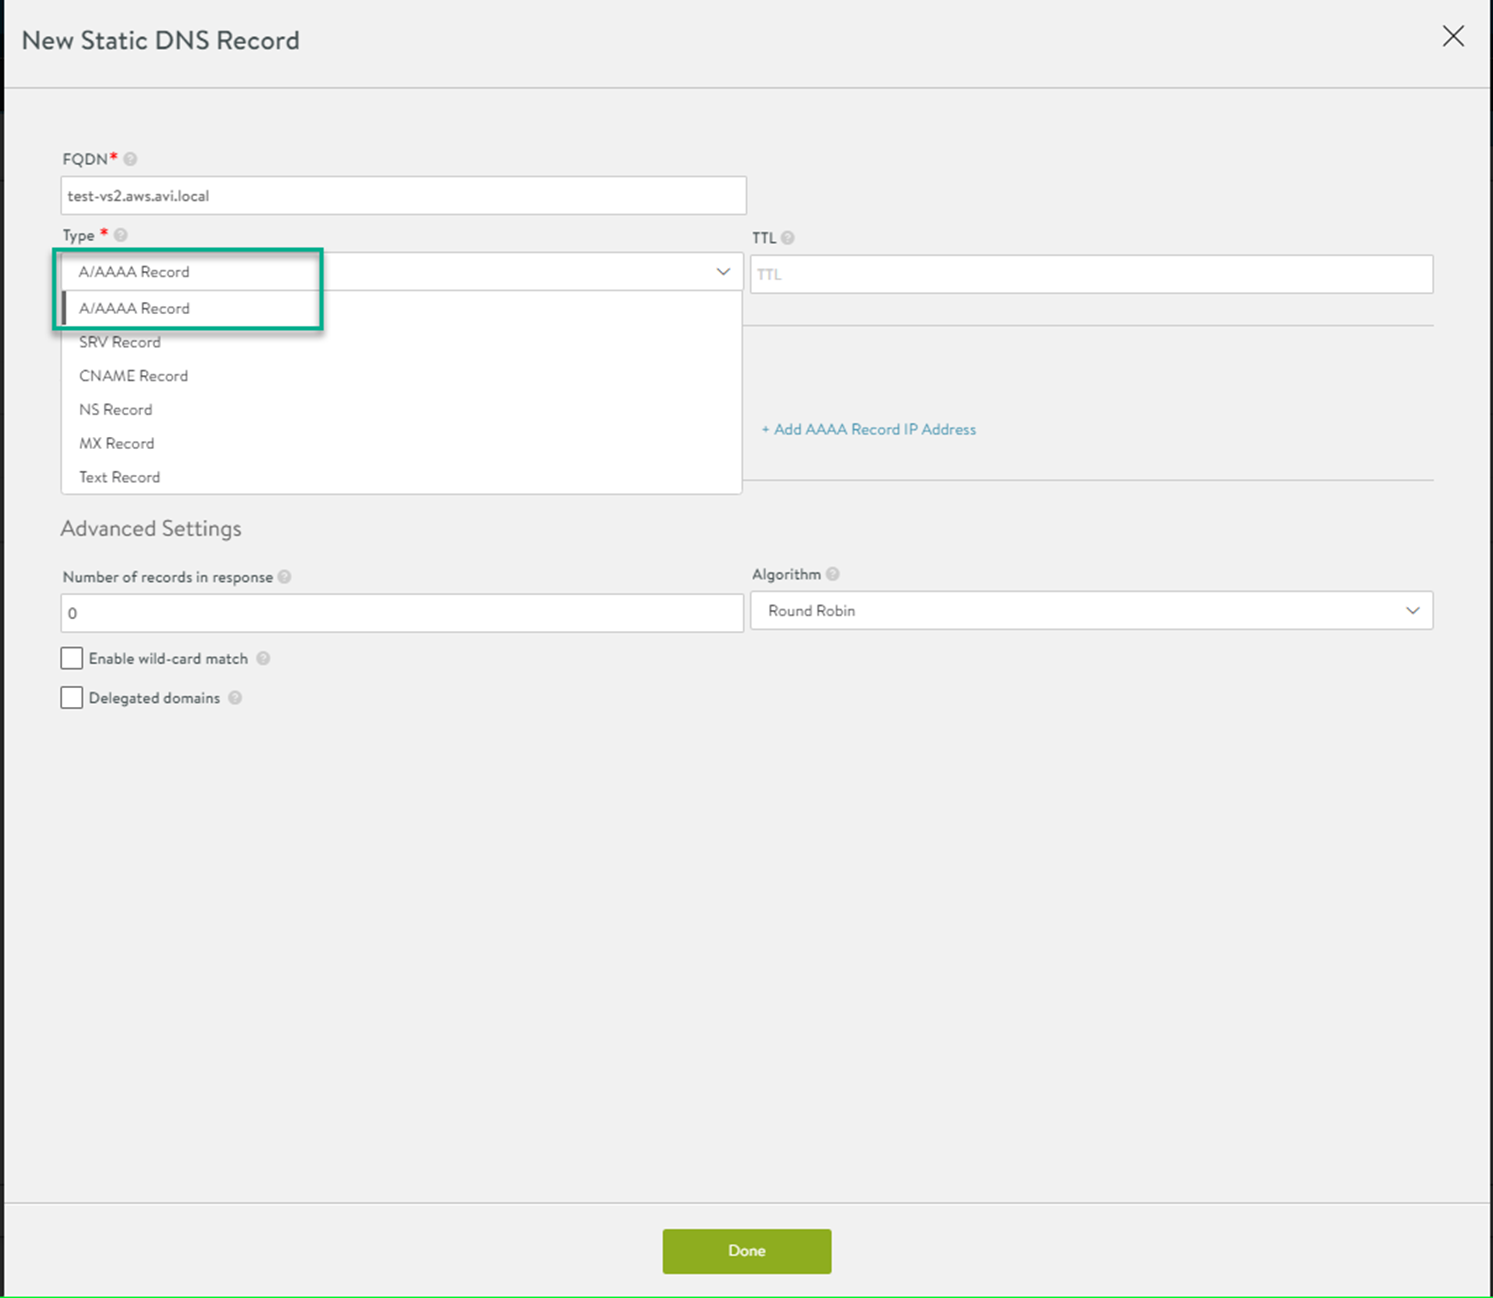
  4. When the Static DNS Records editor appears, enter the desired FQDN and select A/AAAA from the Type drop-down menu.


  5. Selecting the static record type will display A/AAAA Record section within the editor. Fill in the required fields and click Done.

What to do next

For more information to configure using CLI, see Adding Custom A Records to an NSX Advanced Load Balancer DNS Virtual Service.