


This section discusses the steps required to create a cloud configuration of type Azure.
Use NSX Advanced Load Balancer UI to create a cloud configuration of type Azure so that NSX Advanced Load Balancer can spin up Service Engines in the Azure VNet, and the load balance workloads present there.
Follow the given steps to complete the cloud configuration.
Log in to the NSX Advanced Load Balancer UI using the Controller IP address and navigate to .
Click the Create button to add a new cloud. Provide a name, and select Azure Cloud as the Cloud infrastructure type.

On the next tab, provide information related to the Azure account.
Provide Azure credentials. To use the MSI method, select the option Use Azure Managed Service Identity (MSI) Authenitcation.
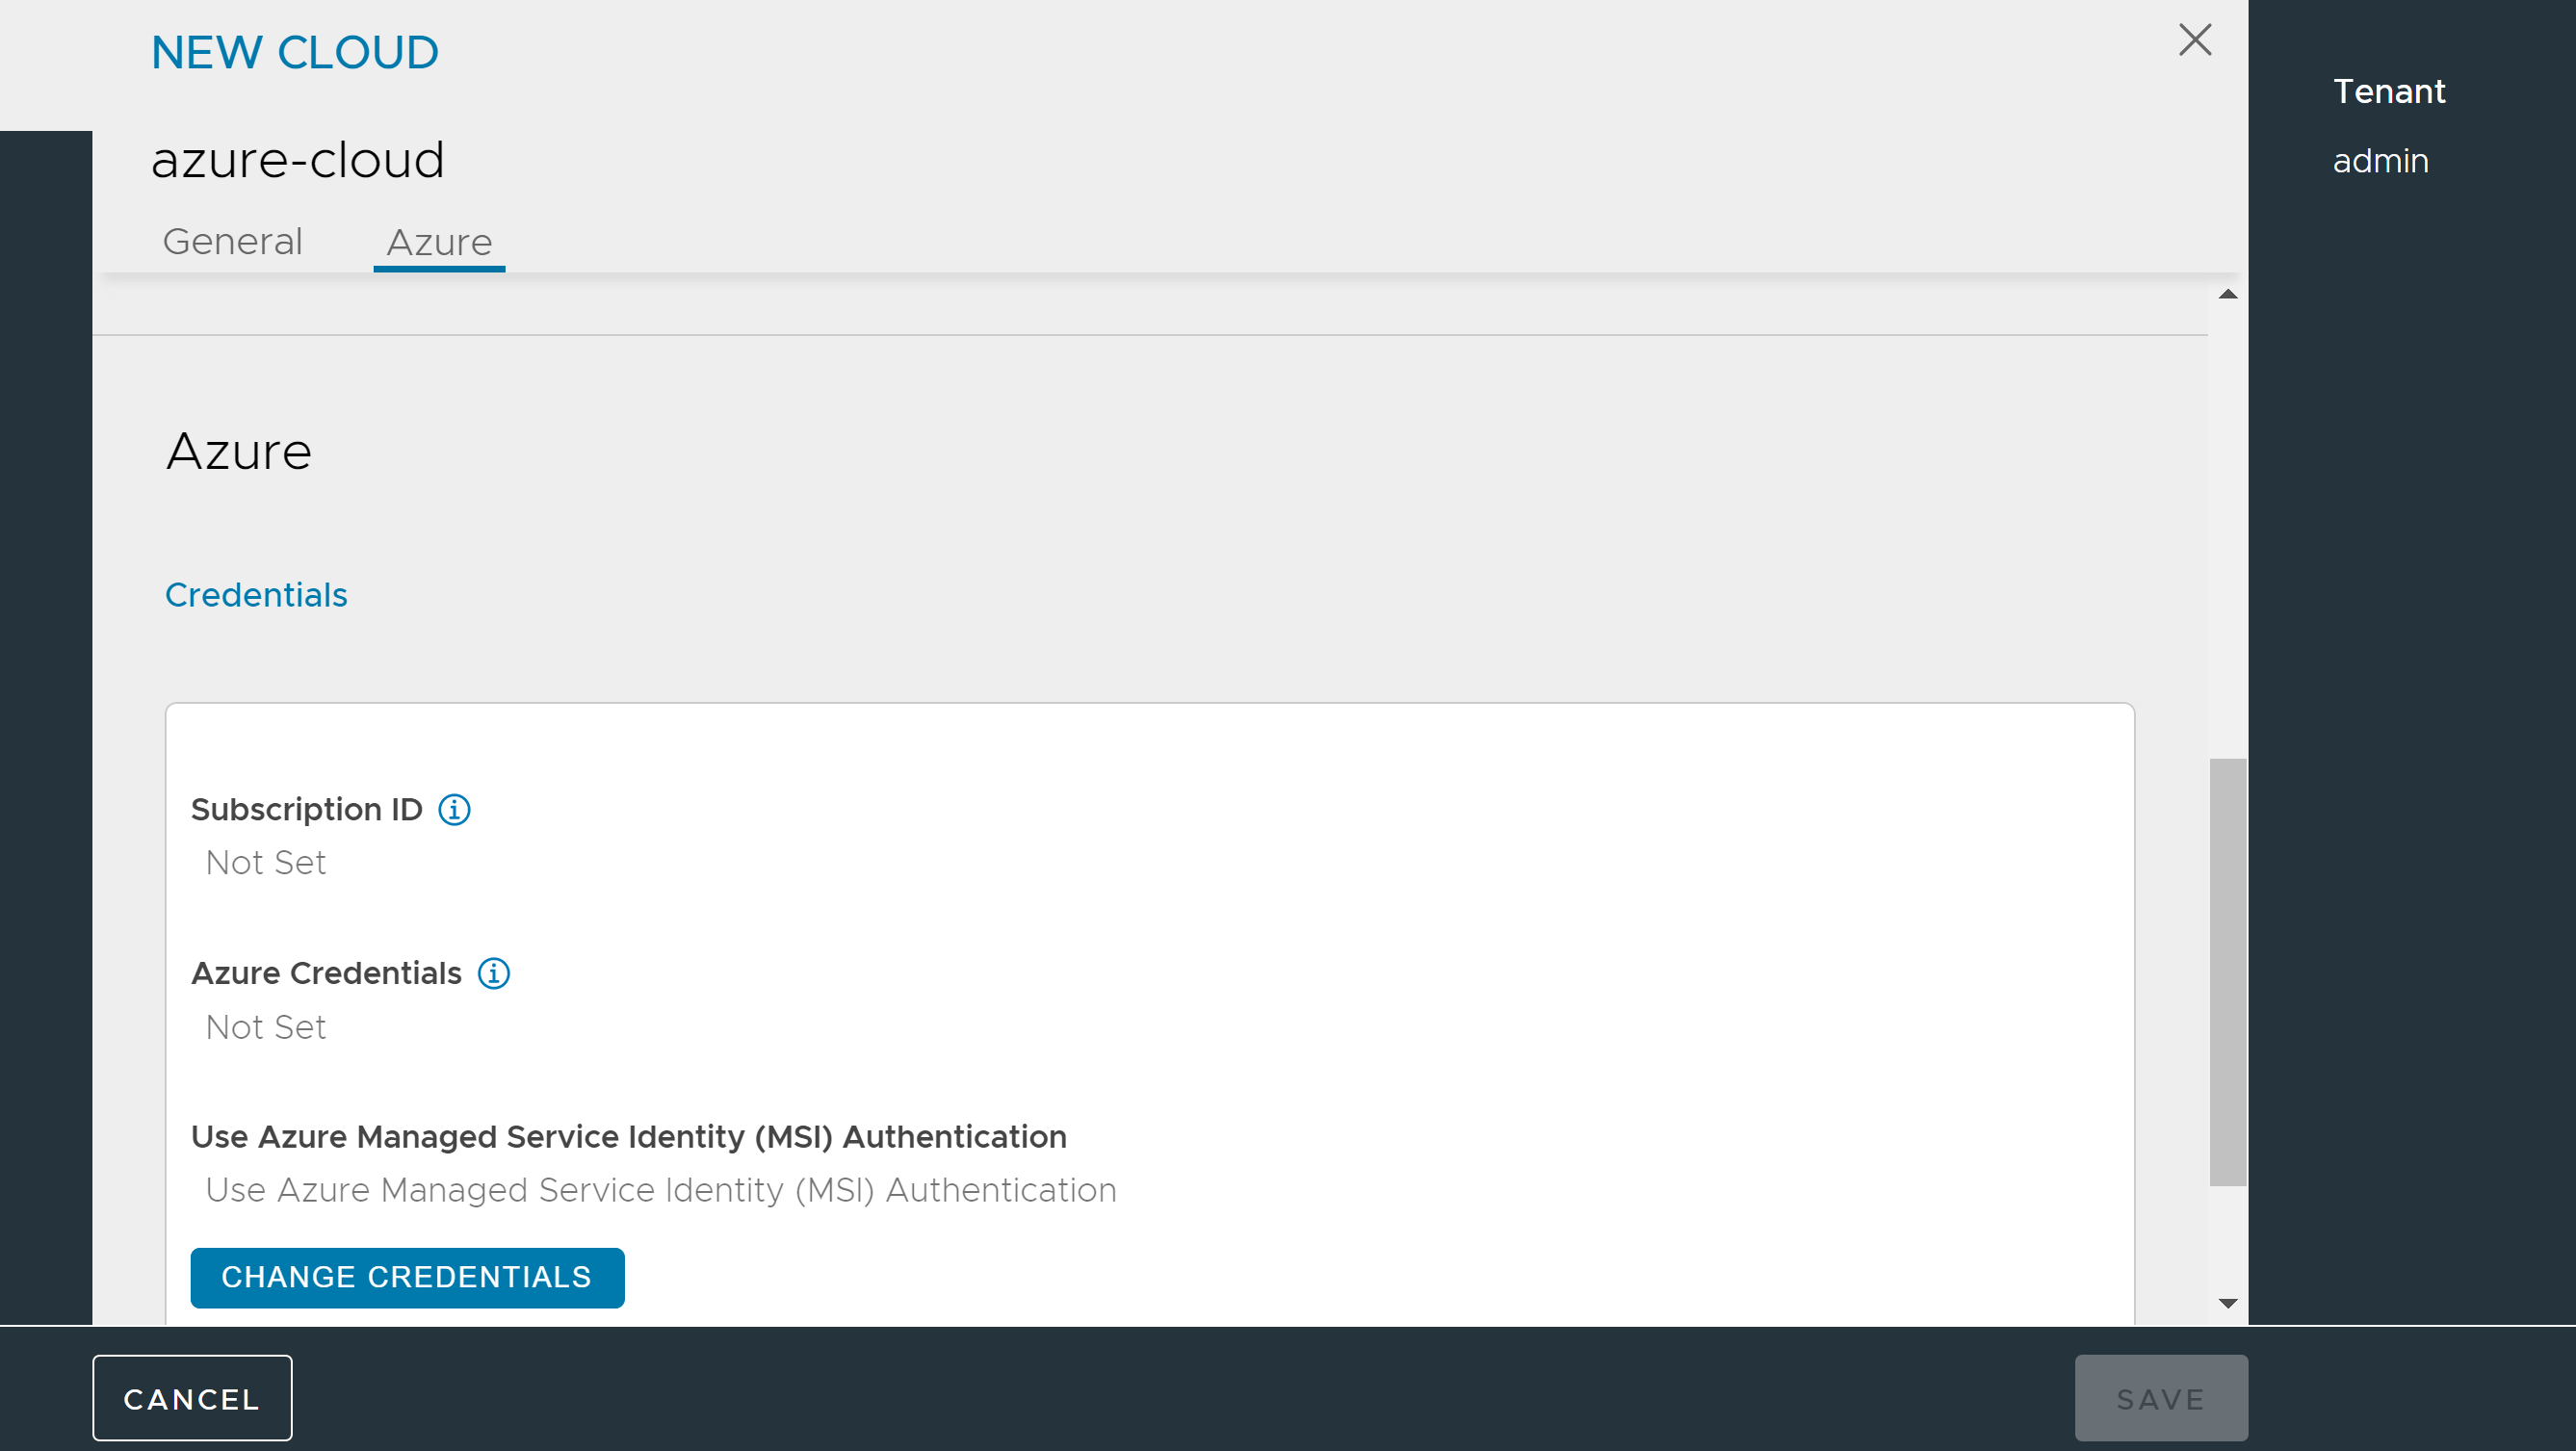
Save and select these newly created credentials and provide the Azure subscription ID.
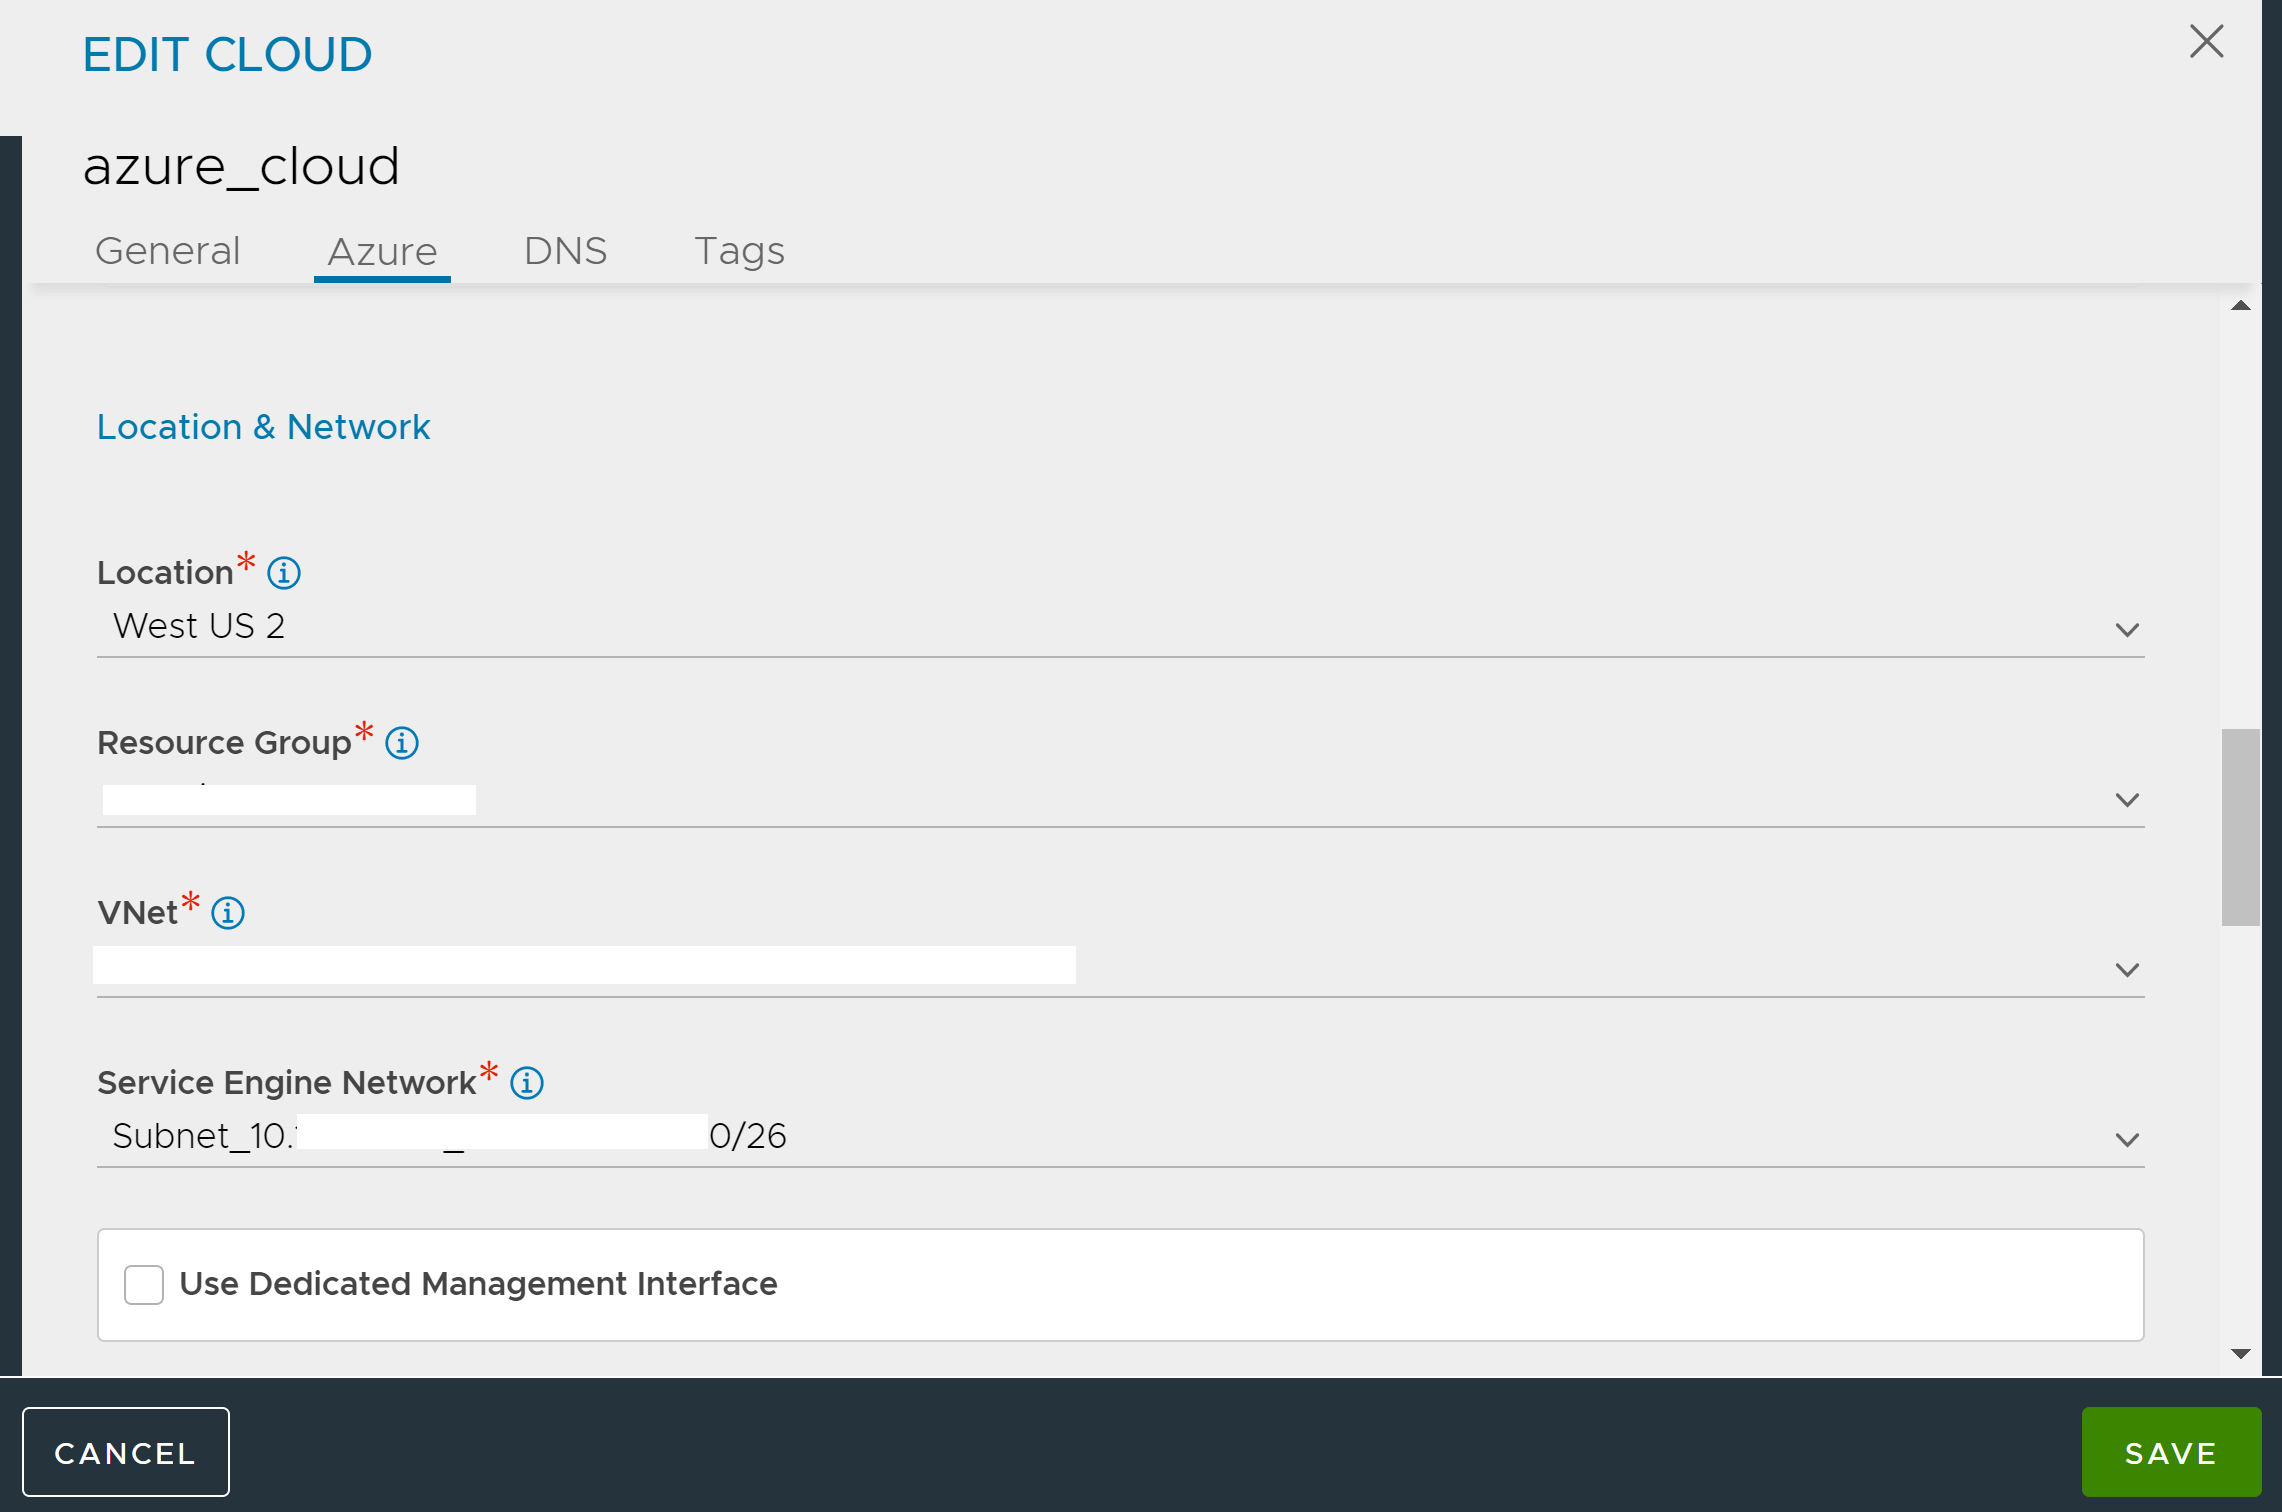
Click Next. Provide the Azure location details. These details are associated with the location of the resource group, the resource group and the VNet that can be used, and the subnet for the Service Engine management network.
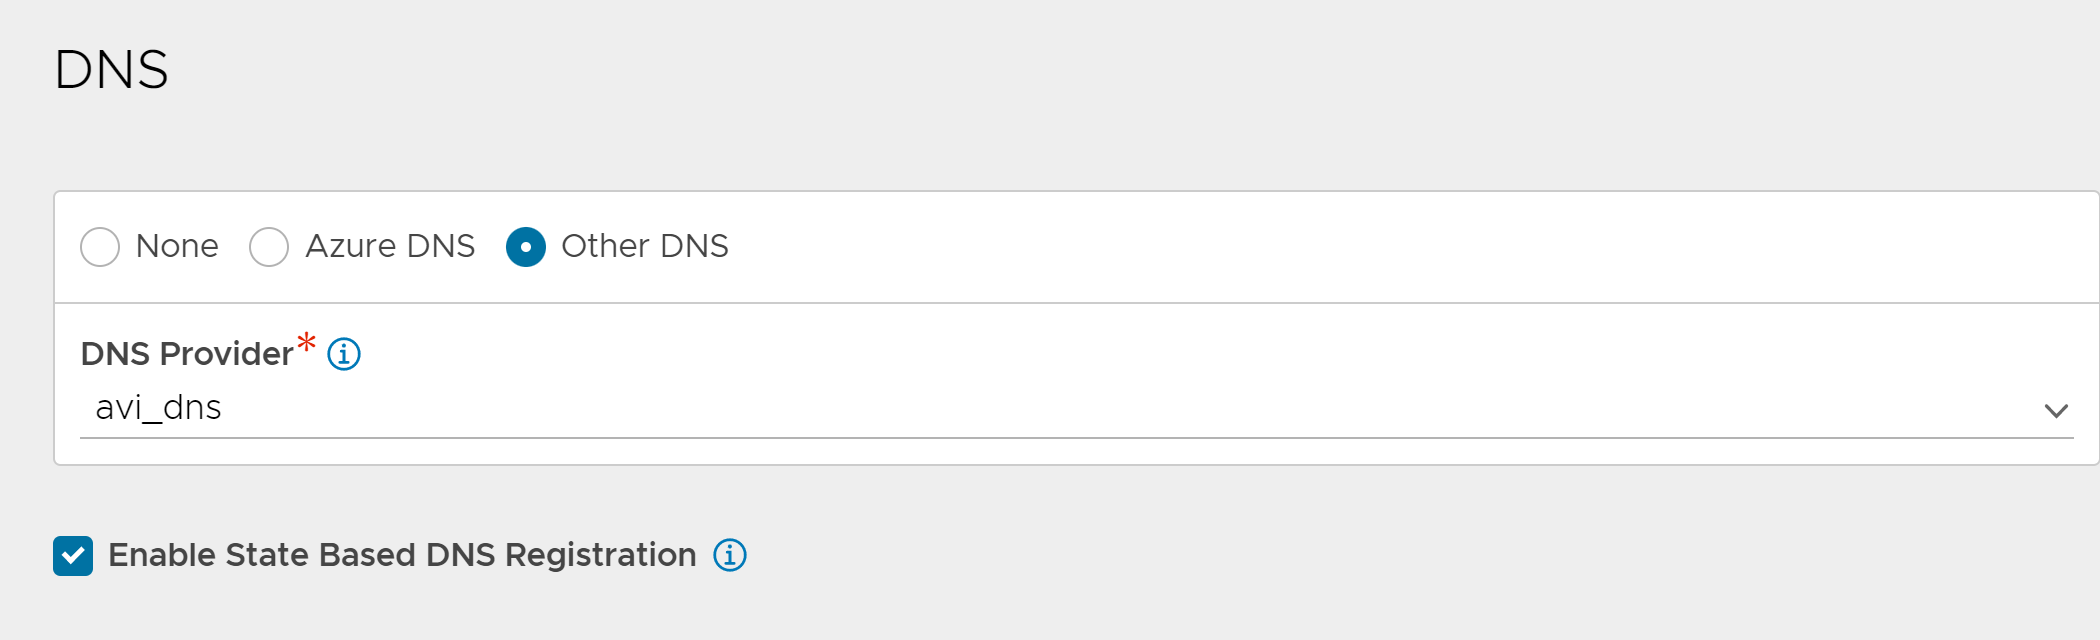
Optionally, a DNS provider can be selected as well. Instead of Azure DNS, AWS Route 53 can also be used by selecting Other DNS.
Click Complete to provision the Azure cloud.
At this time, the Controller will upload the Service Engine VHD into an Azure storage account so that SEs can be deployed as required by the applications.
Save the settings.
The system is now ready for virtual service creation.
