


This topic discusses the roles required to be assigned to the vCenter user for integration with NSX Advanced Load Balancer.
You need to create the following roles:
AviRole-Global
AviRole-Folder
AviRole-Global
This role must apply Global Permissions. It allows the user to upload SE OVF to the content library, allocate space on datastore to create a virtual machine (VM) and assign networks to it.
Role Summary
- VCenter Version 8.0
-
The
AviRole-Globalneeds the following permissions:Content Library
Add library items
Delete library items
Update files
Update library items
Datastore
Allocate space
Remove file
Host
Configuration
Network Configuration
Network
Assign network
Remove
Resource
Assign virtual machine to resource pool
vApp
Import
Virtual machine
Change Configuration
Add new disk
Advanced configuration
Creating AviRole-Global
To create AviRole-Global,
Log in to the vCenter UI as admin.
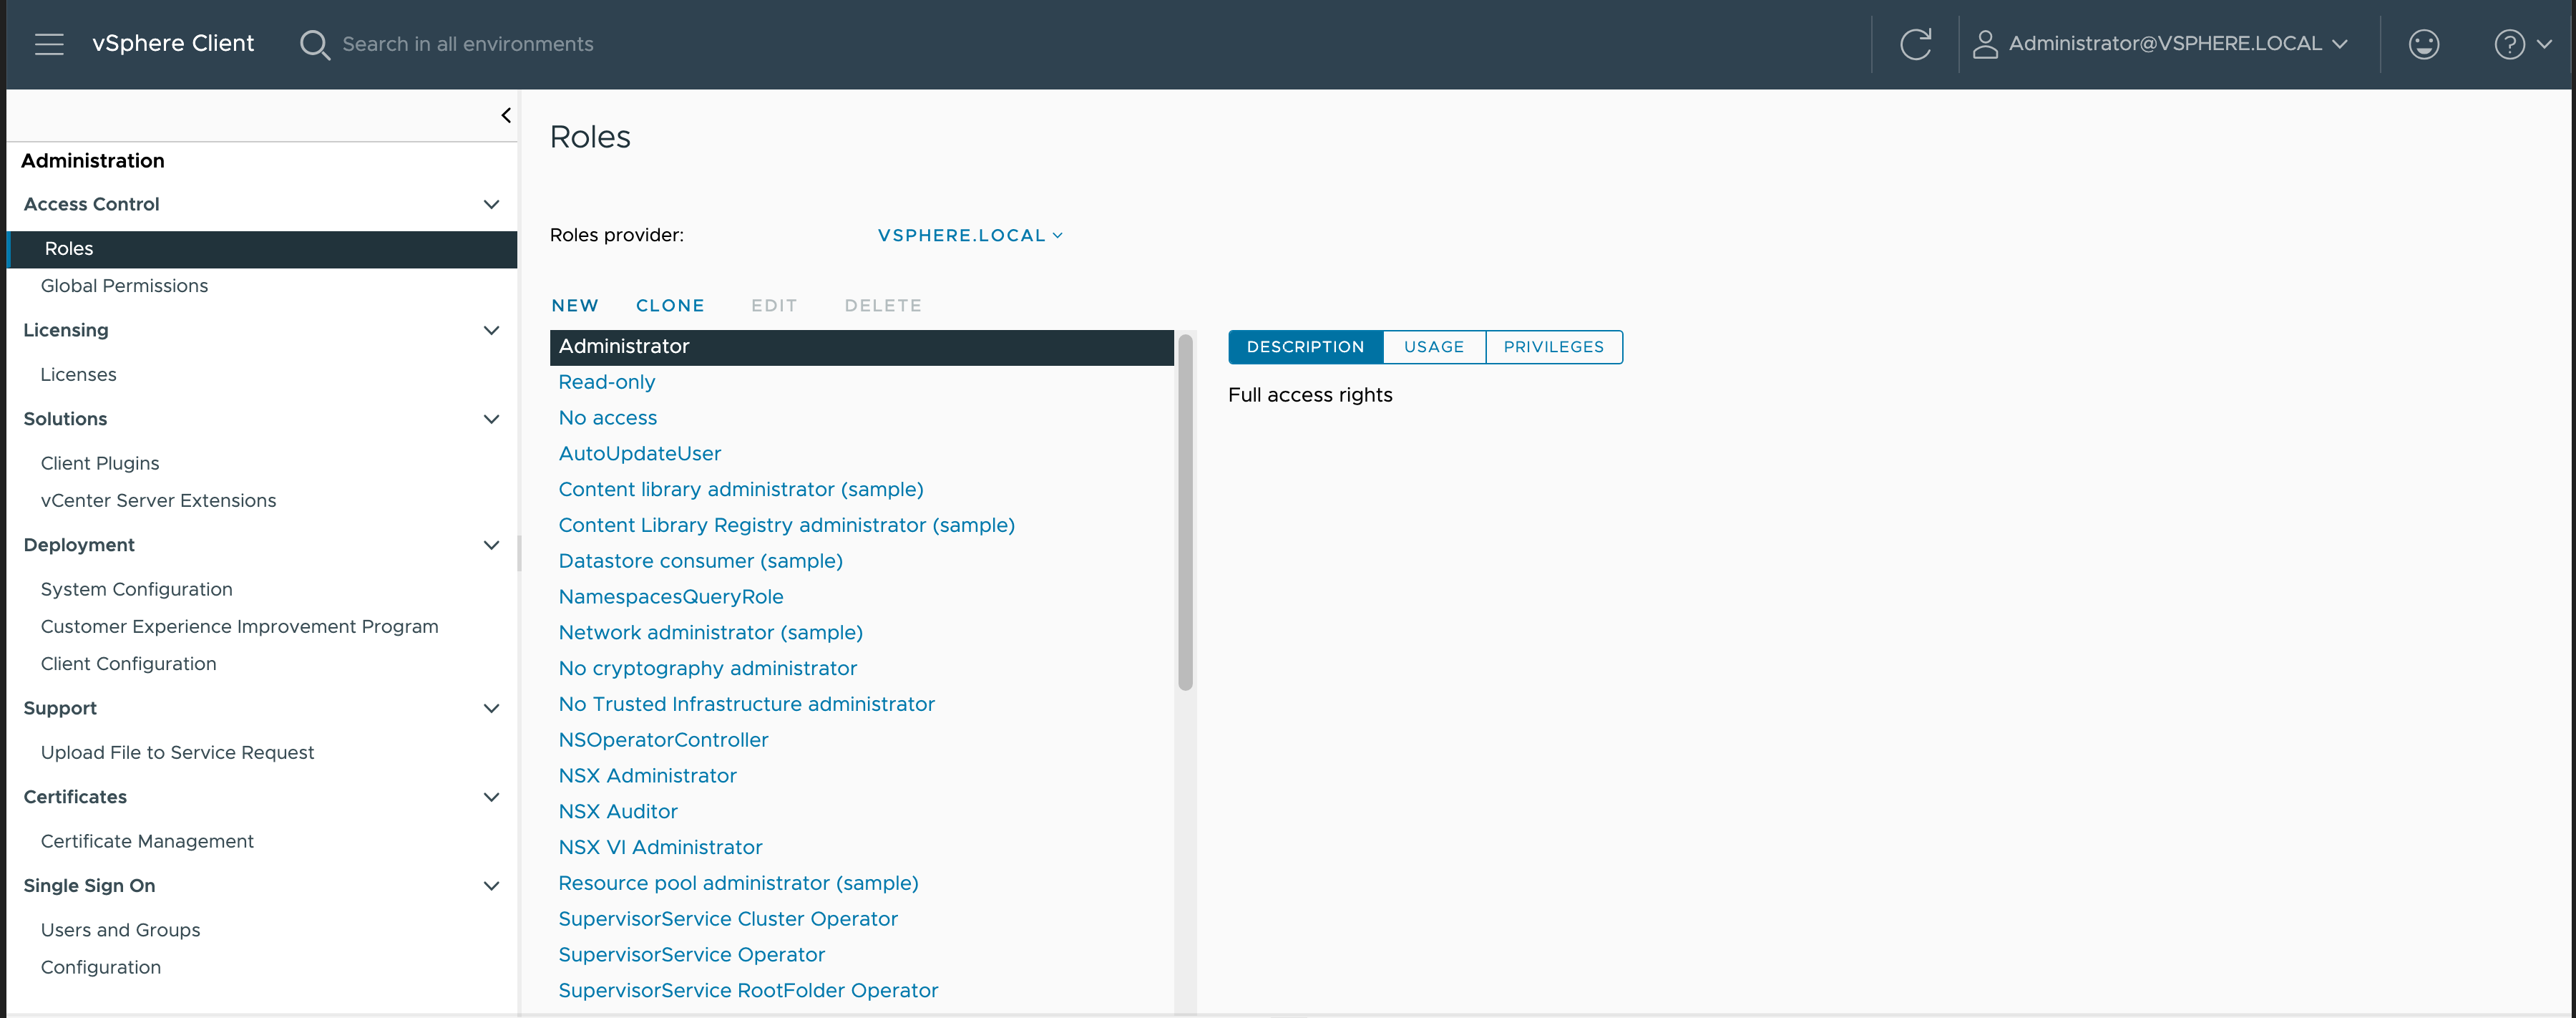
Navigate to Administration > Roles as shown below:
Click New to create a new role.
Click Content Library and select the following permissions:
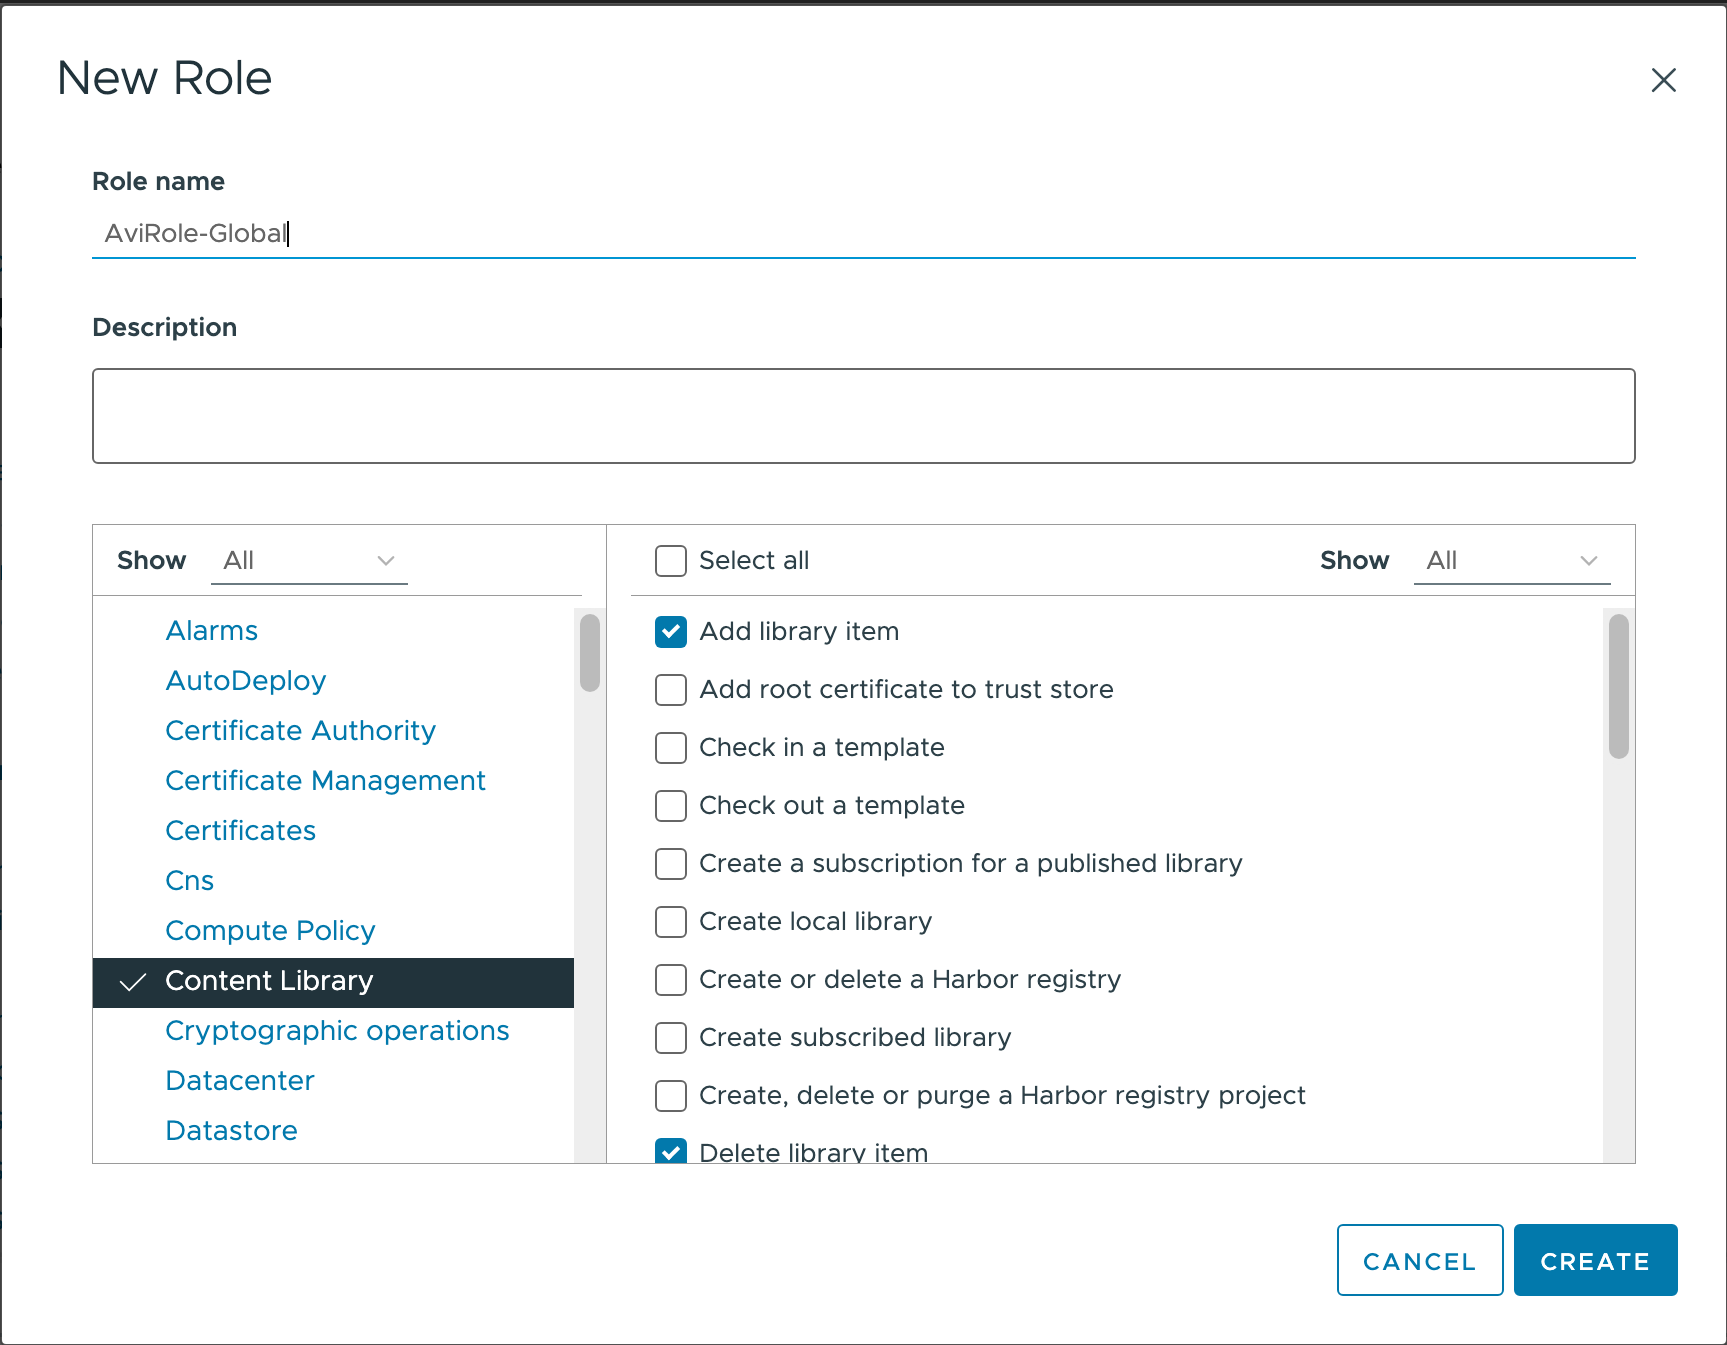
Add library item
Delete library item
Update files
Update library item
Click Datastore and select Allocate space and Remove file.
Click Network and select Assign network and Remove.
Click Virtual Machine and select Add new disk.
Click vApp and select Import.
Click Next.
Specify the Role name as AviRole-Global and specify a Description, if required.
Click Create.
AviRole-Folder
This role must be applied to the folder where the admin wants the NSX Advanced Load Balancer Service Engine VMs to be created. It contains the permissions to create an SE folder, create SE VM from template, assign it to a resource pool, and perform operations on the VM like adding devices, powering it on/ off, and connecting its vNICs to networks. This role restricts the VM operations only to the folder to which the role is applied.
You can apply this role at the folder level into which the Service Engines will be provisioned.
This folder must be created before using it.
The AviRole-Folder needs the following permissions:
dvPort group (Select this option for vCenter version 8.0)
Create
Delete
Modify
Policy operation
Scope operation
Distributed switch (Select this option for vCenter version 8.0)
Create
Host operation
Modify
Network I/O control operation
Policy operation
Port configuration operation
Port setting operation
Datacenter (Select this option for vCenter version 8.0)
Network protocol profile configuration
Query IP pool allocation
Release IP allocation
Datastore (Select this option for vCenter version 8.0)
Allocate space
Browse datstore
Configure datastore
Low level file operations
Remove file
Update virtual machine files
Update virtual machine metadata
Folder
Create folder
Host (Select this option for vCenter version 8.0)
CIM
CIM interaction
Configuration
Change Settings
Hyperthreading
Image configuration
Memory configuration
Network configuration
Power
System Management
System resources
Virtual machine autostart configuration
Local operations
Add host to vCenter
Create virtual machine
Delete virtual machine
Manage user groups
Reconfigure virtual machine
Network
Assign network
Configure network (Select this option for vCenter version 8.0)
Move network (Select this option for vCenter version 8.0)
Remove network
Performance (Select this option for vCenter version 8.0)
Modify intervals
Resource
Assign virtual machine to resource pool
Tasks
Create task
Update task
vApp
Add virtual machine
Assign resource pool
Assign vApp
Create
Delete
Export
Import
Power off
Power on
vAPP application configuration
VApp instance configuration
Virtual machine
Change Configuration
Add existing disk
Add new disk
Add or remove device
Advanced configuration
Change CPU count
Change Memory
Change Settings
Change resource
Extend virtual disk
Modify device settings
Remove disk
Edit Inventory
Create new
Remove
Register
Unregister
Interation
Connect devices
Install VMware Tools
Power off
Power on
Reset
Provisioning
Allow disk access
Allow file access
Allow read-only disk access
Deploy template
Mark as virtual machine
Creating AviRole-Folder
To create AviRole-Folder,
Log in to the vCenter UI as admin.
Navigate to as shown in the previous section.
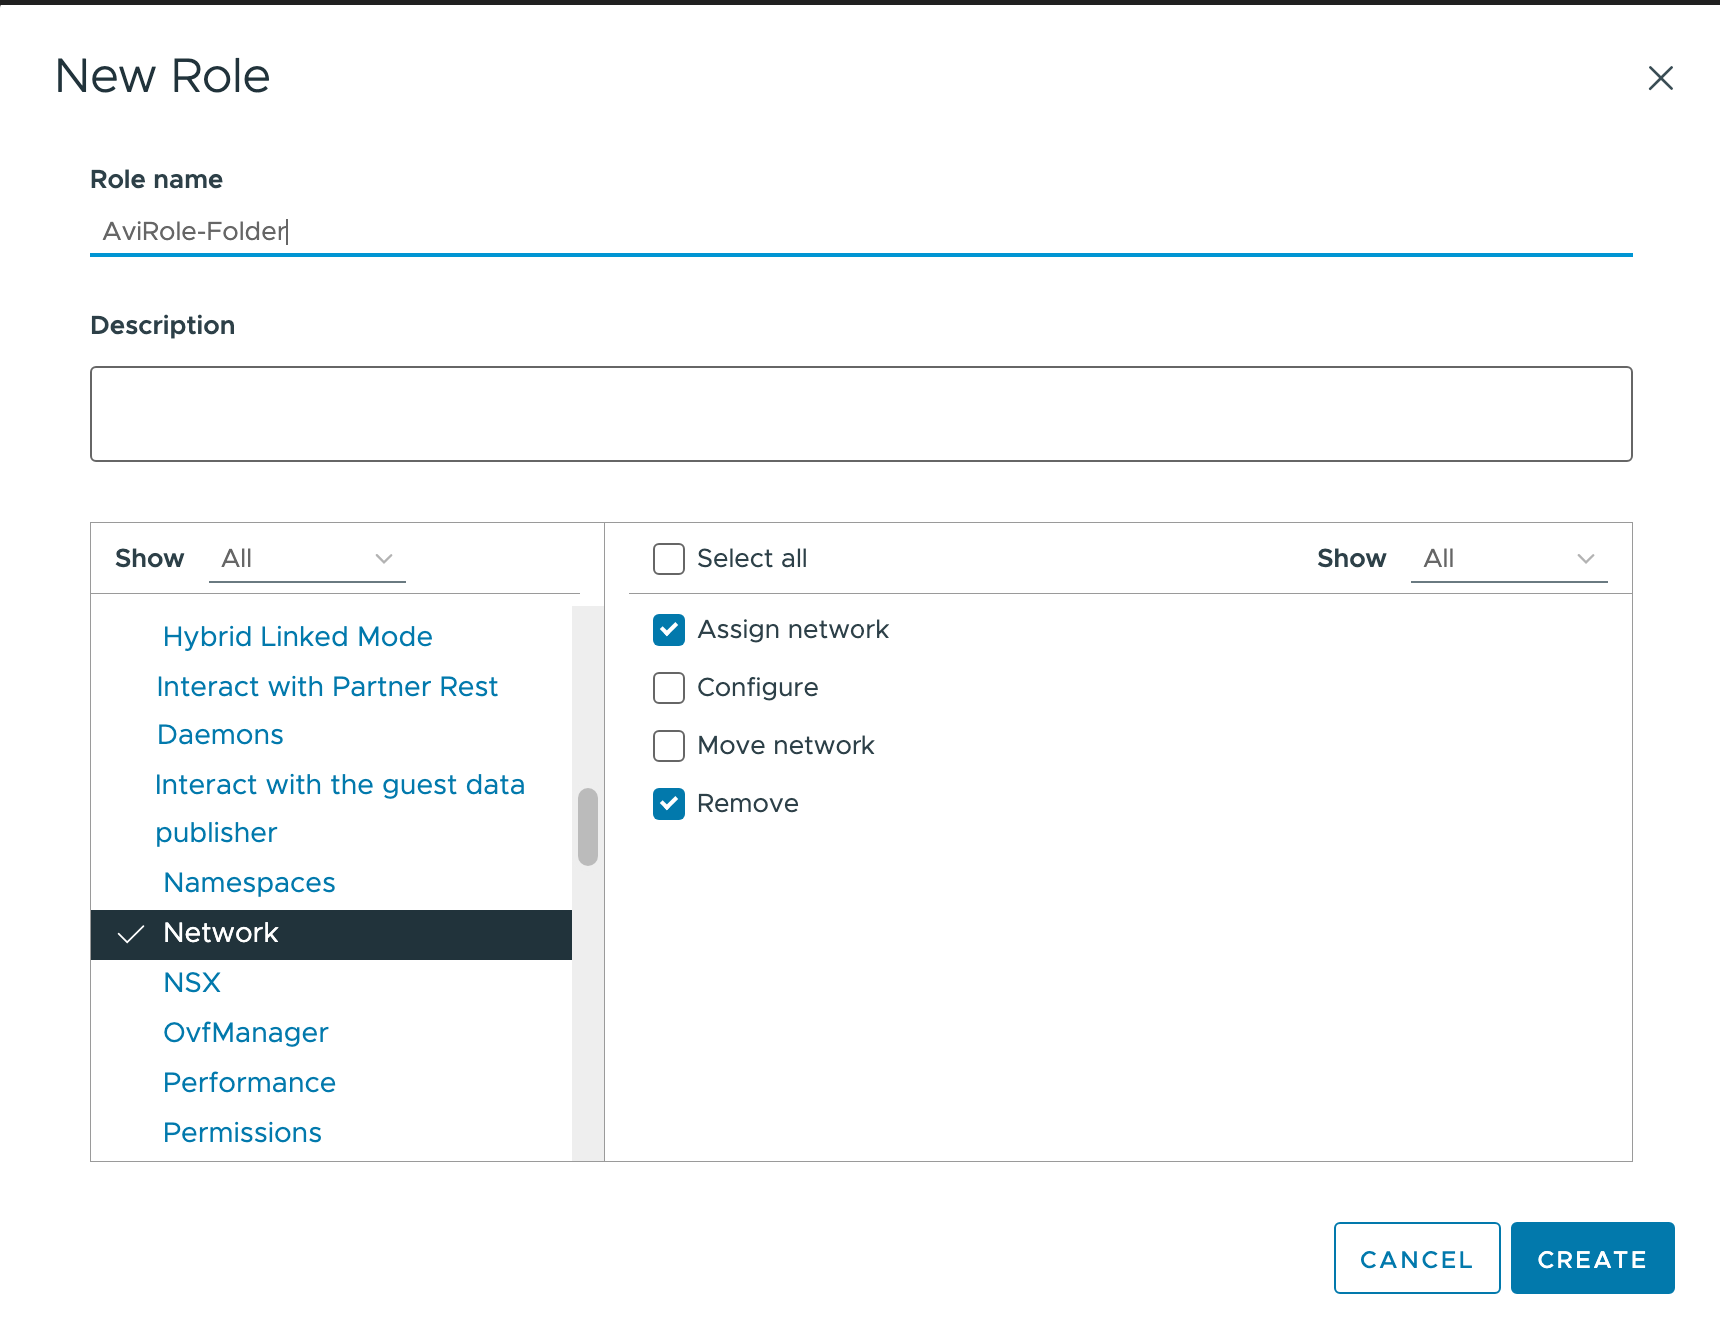
Click New to create a new role.
Click Folder and select Create folder.
Click Network, and select Assign network, Configure network, Move network, and Remove.
Click Resource and select Assign virtual machine to resource pool.
Click Tasks and select Create task and Update task.
Click Virtual Machine and select the permissions as shown below:
Change Configuration
Add existing disk
Add new disk
Add or remove device
Advanced configuration
Change CPU count
Change Memory
Change Settings
Change resource
Extend virtual disk
Modify device settings
Remove disk
Edit Inventory
Create new
Remove
Register
Unregister
Interation
Connect devices
Install VMware Tools
Power off
Power on
Reset
Provisioning
Allow disk access
Allow file access
Allow read-only disk access
Deploy template
Mark as virtual machine
Click vApp and select the permissions as shown below:
Add virtual machine
Assign resource pool
Assign vApp
Create
Delete
Export
Import
Power off
Power on
vAPP application configuration
VApp instance configuration
Click Next.
Specify the Role name as
AviRole-Folderand specify a Description, if required.Click Create.
While creating the folder at vCenter, you should select New VM and Template Folder option.
Combined AviRole
If the vCenter admin does not want to restrict VM operations to a folder and wants to assign the permissions globally, a single AviRole can be created with permissions as shown above and applied as Global Permissions instead of creating AviRole - Global and AviRole - Folder.
Assigning the Roles
Assign the global and folder level roles, as discussed below:
Assigning AviRole-Global
Log in to vCenter UI and navigate to Global Permissions.
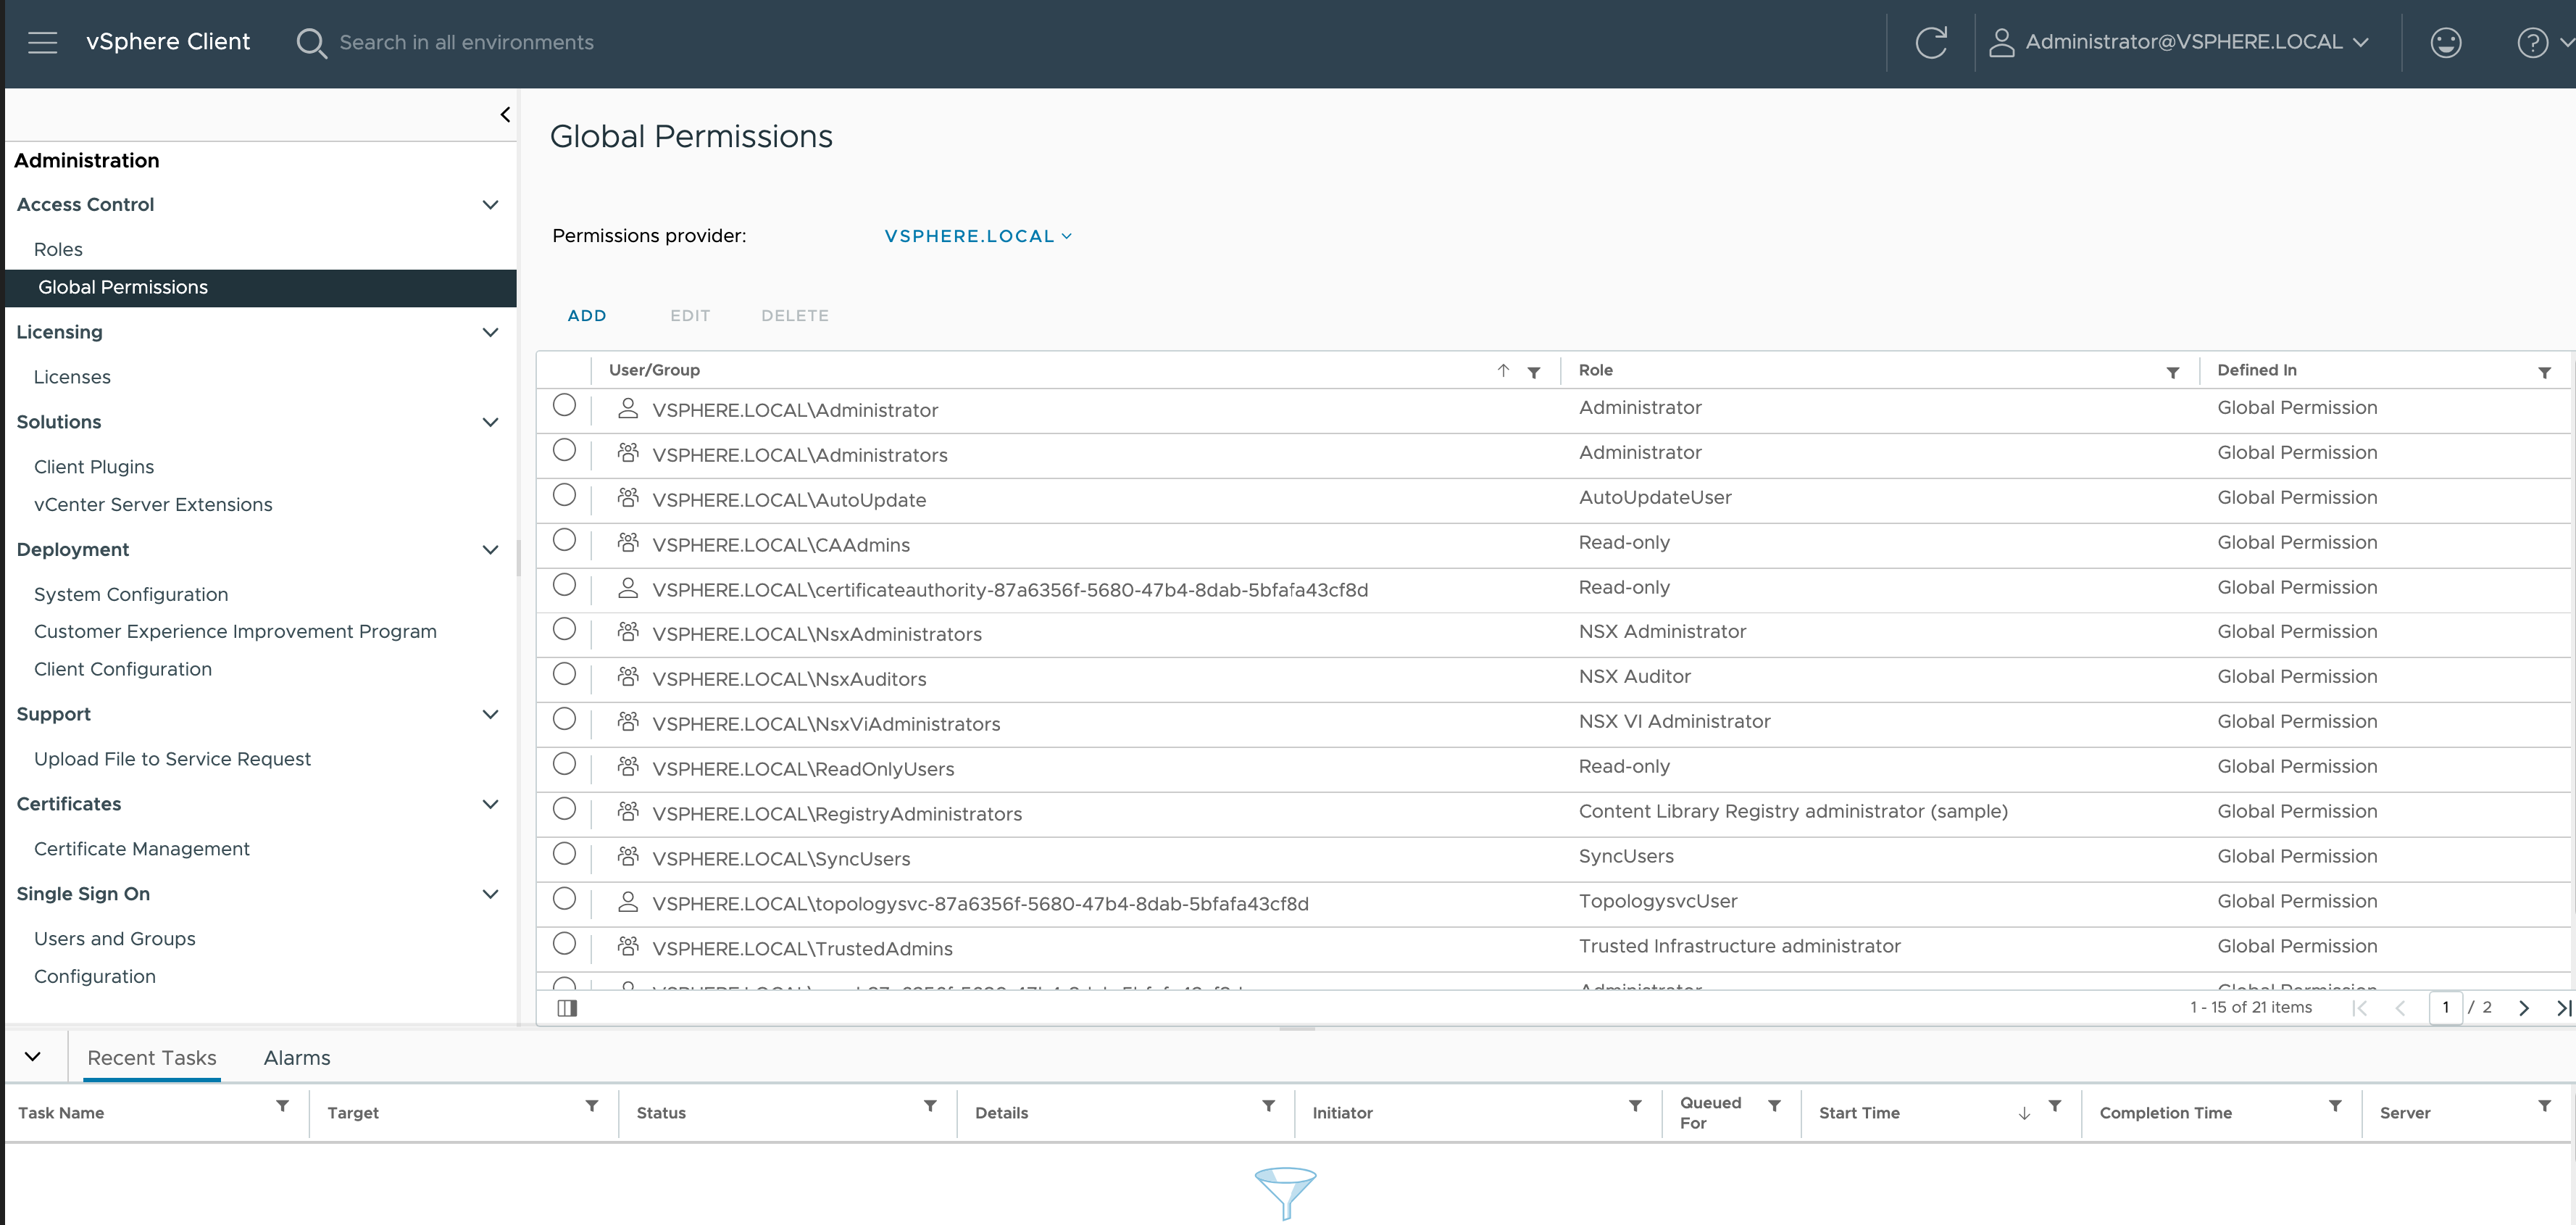
Click ADD sign to add a new permission:
Select the Domain.
Search and select the required username (this will be used for authentication in the NSX Advanced Load Balancer cloud configuration).
Click Propogate to children. The Add Permission screen is as shown below:
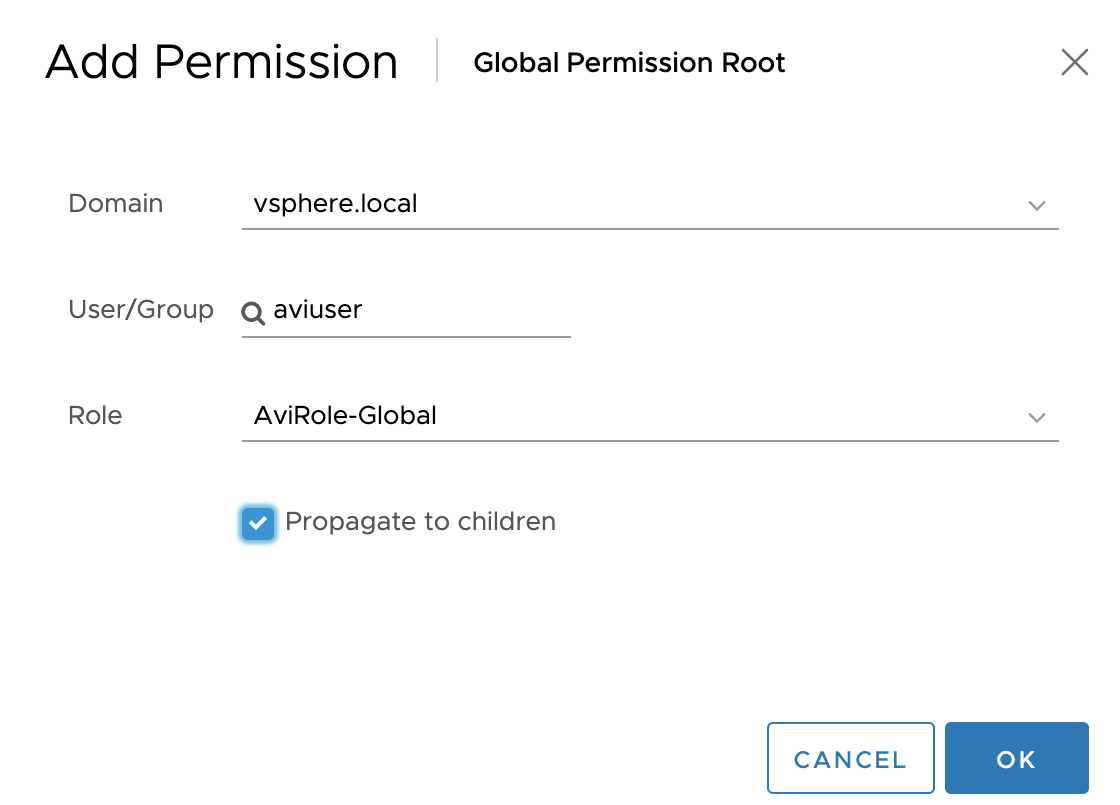
Click OK.
Assigning AviRole-Folder
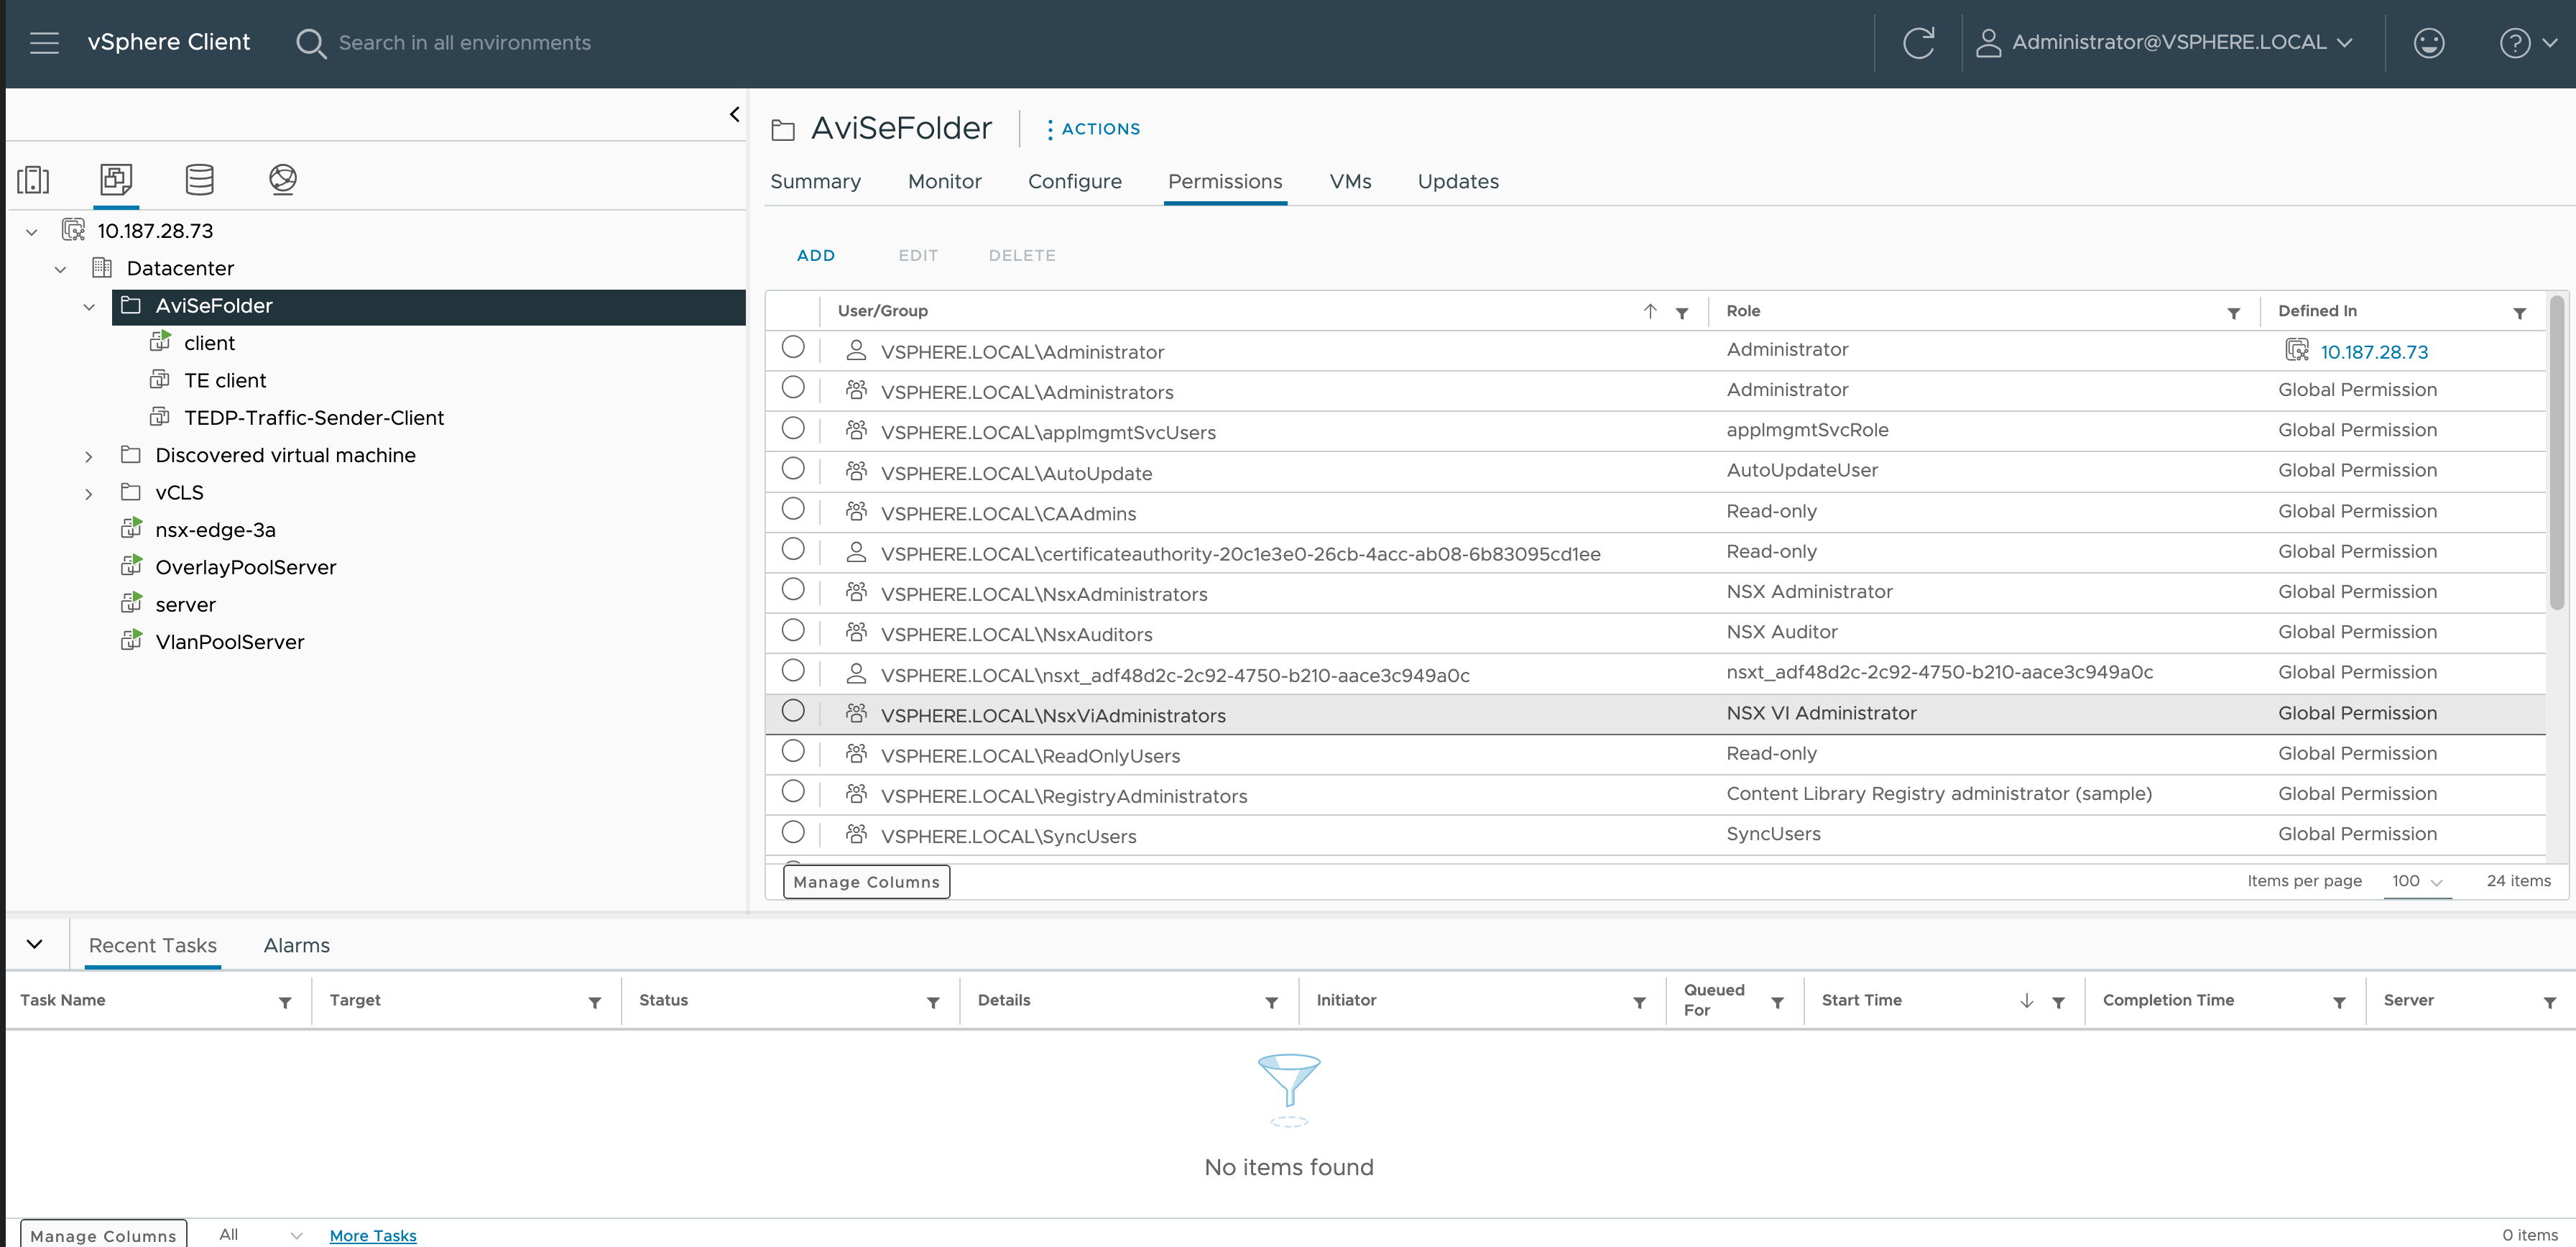
Log in to vCenter UI and navigate to VMs and Templates.
Select the VM folder to create NSX Advanced Load Balancer SEs and navigate to Permissions tab.
Click ADD to add a new permission.
Select theDomain.
Search and select the required username (this will be used for authentication in the NSX Advanced Load Balancer cloud configuration).
Click Propogate to children. The Add Permission screen is as shown below:
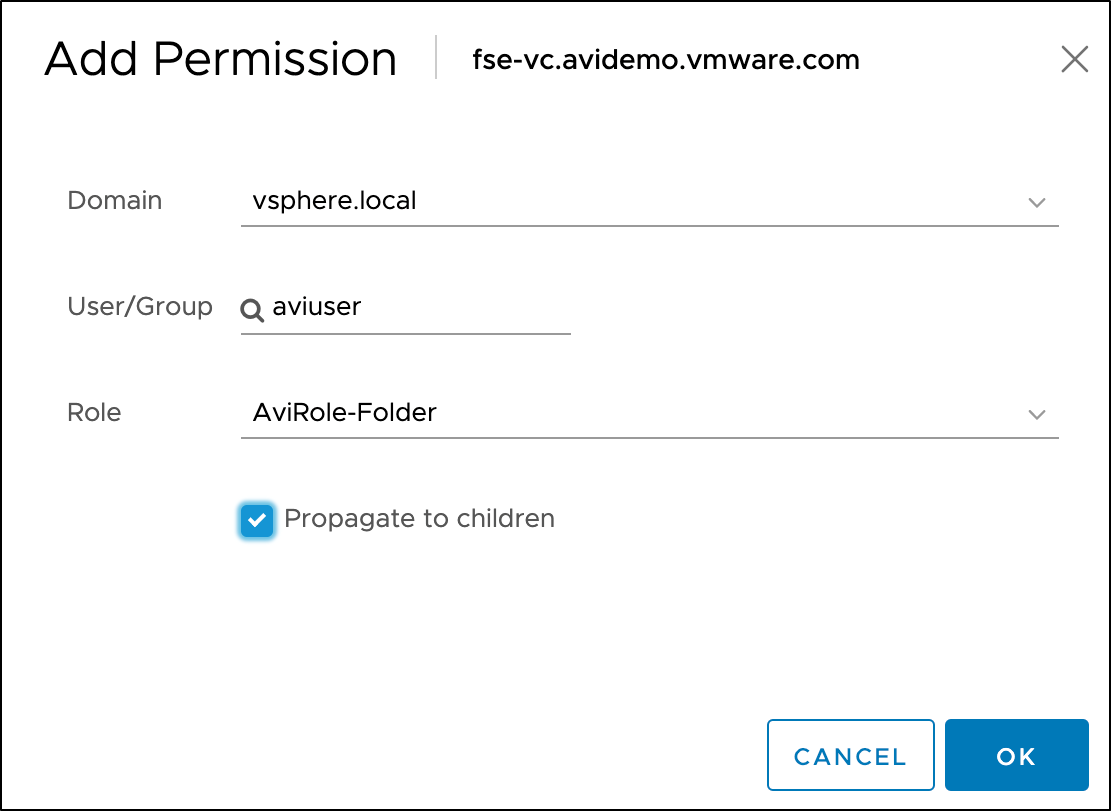
Click OK.
