


SSO makes vSphere and NSX Data Center for vSphere more secure by allowing the various components to communicate with each other through a secure token exchange mechanism, instead of requiring each component to authenticate a user separately.
You can configure lookup service on the NSX Manager and provide the SSO administrator credentials to register NSX Management Service as an SSO user. Integrating the single sign-on (SSO) service with NSX Data Center for vSphere improves the security of user authentication for vCenter users and enables NSX Data Center for vSphere to authenticate users from other identity services such as AD, NIS, and LDAP. With SSO, NSX Data Center for vSphere supports authentication using authenticated Security Assertion Markup Language (SAML) tokens from a trusted source using REST API calls. NSX Manager can also acquire authentication SAML tokens for use with other VMware solutions.
NSX Data Center for vSphere caches group information for SSO users. Changes to group memberships take up to 60 minutes to propagate from the identity provider (for example, active directory) to NSX Data Center for vSphere.
Prerequisites
- To use SSO on NSX Manager, you must have vCenter Server 6.0 or later, and single sign-on (SSO) authentication service must be installed on the vCenter Server. Note that this is for embedded SSO. Instead, your deployment might use an external centralized SSO server.
For information about SSO services provided by vSphere, see the Platform Services Controller Administration documentation.
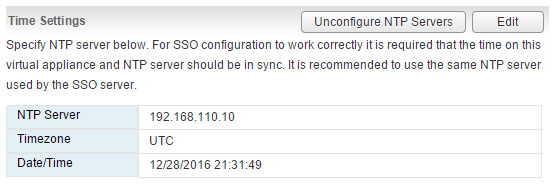
Important: You must configure the NSX Manager appliance to use the same SSO configuration that is used on the associated vCenter Server system. - NTP server must be specified so that the SSO server time and NSX Manager time are in sync.
For example:
Procedure
What to do next
See "Assign a Role to a vCenter User", in the NSX Administration Guide.
