Manual Rollback
If the automated rollback fails, you can perform a manual rollback. For example: if the user deletes the metadata before performing an automated rollback, then the automated rollback will fail, and the user will need to perform the rollback manually.
Enable the organization VDC of NSX Data Center for vSphere:
Navigate to Cloud Resources > Organization VDCs.
Select the organization VDC of the NSX Data Center for vSphere, click Enable.

- On the pop-up window, click Enable to enable the organization VDC.
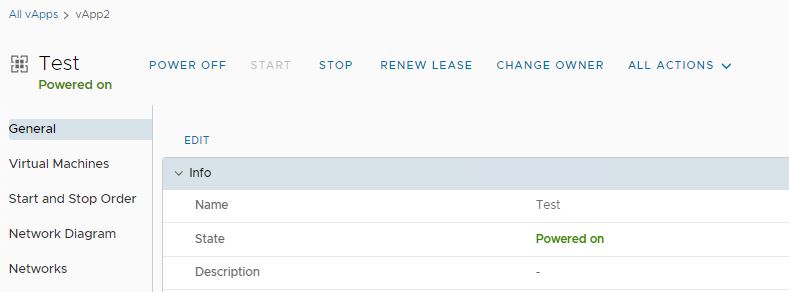
Rename the target vApps by appending
v2tin the vApp name:On the All vApp page, select the Test vApp.
On the General page, click Edit.

- In the Name field, append
-v2t.
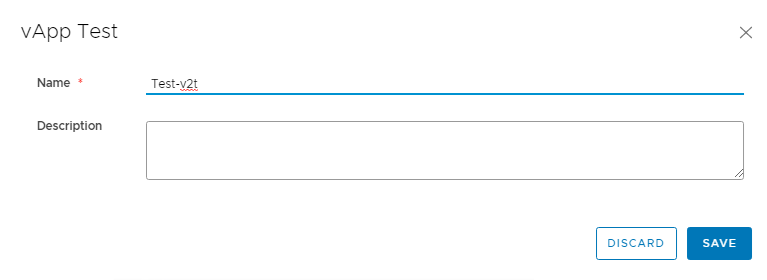
- Click Save to update the vApp details.
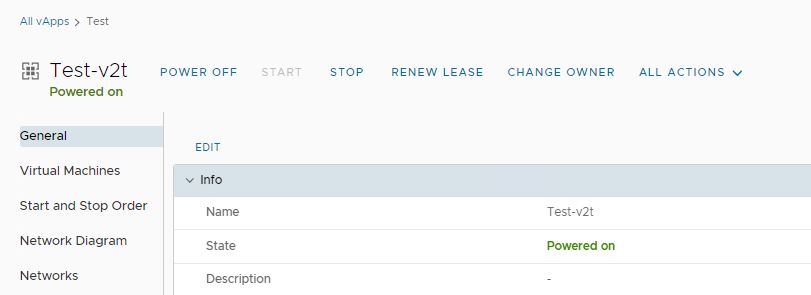
Note
Repeat the above steps for all the vApps.
On the NSX-V organization VDC, create a placeholder with the original vApp name of the target organization VDC.
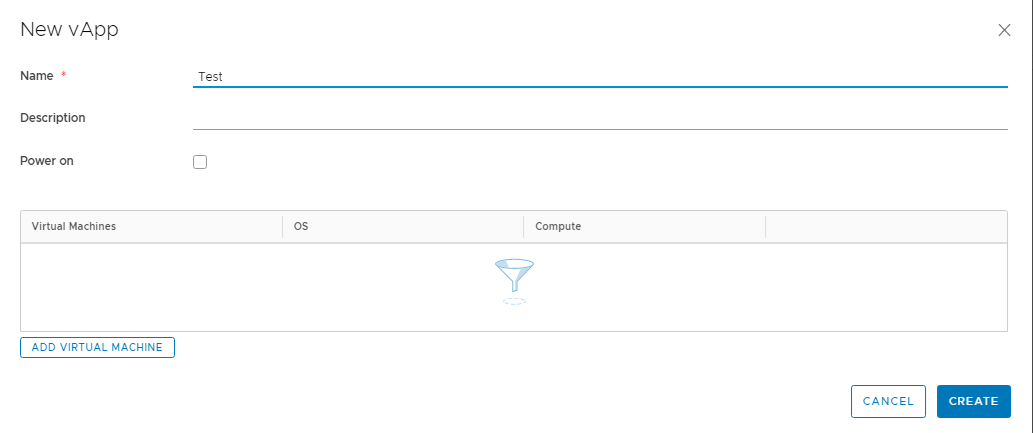
Create new networks in the source organization VDC placeholder vApps:
On the vApp, from the Action drop-down menu, select Add Network.
Select appropriate option and provide details as per network present in the vApp on NSX-T Organization VDC.
Click Add.
Repeat the process if multiple networks are present in vApp.

Migrate the VMs back to the organization VDC of the NSX Data Center for vSphere.
Go to organization VDC of the NSX-T Data Center and click Virtual Machines.
Select the VM that you want to migrate to organization VDC of the NSX Data Center for vSphere.
From the Action drop-down menu, select Move to.
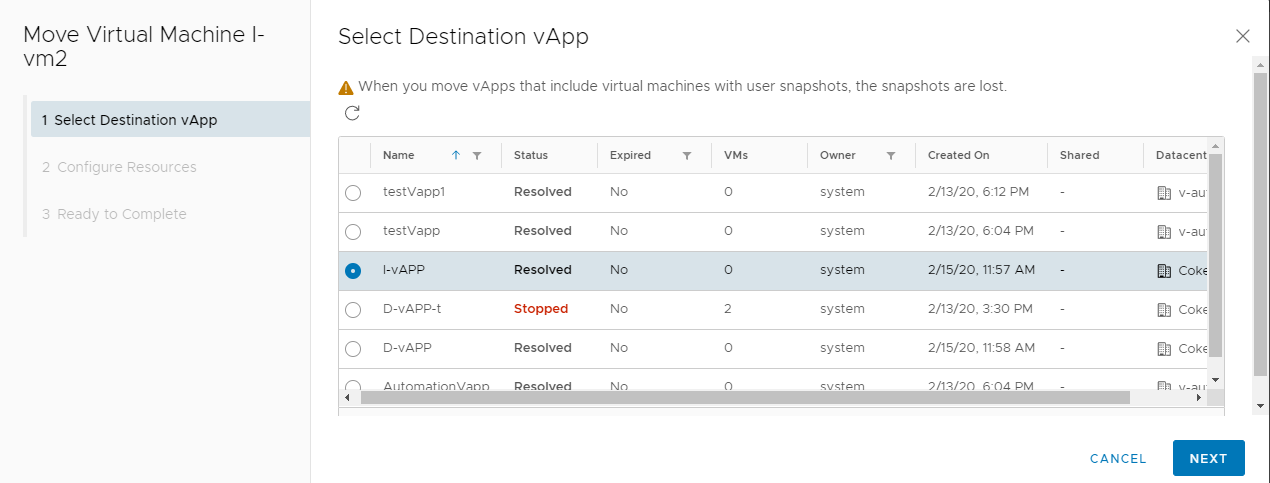
In the Select Destination vApp page, select the vApp in the organization VDC of the NSX Data Center for vSphere, and click Next.
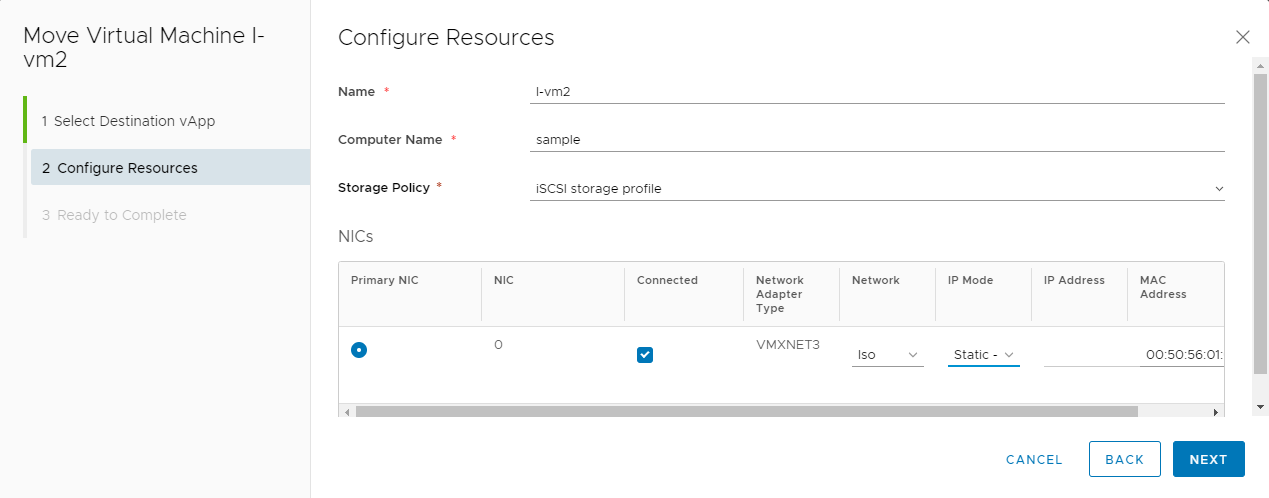
- In the Configure Resources page, provide all the required information and click Next.
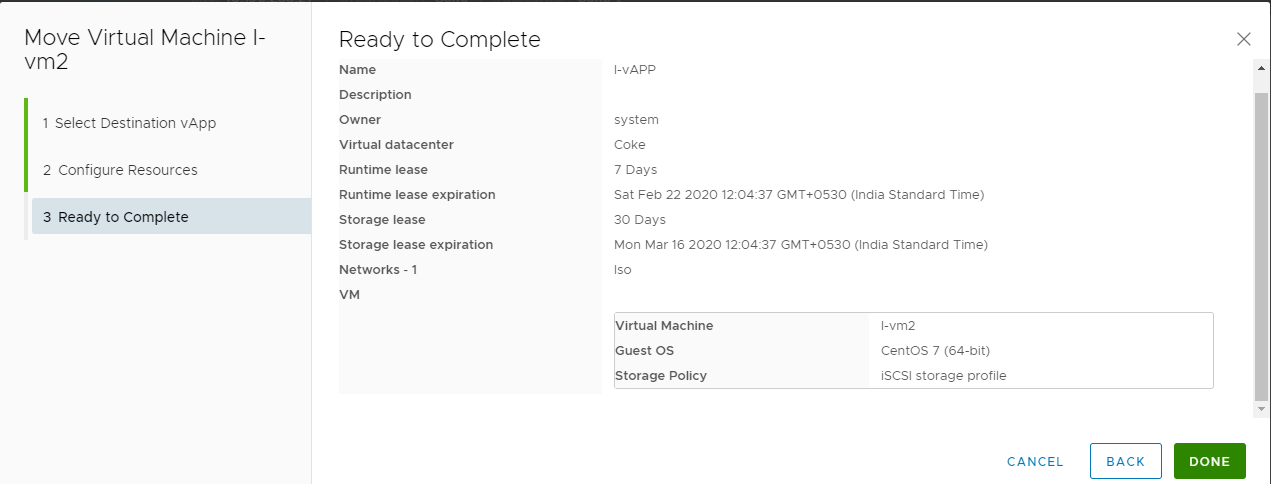
- On the Ready to Complete page, verify the provided information and click Done.
- Repeat the steps to migrate all the vApp VMs in the organization VDC of the NSX Data Center for vSphere.