To activate the NSX Network Detection and Response feature, your NSX environment must meet the system requirements and the following prerequisites.
Procedure
- From your browser, log in with the required privileges to an NSX Manager at https://<nsx-manager-ip-address>.
- In the NSX Manager UI, select .
- Navigate to the Features section, locate the NSX Network Detection and Response feature card, and click Activate.
- In the NSX Network Detection and Response activation wizard, select one of the available cloud regions from which you can access the NSX Advanced Threat Prevention cloud service.
The system uses the NSX Advanced Threat Prevention cloud service to perform deeper analysis of detected threat events, perform event correlation and visualization, and fetch periodic updates on those detected threat events. If you previously activated the VMware NSX® Malware Prevention feature, the cloud region selected for that feature is preselected and is used for the NSX Network Detection and Response feature.
- Click Run Prechecks.
This precheck process can take some time as the activation wizard validates that the minimum license requirement is met. The wizard also performs the connectivity checks between the NSX Manager appliance and the NSX Advanced Threat Prevention cloud service. It also validates that the selected cloud region is reachable.
- Click Activate.
This step can take some time to finish as the resources get allocated in the background.
Results
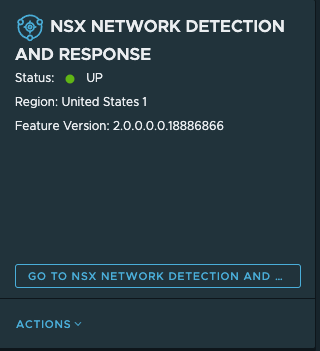
If the feature activation is successful, the
NSX Network Detection and Response feature card displays the Status as
UP, similar to the following image. It also displays information about the cloud region to which the feature is connected and the version of the feature that is being used.
See Troubleshooting NSX Network Detection and Response if you encounter any error during the NSX Network Detection and Response feature activation,

