


You can use an existing VDS or configure a new one. If you use an exising VDS, you must set its MTU to 1600 or higher.
Note: The object names and configuration values that are used in the steps below are example values mentioned in Preparing the Environment. Replace them with names and values that are appropriate for your environment.
To configure a new VDS, use the following procedure.
Create a VDS in VC
- In VC, under Networking, right click the datacenter and select .
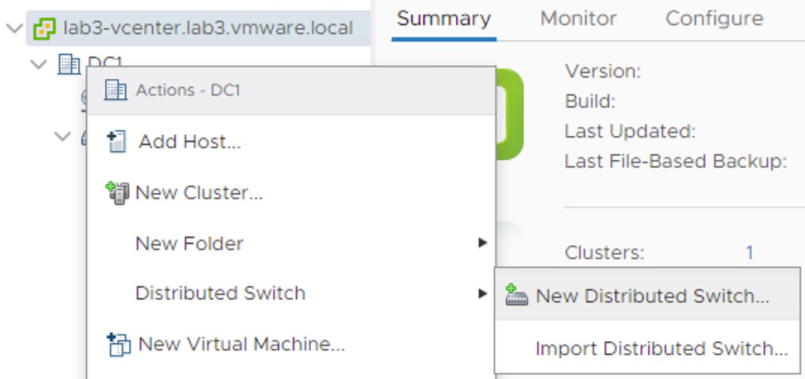
- Follow the prompts and provide the following information.
Name VDS-NSX Location DC1 Spefify a distributed switch version Select the version for your vSphere environment. Number of uplinks 1 Network I/O Control Enabled - After VDS-NSX is created, right click it and select Add and Manage Hosts.
- Select the three ESXi hosts (192.168.10.11, 192.168.10.12 and 192.168.10.13).
- In the Manage physical adapters step, for each host, map vmnic1 to Uplink 1 (the default uplink name) on VDS-NSX.
Change the MTU value for VDS-NSX
- In VC, under Networking, right click VDS-NSX and select .
- In the MTU (Bytes) field, enter 1600.
Create a port group in VDS-NSX
- In VC, under Networking, right click VDS-NSX and select New Distributed Port Group.
- Provide the following information.
Name PG-all-VLAN VLAN type VLAN trunking VLAN trunk range 0-4094
