


You can configure the Profiles using the new Orchestrator UI.
- In the Enterprise portal, click the Open New Orchestrator UI option available at the top of the Window.
- Click Launch New Orchestrator UI in the pop-up window.
- The UI opens in a new tab displaying the monitoring and configuring options.
In the new Orchestrator UI, click the Configure tab.
Note: The
Configure tab is available only when the Operator has enabled the option. If the tab is not available for you, contact your Operator.
To configure a specific Profile:
- Click .
- The Profiles page displays the existing Profiles.
- Click the link to a Profile or click the View link in the Device column of the Profile. You can also select a Profile and click Modify to configure the Profile.
- The configuration options for the selected Profile are displayed in the Device tab.
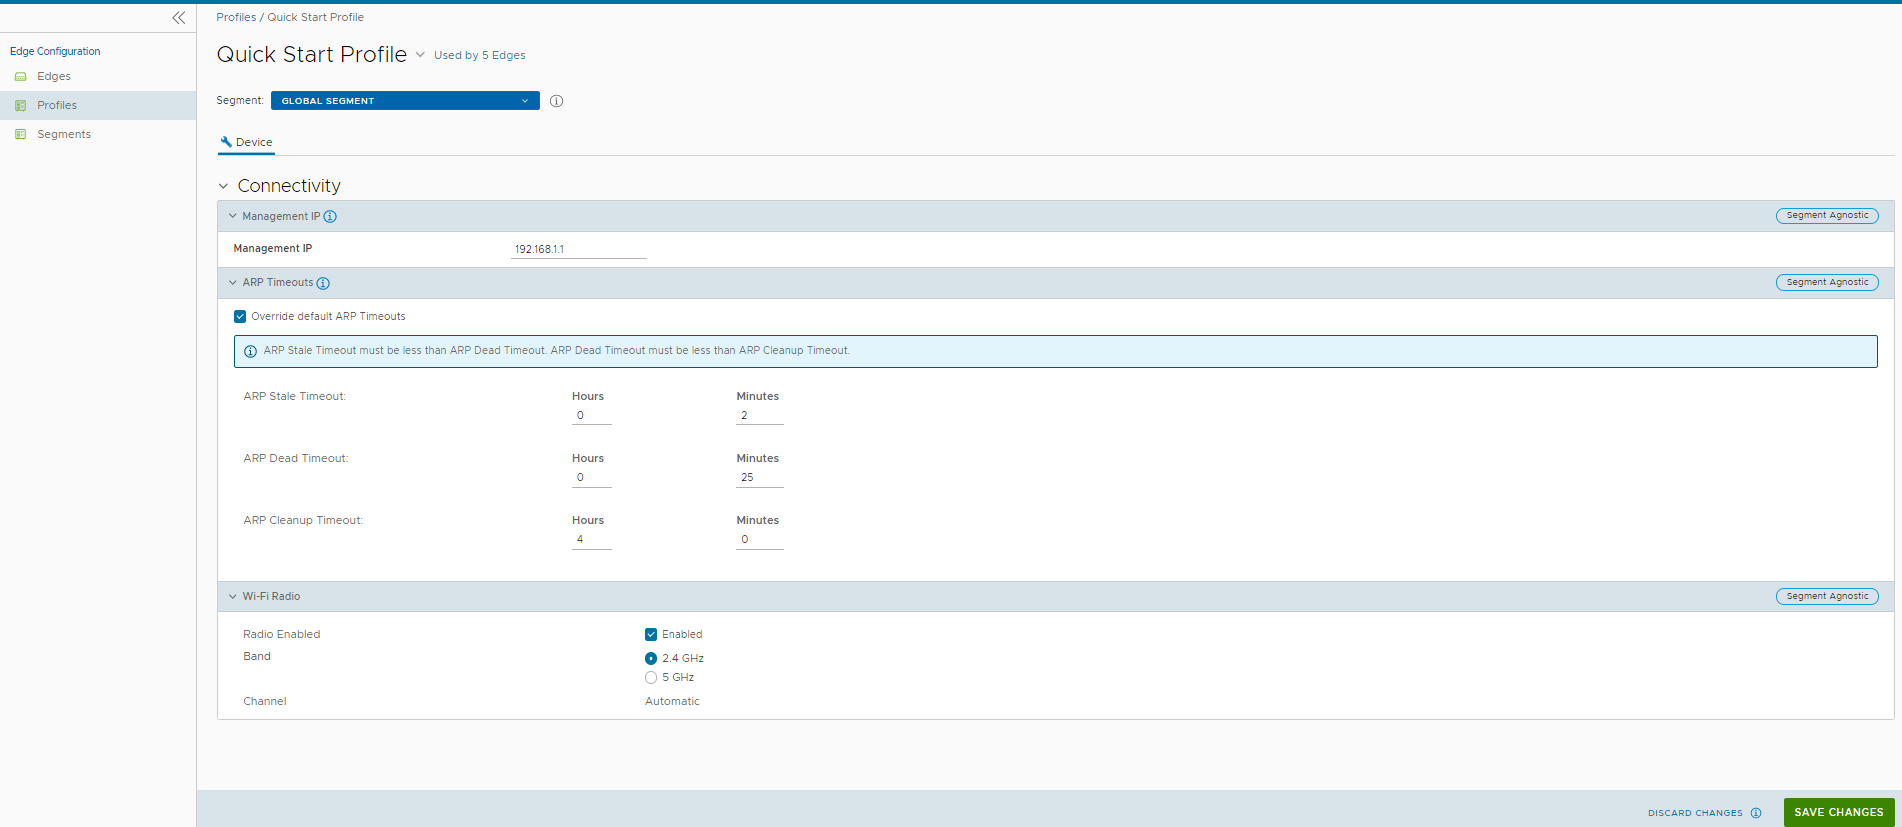
- You can configure the following settings for the selected Profile:
- Management IP – The Management IP address is used as the source address for local services like DNS and as a destination for diagnostic tests like pinging from another Edge. For more information, see Configure the Management IP Address.
- ARP Timeouts – By default the ARP Timeout values are configured. If required, select the Override default ARP Timeouts checkbox, to modify the default values. For more information, see Configure Layer 2 Settings for Profiles.
- Wi-Fi Radio – Enable or disable Wi-Fi Radio and configure the band of radio frequencies. For more information, see Configure Wi-Fi Radio Settings.
