To setup Single Sign On (SSO) authentication for Enterprise user, perform the steps in this procedure.
Prerequisites
Ensure that you have the Enterprise super user permission.
Before setting up the SSO authentication, ensure you have set up roles, users, and OpenID connect (OIDC) application for VCO in your preferred identity provider’s website. For more information, see Configure an IDP for Single Sign On.
Procedure
Log in to a Velocloud Orchestrator (VCO) application as Enterprise super user, with your login credentials.
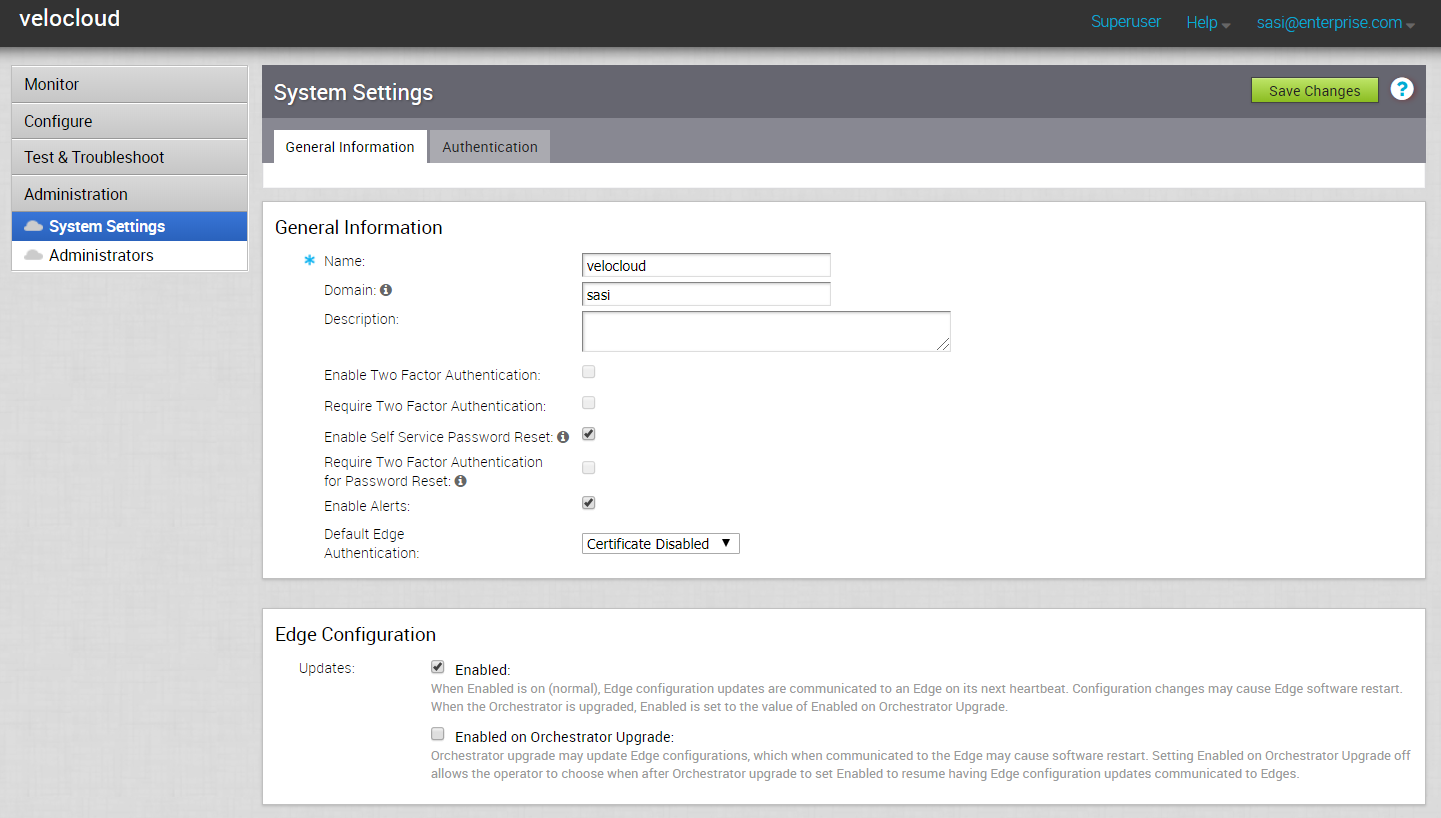
Click Administration > System Settings
The
System Settings screen appears.
Click the General Information tab and in the Domain text box, enter the domain name for your enterprise, if it is not already set.
Note: To enable SSO authentication for the VCO, you must set up the domain name for your enterprise.
Click the Authentication tab and from the Authentication Mode drop-down menu, select SSO.
From the Identity Provider template drop-down menu, select your preferred Identity Provider (IDP) that you have configured for Single Sign On.
Note: If you select VMwareCSP as your preferred IDP, ensure to provide your Organization ID in the following format:
/csp/gateway/am/api/orgs/<full organization ID>.
When you sign in to VMware CSP console, you can view the organization ID you are logged into by clicking on your username. A shortened version of the ID is displayed under the organization name. Click the ID to display the full organization ID.
You can also manually configure your own IDPs by selecting
Others from the
Identity Provider template drop-down menu.
In the OIDC well-known config URL text box, enter the OpenID Connect (OIDC) configuration URL for your IDP. For example, the URL format for Okta will be: https://{oauth-provider-url}/.well-known/openid-configuration.
The VCO application auto-populates endpoint details such as Issuer, Authorization Endpoint, Token Endpoint, and User Information Endpoint for your IDP.
In the Client Id text box, enter the client identifier provided by your IDP.
In the Client Secret text box, enter the client secret code provided by your IDP, that is used by the client to exchange an authorization code for a token.
To determine user’s role in VCO, select one of the options:
Use Default Role – Allows user to configure a static role as default by using the Default Role text box that appears on selecting this option. The supported roles are: Enterprise Superuser, Enterprise Standard Admin, Enterprise Support, and Enterprise Read Only.
Use Identity Provider Roles – Uses the roles set up in the IDP.
On selecting the Use Identity Provider Roles option, in the Role Attribute text box, enter the name of the attribute set in the IDP to return roles.
In the Role Map area, map the IDP-provided roles to each of the VCO roles, separated by using commas.
Roles in VMware CSP will follow this format:
external/<service definition uuid>/<service role name mentioned during service template creation>.
Update the allowed redirect URLs in OIDC provider website with VCO URL (https://<vco>/login/ssologin/openidCallback).
Click Save Changes to save the SSO configuration.
Click Test Configuration to validate the entered OpenID Connect (OIDC) configuration.
The user is navigated to the IDP website and allowed to enter the credentials. On IDP verification and successful redirect to VCO test call back, a successful validation message will be displayed.