


To set up an OpenID Connect (OIDC)-based application in Microsoft Azure Active Directory (AzureAD) for Single Sign On (SSO), perform the steps on this procedure.
Prerequisites
Ensure you have an AzureAD account to sign in.
Procedure
- To create a new application:
- Search and select the Azure Active Directory service.
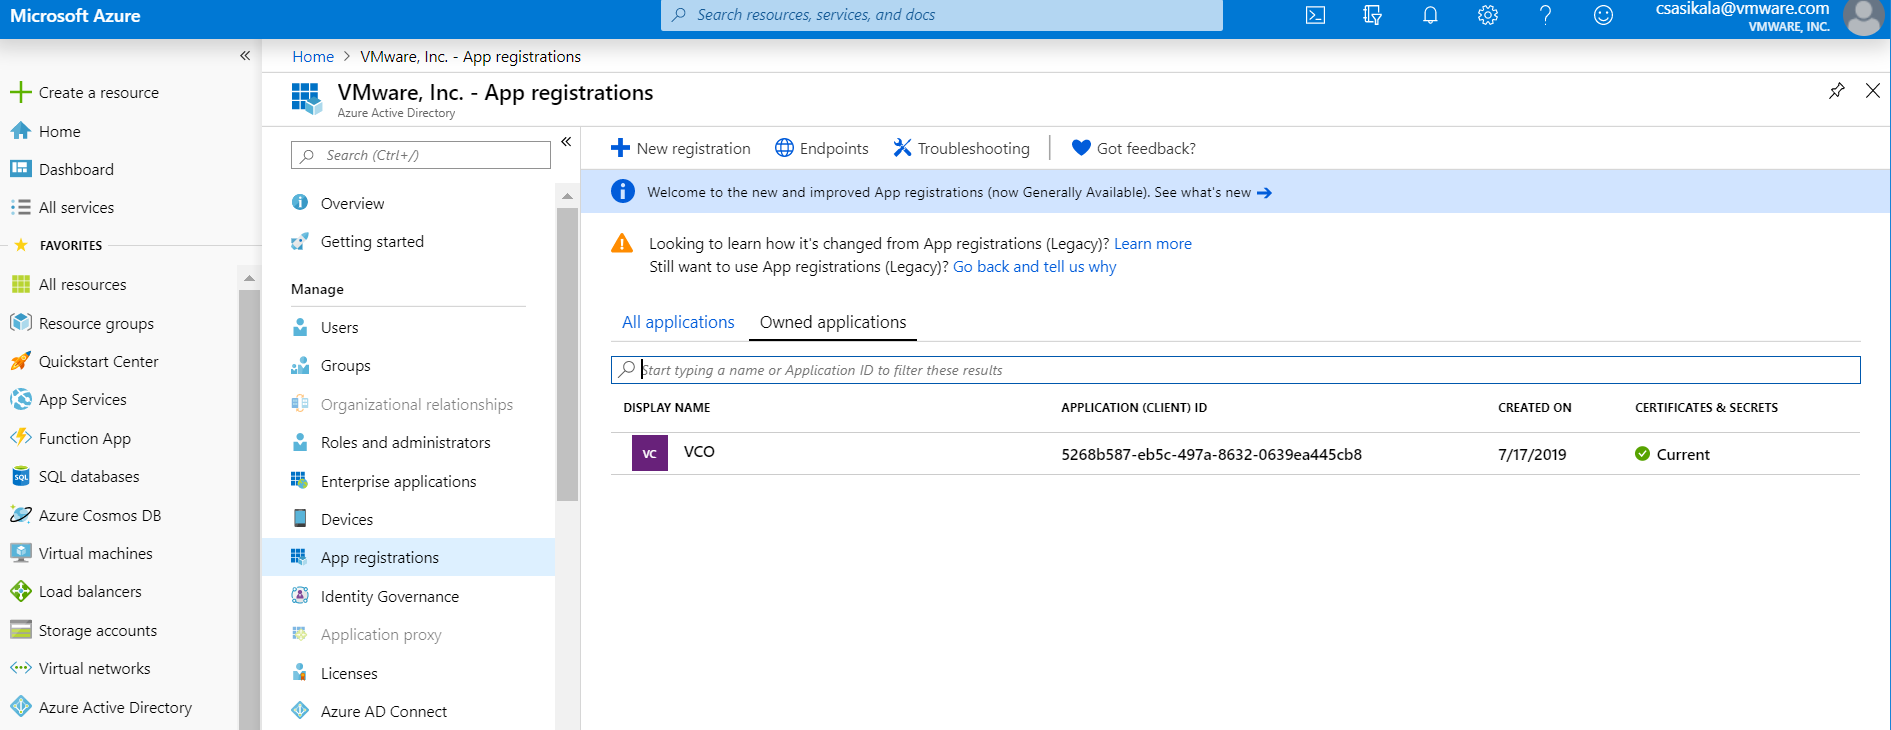
- Go to App registration > New registration.
The Register an application screen appears.
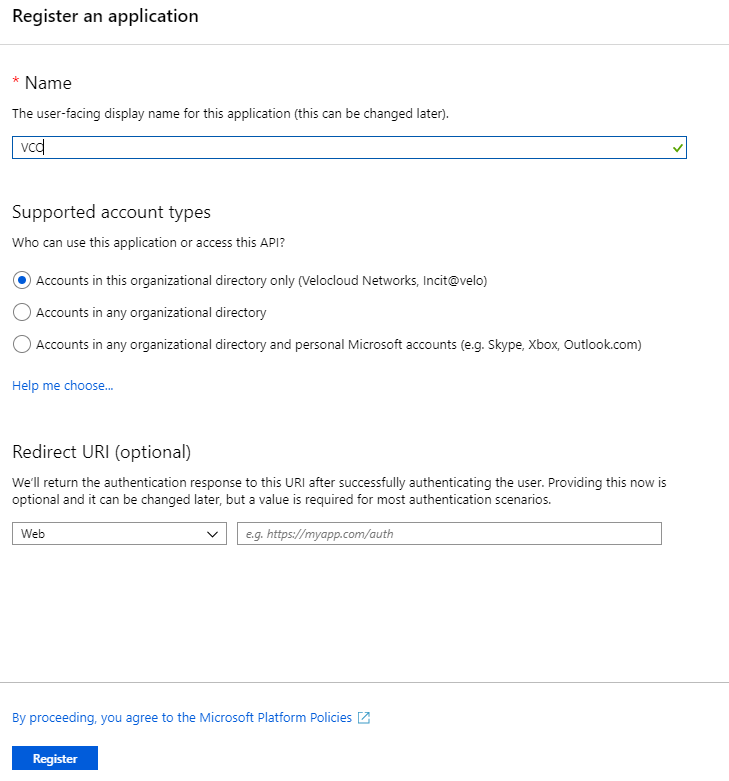
- In the Name field, enter the name for your SD-WAN Orchestrator application.
- In the Redirect URL field, enter the redirect URL that your SD-WAN Orchestrator application uses as the callback endpoint.
In the SD-WAN Orchestrator application, at the bottom of the Configure Authentication screen, you can find the redirect URL link. Ideally, the SD-WAN Orchestrator redirect URL will be in this format: https://<Orchestrator URL>/login/ssologin/openidCallback.
- Click Register.
Your SD-WAN Orchestrator application will be registered and displayed in the All applications and Owned applications tabs. Make sure to note down the Client ID/Application ID to be used during the SSO configuration in SD-WAN Orchestrator.
- Click Endpoints and copy the well-known OIDC configuration URL to be used during the SSO configuration in SD-WAN Orchestrator.
- To create a client secret for your SD-WAN Orchestrator application, on the Owned applications tab, click on your SD-WAN Orchestrator application.
- Go to Certificates & secrets > New client secret.
The Add a client secret screen appears.
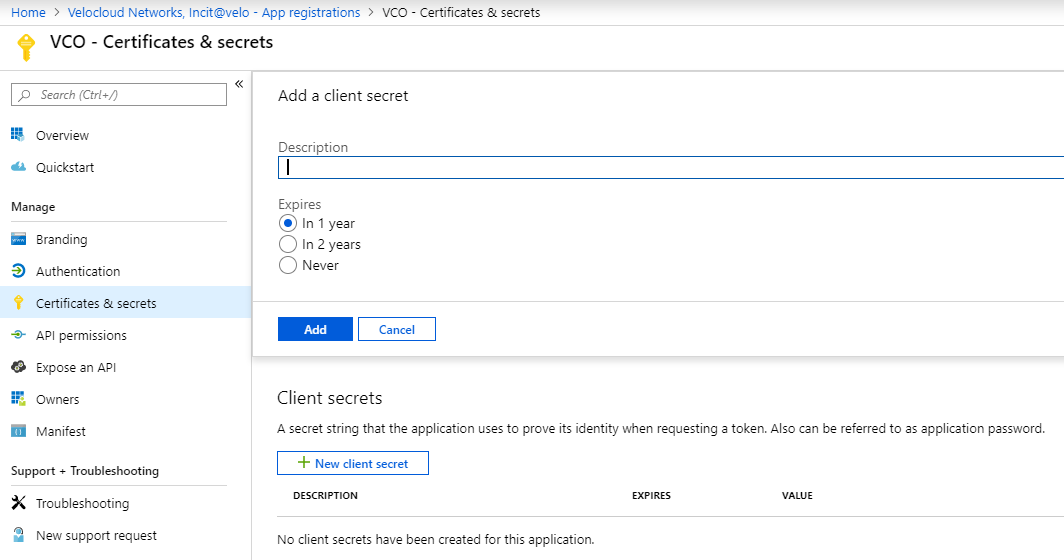
- Provide details such as description and expiry value for the secret and click Add.
The client secret will be created for the application. Note down the new client secret value to be used during the SSO configuration in SD-WAN Orchestrator.
- To configure permissions for your SD-WAN Orchestrator application, click on your SD-WAN Orchestrator application and go to API permissions > Add a permission.
The Request API permissions screen appears.
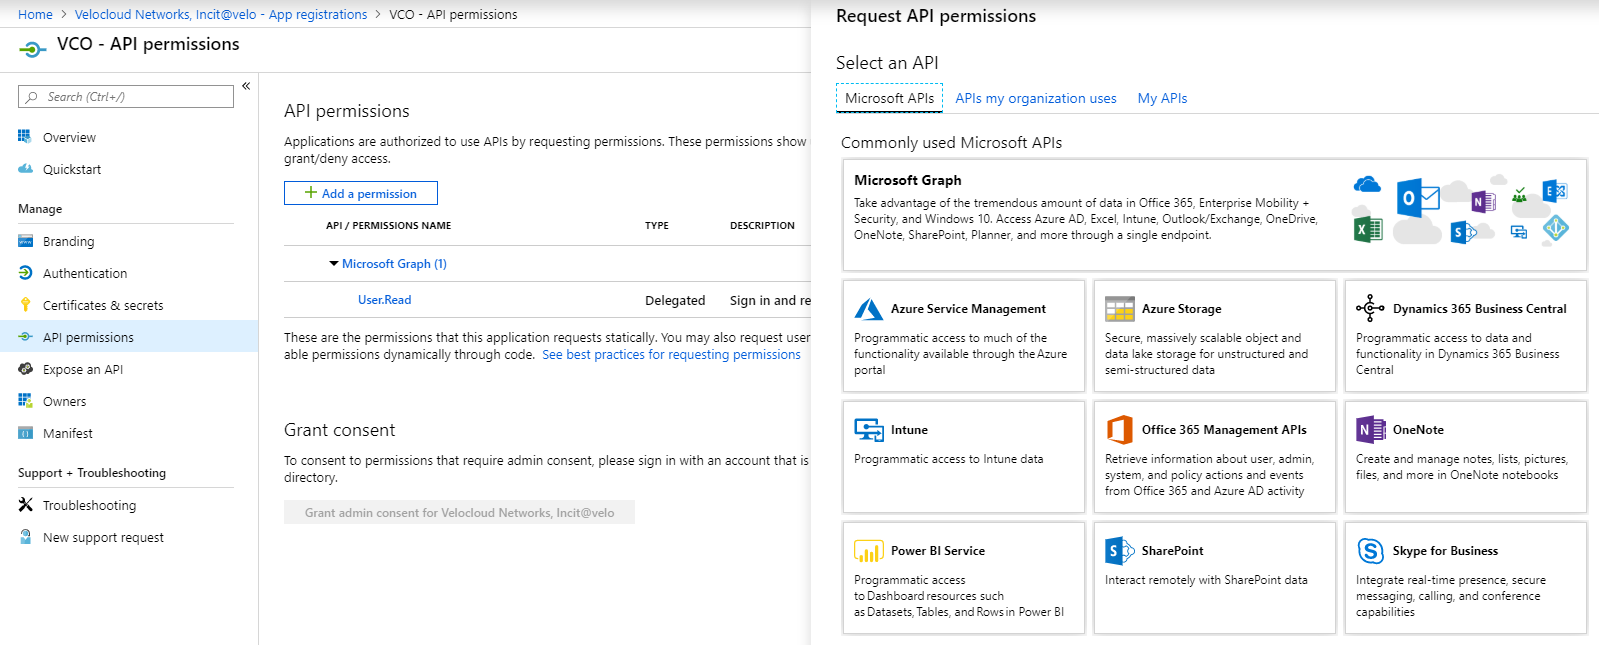
- Click Microsoft Graph and select Application permissions as the type of permission for your application.
- Under Select permissions, from the Directory drop-down menu, select Directory.Read.All and from the User drop-down menu, select User.Read.All.
- Click Add permissions.
- To add and save roles in the manifest, click on your SD-WAN Orchestrator application and from the application Overview screen, click Manifest.
A web-based manifest editor opens, allowing you to edit the manifest within the portal. Optionally, you can select Download to edit the manifest locally, and then use Upload to reapply it to your application.
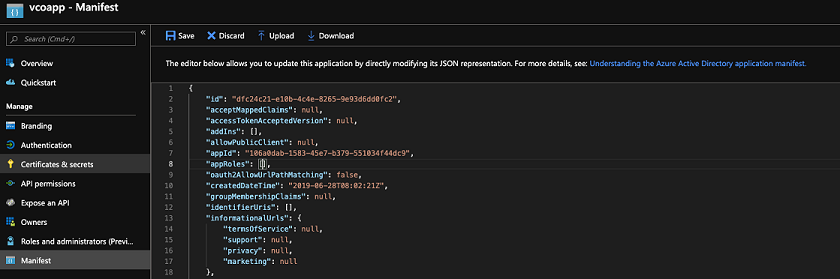
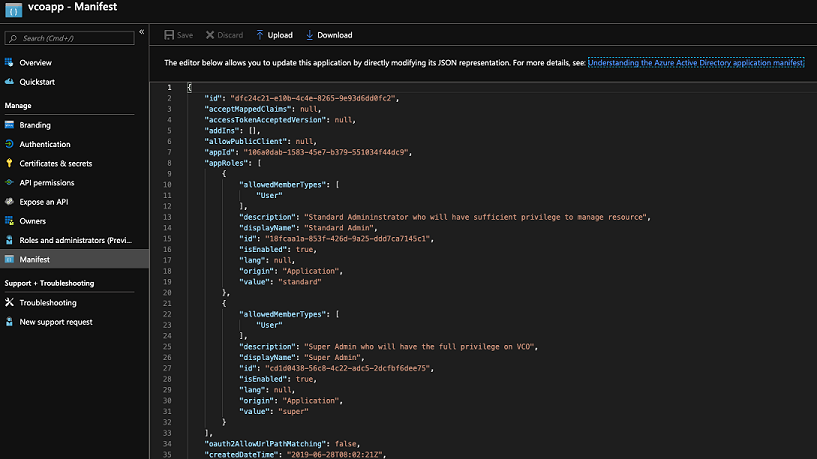
- In the manifest, search for the
appRolesarray and add one or more role objects as shown in the following example and click Save.Sample role objects{ "allowedMemberTypes": [ "User" ], "description": "Standard Administrator who will have sufficient privilege to manage resource", "displayName": "Standard Admin", "id": "18fcaa1a-853f-426d-9a25-ddd7ca7145c1", "isEnabled": true, "lang": null, "origin": "Application", "value": "standard" }, { "allowedMemberTypes": [ "User" ], "description": "Super Admin who will have the full privilege on SD-WAN Orchestrator", "displayName": "Super Admin", "id": "cd1d0438-56c8-4c22-adc5-2dcfbf6dee75", "isEnabled": true, "lang": null, "origin": "Application", "value": "superuser" }Note: Make sure to setidto a newly generated Global Unique Identifier (GUID) value. You can generate GUIDs online using web-based tools (for example, https://www.guidgen.com/), or by running the following commands:- Linux/OSX -
uuidgen - Windows -
powershell [guid]::NewGuid()
- Linux/OSX -
- Search and select the Azure Active Directory service.
Results
You have completed setting up an OIDC-based application in AzureAD for SSO.
What to do next
Configure Single Sign On in SD-WAN Orchestrator.
