You can configure Firewall rules at the Profile and Edge levels to allow, drop, reject, or skip inbound and outbound traffic.
To configure a firewall rule at the profile level using the New Orchestrator UI, perform the following steps.
Procedure
- In the Enterprise portal, click the Open New Orchestrator UI option available at the top of the window.
- Click Launch New Orchestrator UI in the pop-up window.
The UI opens in a new tab displaying the monitoring and configuring options.
- Click . The Profiles page displays the existing Profiles.
- To configure a Profile, click the link to the Profile or click the View link in the Device column of the Profile. The configuration options are displayed in the Device tab.
- Click the Firewall tab.
From the
Profiles page, you can navigate to the
Firewall page directly by clicking the
View link in the
Firewall column of the Profile.
- Go to the Configure Firewall section and under Firewall Rules area, click + NEW RULE. The Configure Rule dialog box appears.
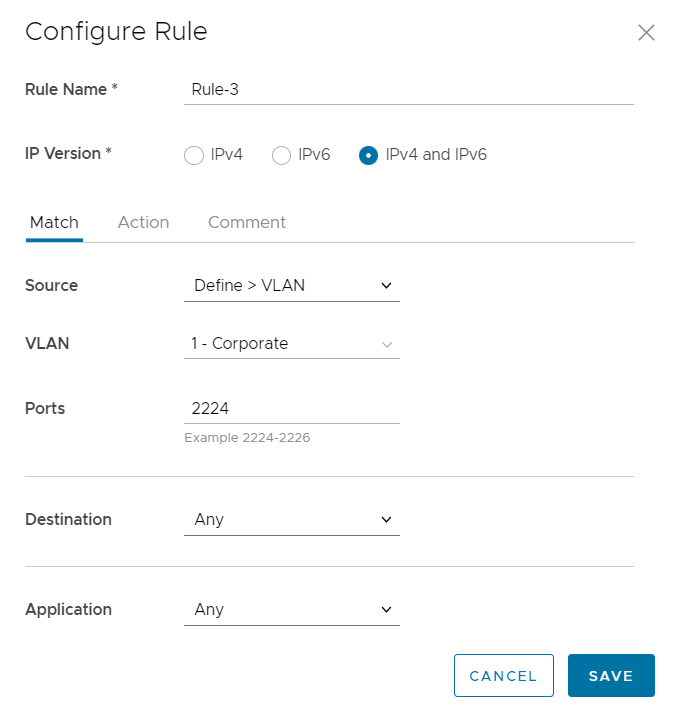
- Enter the Rule Name and choose the IP Version.
In the
Match tab, you can configure the Source and Destination IP addresses according to the selected IP version, as follows:
- Mixed – Allows to configure both IPv4 and IPv6 addresses in the matching criteria. If you choose this mode, you cannot configure Source or Destination IP address.
- IPv4 – Allows to configure only IPv4 addresses as Source and Destination.
- IPv6 – Allows to configure only IPv6 addresses as Source and Destination.
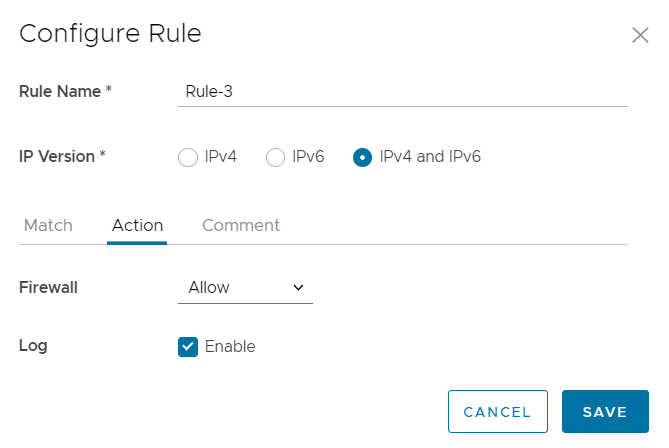
- In the Action tab, configure the actions to be performed when the traffic matches the defined criteria.
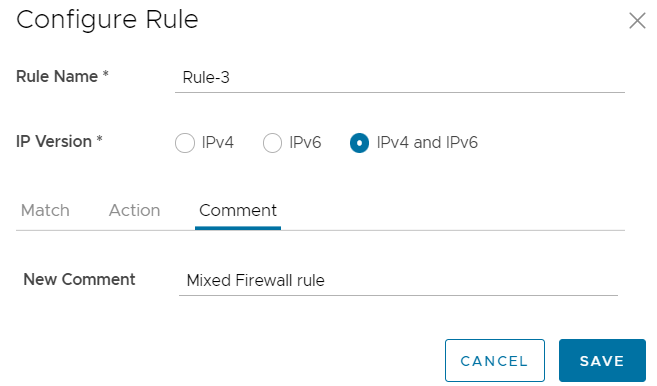
- In the Comment tab, enter comment description for the rule. After configuring the required settings, click SAVE.


 For more information on the match and action parameters, see Configure Firewall Rules.