


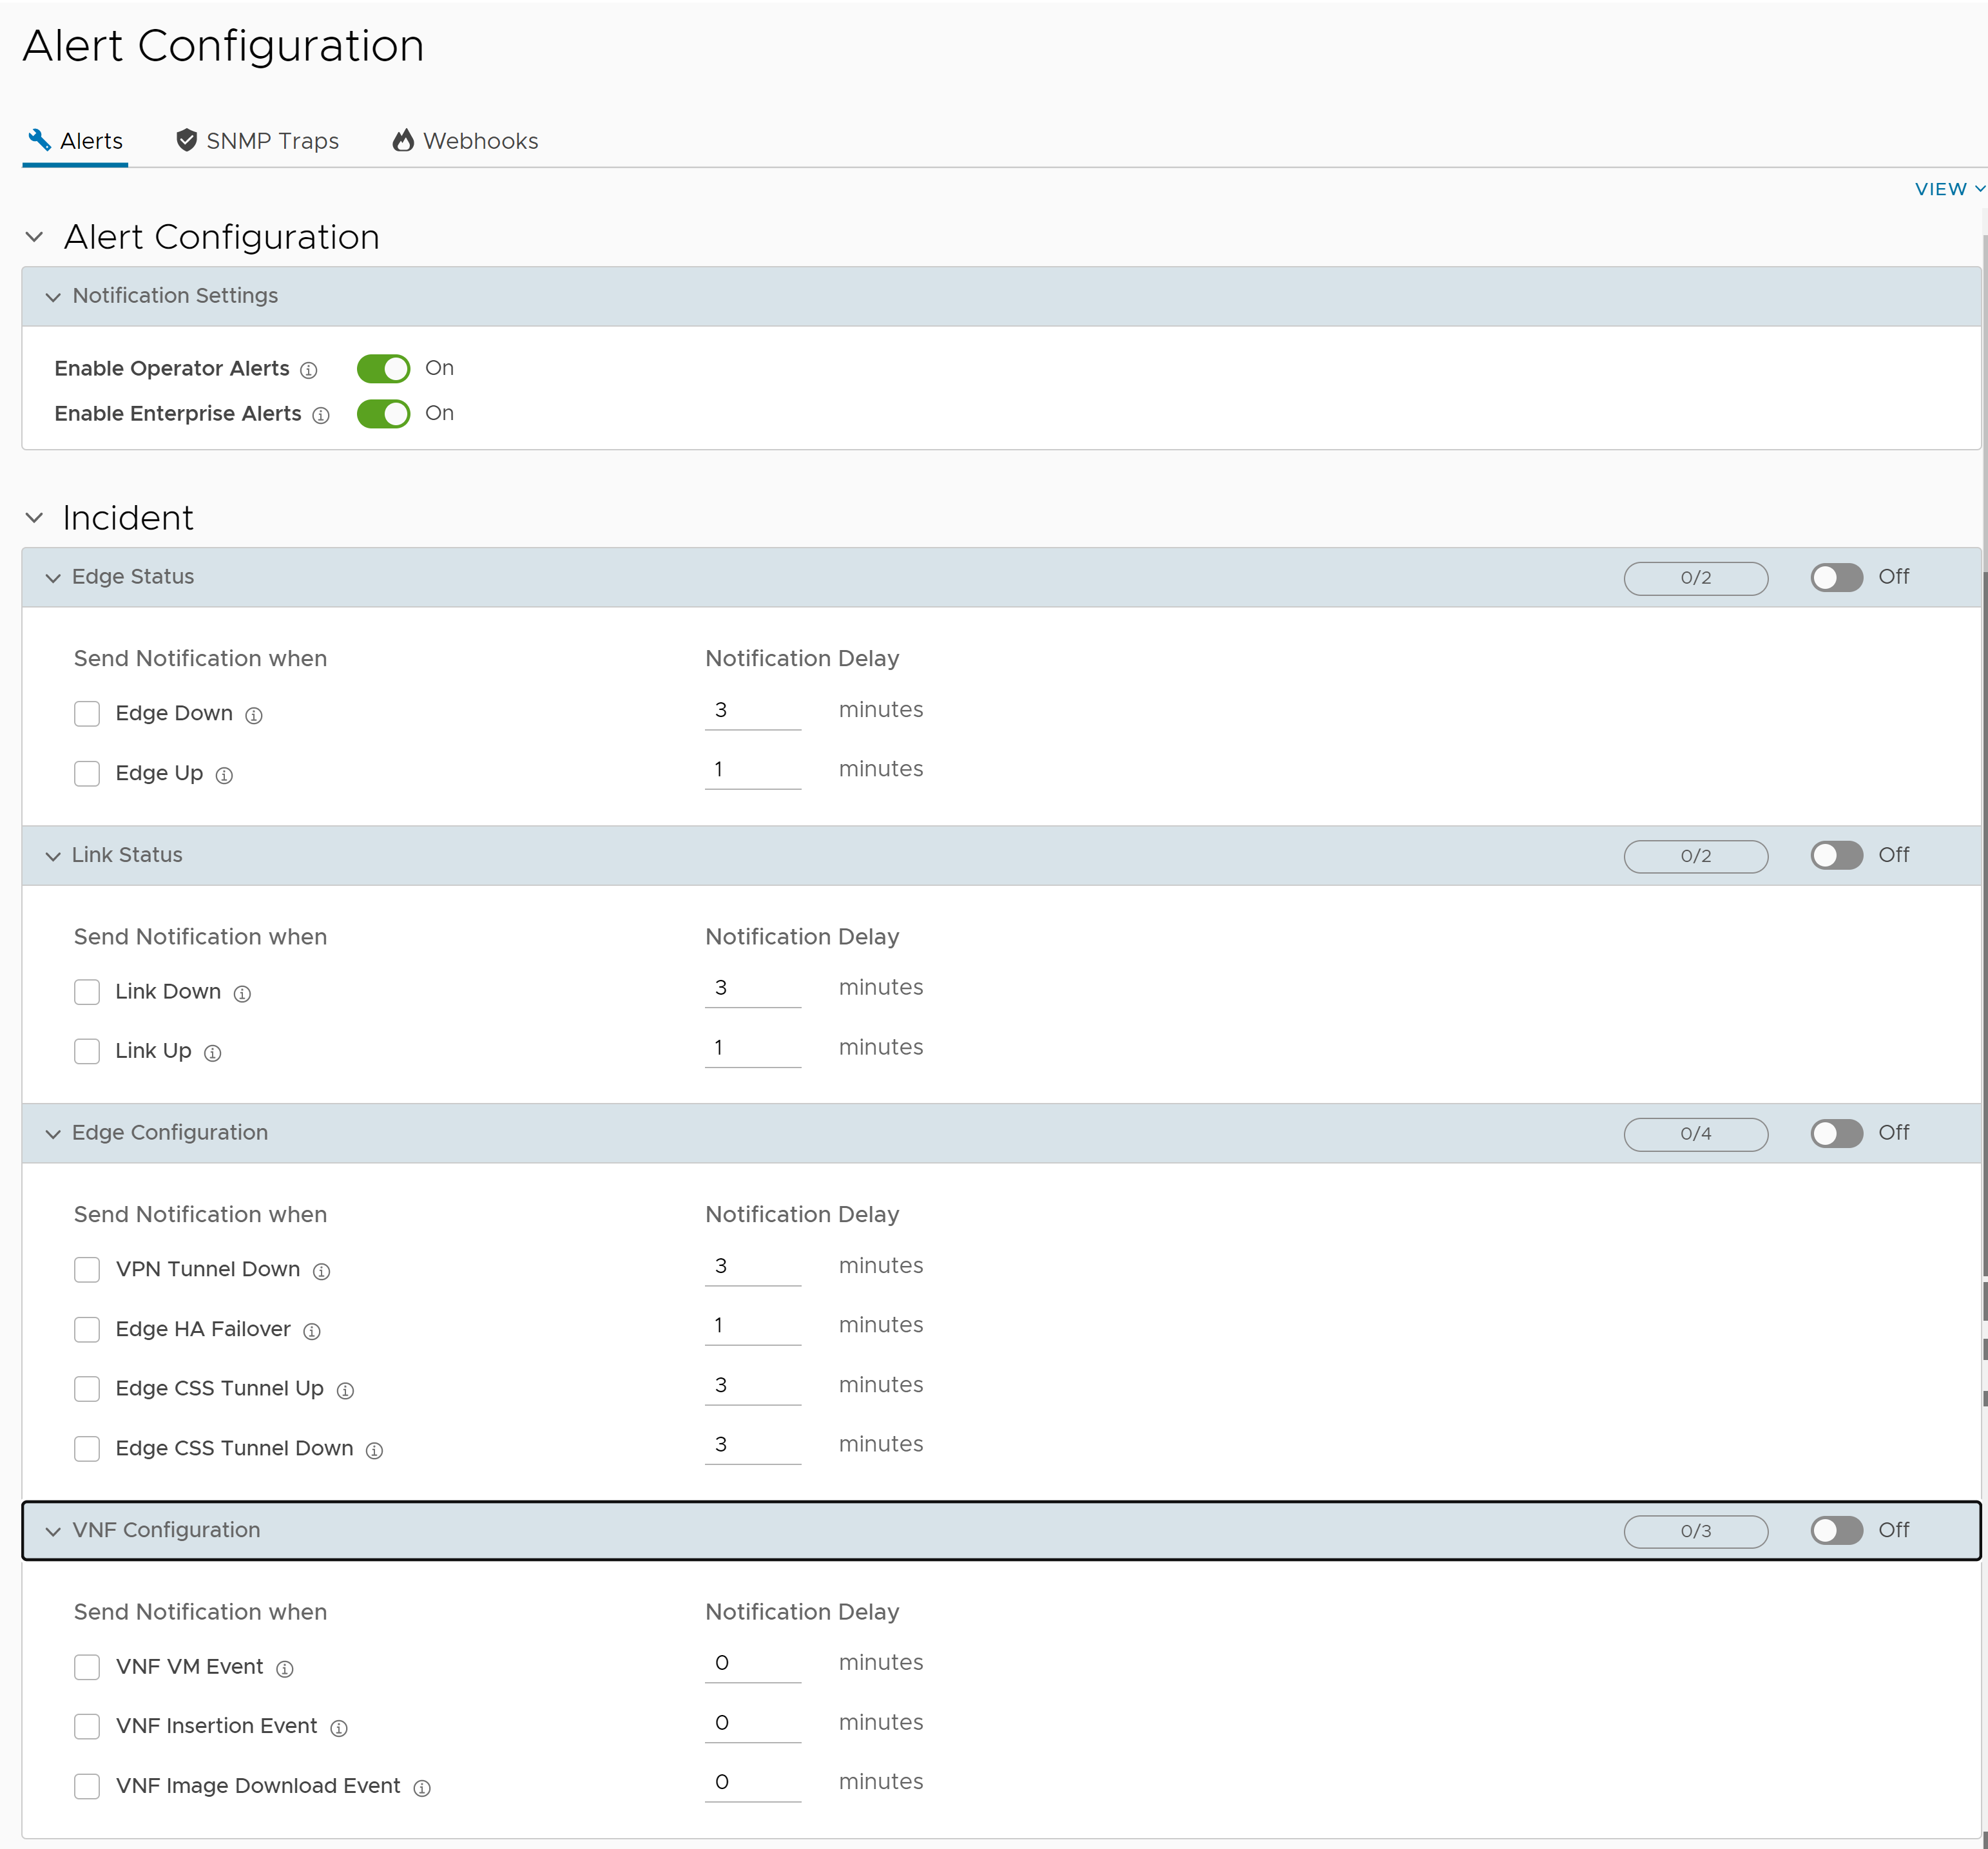
The Alerts page in the Alert Configuration window allows you to select the events for which the alerts need to be sent. You can also add and edit the contact details of existing admin users.
The alerts can be sent to both, the Operators managing the SASE Orchestrator and the Customers. Alerts sent to the Operators are called Operator Alerts (formerly known as Pre-Notifications), and are sent as soon as the event occurs. Alerts sent to the Customers are called Enterprise Alerts and are activated only when a Customer turns on the Enable Enterprise Alerts option under Alert Configuration. Enterprise Alerts can be subject to delays as configured by the Enterprise Admin(s).
For example, consider that a Customer has configured the Link Down alert delay for 2 minutes. If a WAN link loses communication with the Edge, Operator Alerts are sent immediately. Enterprise Alerts are sent after a delay of 2 minutes.
Procedure
- In the Alert Configuration window, the Alerts tab is displayed by default.
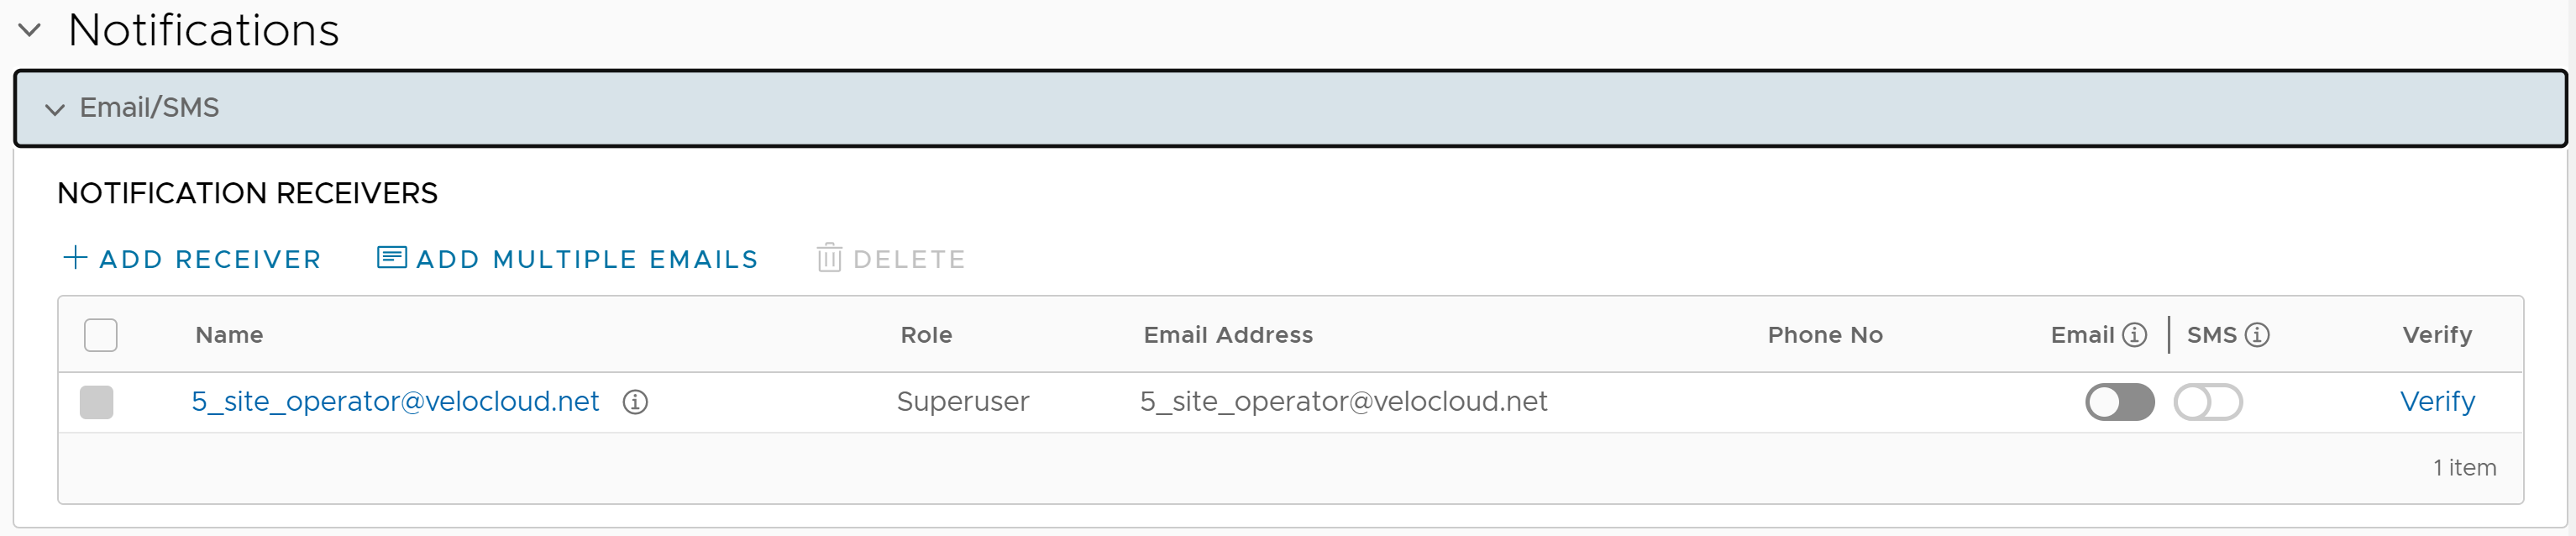
- Expand Email/SMS in the Notifications section to display the contact details of existing admin users.
- Expand Configured Hosts under Select Configured SNMP Trap Destination(s) to display the configured SNMP Traps. You can select one or multiple traps using the dropdown menu.
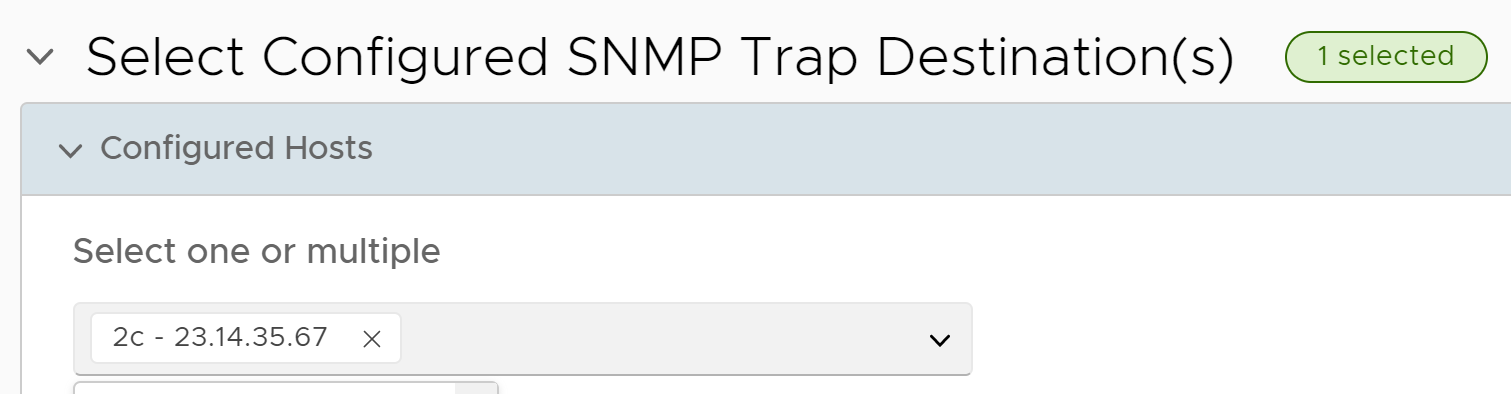 Note: If no SNMP Trap is configured, this section displays a link to the SNMP Traps page.
 - Expand Configured URL under Select Configured Webhooks to display the configured webhooks. You can select one or multiple webhooks using the dropdown menu.
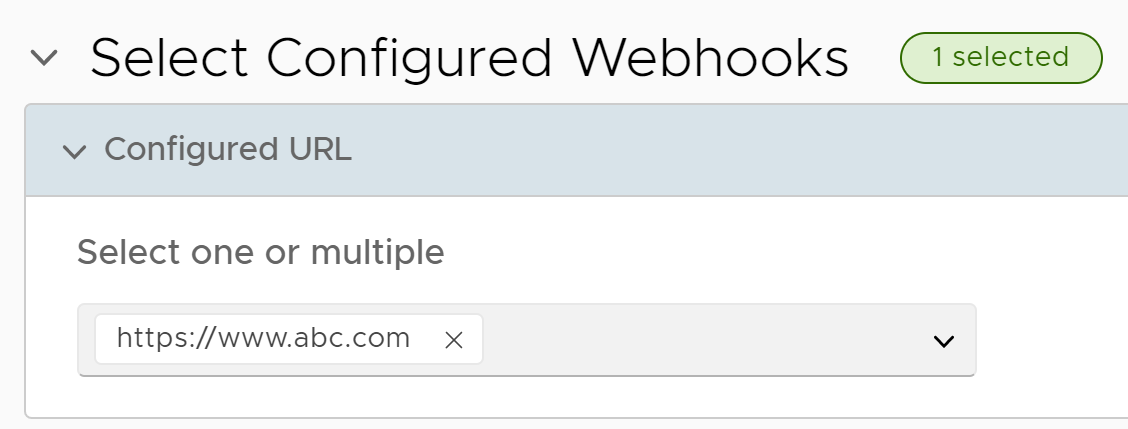 Note: If no webhook is configured, this section displays a link to the Webhooks page.
