In the Google Cloud Console, you can create and deploy a Virtual Machine (VM) instance using a boot disk image, a boot disk snapshot, or a container image. To create and deploy a virtual machine (VM) instance using a boot disk image, perform the steps on this procedure.
Prerequisites
Ensure you have a Google account and access/login information to the Google Cloud Platform (GCP) Console.
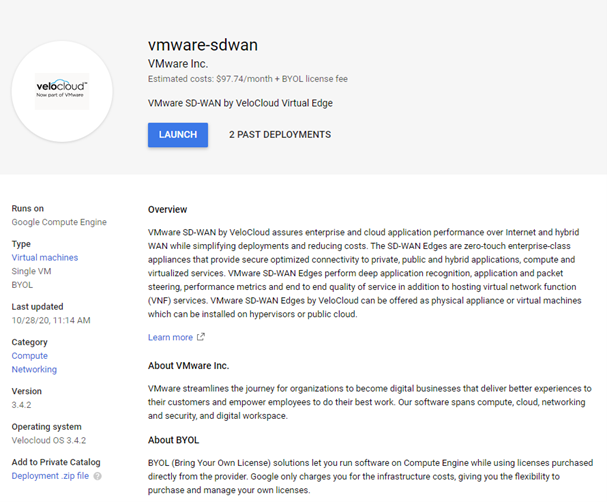
VMware SD-WAN is now available in the GCP Marketplace. Do a search for VMware SD-WAN in the Marketplace to get started.
Click LAUNCH.
The
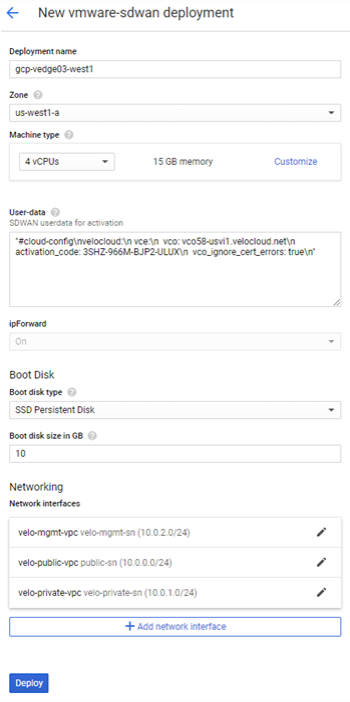
Create an instance page appears.
In the Deployment name textbox, enter a unique name for your instance.
From the Zone drop-down menu, select a region where the VPC networks are created.
Select a machine configuration for your instance. From the Machine type drop-down menu, select an option based on the topology configured.
In the User-data field, provide the cloud-init information in the following sample format for activating the virtual Edge against the target VMware SD-WAN Orchestrator.
It is very important that the format is correct to ensure it is processed otherwise activation will silently fail (i.e., no error event in the Orchestrator).
The #cloud-config needs to be encapsulated with quotes or GCP will throw an error during the launch time. The quotes are already included in the User-data field. You can simply insert the cloud-config between the quotes or cut and paste the sample cloud-init user-data, replacing all text in the User-data field.
Note: The newline (\n) characters and spacing must be exact for the parsing to work. It is best to cut and paste the example above into a Notepad and just replace values as needed without modifying the spacing.
IP Forwarding allows the interfaces on the virtual Edge to process packets not destined for the local interface’s MAC address. IP Forwarding is activated by default and this is required for proper routing to work and cannot be changed.
In the Boot disk area, the disk type and size of the Boot image should be left at their defaults: SSD Persistent Disk and 10 GB, respectively.
In the Networking area, add interfaces for the configured VPC networks, as follows.
Under Network interfaces, click the + Add Network Interface icon.
From the Network drop-down menu, select the network to which you want to add an interface.
Configure External IP as follows:
For Management network - Select None for External IP.
For Public network - Select External IP: Ephemeral as this interface needs to map to a public Internet IP.
For Private network - Select None for External IP.
Click Done.
To add another interface, click Add network interface and repeat the above steps from b to d.
Click Deploy.
Results
A virtual edge instance is created, and the Compute Engine automatically starts the Edge instance after it is created.