


This topic gives you instructions for tool developers to use for access to their VMware Tanzu SQL with MySQL for VMs databases.
You can access your Tanzu SQL for VMs databases by using the following tools:
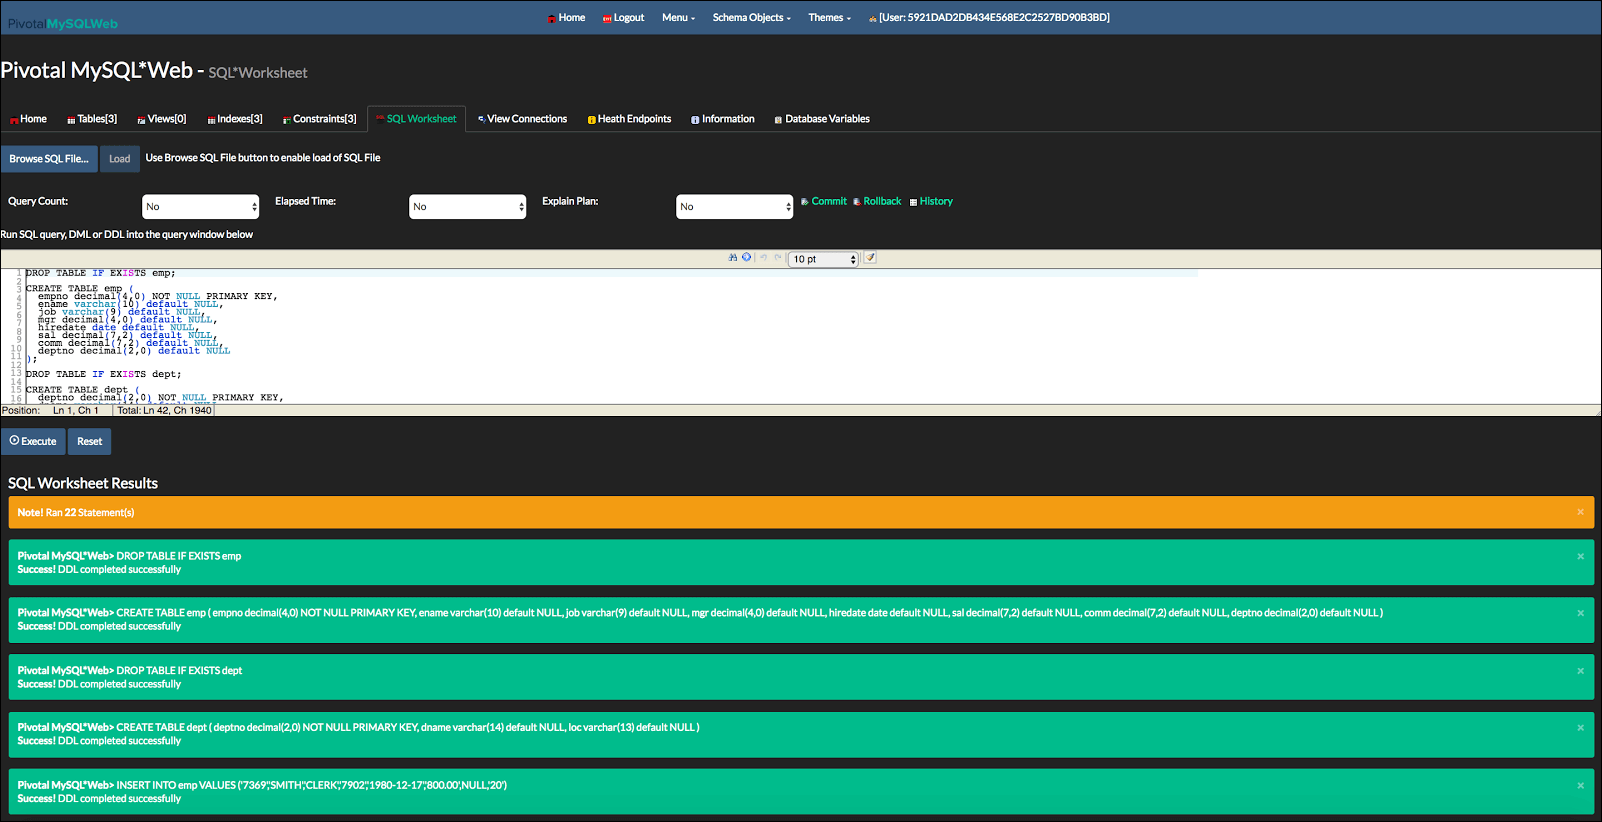
MySQLWeb Database management app
The MySQLWeb app provides a web UI for managing Tanzu SQL for VMs databases. The free app lets you view and operate on tables, indexes, constraints, and other database structures, and directly run SQL commands.
You can run the MySQLWeb app in the following ways:
- Standalone on your own machine.
- Deployed to Tanzu Operations Manager.
If you deploy MySQLWeb to Tanzu Operations Manager, you can configure it in the deployment manifest to automatically bind to a specific service instance.
See the MySQLWeb code repo for how to install and run MySQLWeb.
cf CLI MySQL plug-in
To connect to your Tanzu SQL for VMs databases from a command line, use the cf CLI MySQL plug-in. The plug-in lets you:
- Inspect databases for debugging.
- Manually adjust database schema or contents in development environments.
- Dump and restore databases.
To install the cf CLI MySQL plug-in, run the following:
$ cf install-plugin -r "CF-Community" mysql-plugin
For more information, see the cf-mysql-plugin repository.
Desktop Tools
You can connect your Tanzu SQL for VMs databases to a desktop tool. For example, MySQL Workbench or Sequel Pro, if you have the credentials for your MySQL service instance.
If you do not have credentials for your MySQL service instance, follow the procedure in Create Read-only Access Credentials.
To connect your databases to a desktop tool do the following:
-
To retrieve the credentials from your MySQL service instance service key, run the following command:
cf service-key SERVICE-INSTANCE MYSQL-SERVICE-KEYWhere:
SERVICE-INSTANCEis the name of your service instance.KEY-NAMEis the name of your service key.
For example:
  $ cf service-key mydb mykey1

  {
    "hostname": "q-n3s3y1.q-g693.bosh",
    "jdbcUrl": "jdbc:mysql://q-n3s3y1.q-g693.bosh:3306/service_instance_db?user=6bf07ae455a14064a9073cec8696366c\u0026password=a22aaa2a2a2aaaaa\u0026=true",
    "name": "service\_instance\_db",
    "password": "a22aaa2a2a2aaaaa",
    "port": 3306,
    "uri": "mysql://6bf07ae455a14064a9073cec8696366c:a22aaa2a2a2aaaaa@q-n3s3y1.q-g693.bosh:3306/service_instance_db?reconnect=true",
    "username": "6bf07ae455a14064a9073cec8696366c"
  }
Caution
In cf CLI v8, the response includes a top-level
credentialskey. Earlier versions of the cf CLI do not include a top-levelcredentialskey. -
Record the values for the following:
hostnamenamepasswordportusername
-
Configure an SSH tunnel using the values for
hostnameandportthat you recorded in the previous step. For information on configuring an SSH tunnel, see Configure your SSH tunnel. -
Configure a connection in your desktop tool using the values for
hostname,name,password,port, andusernamethat you recorded in the previous step.
