


After creating the Workspace, you can begin configuring the layout using Virtual and Network devices.
To add virtual devices,
-
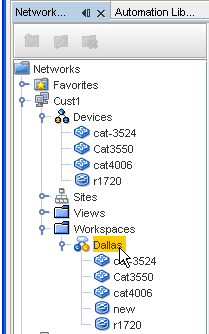
With the Devices View displayed, select the Workspace.
-
Select the Virtual Device icon from the menu bar. The Create Virtual Device window opens.

-
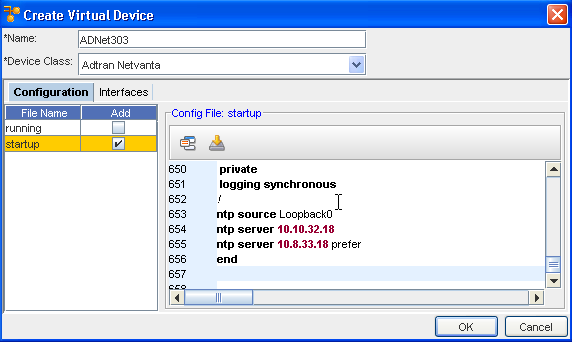
Type a Virtual Device Name.
-
From the Device Class drop-down arrow, make an appropriate selection from the list.
-
Click Ok, or continue to make other selections in your virtual device using the Configuration and Interfaces tab.
Working with the Configuration tab,
-
At the Configuration tab, click the Add check box to select the current running configuration.
-
You are now linked to the Library Manager, and can select a template by going through the various windows. If the template you selected does not match the vendor of one or more of the devices, click Yes at the informational box, then make your template selections from the Template Variable Substitution window. Click Preview to see the preview of the template, then click OK.
 to insert a file contents. You can also select to insert a Template.
Working with the Interfaces tab,
-
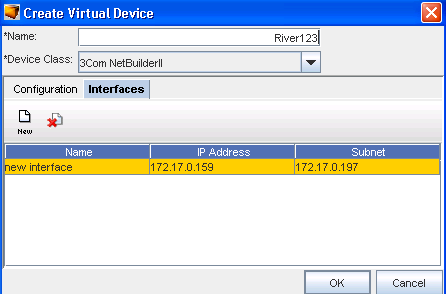
Click the Interfaces tab.
-
To get the Add New Interface window in the Interfaces tab, click New
-
Enter the Name, IP Address and the Subnet address in the fields.
-
Click Ok.
-
Click OK to close the Create Virtual Device window.
The workspace refreshes as each device is added. Note the new state of the Device. The new state shows the device has been "Locally Modified".
