


There are two phases for setting permissions for a workspace:
-
Selecting the permissions that each user and groups will have to the workspace
Once you have determined the users and groups that have permissions to your design workspace, you can determine the set of permissions the users and groups will have.
Permissions are set through the Access Control Administration window. For more information on using this window and setting the permissions, see Set Workspace Permissions .
To set permissions for each user and group,
-
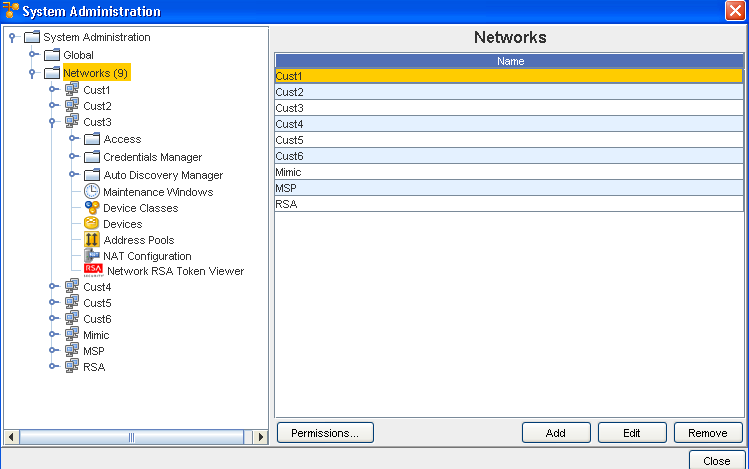
From System Administration, select Networks. Next, make a selection (in this example, Cust3 was selected from the listing of networks). Now, select Permissions to get to the Access Control Administration window. Expand the navigation tree and locate the user or group.
-
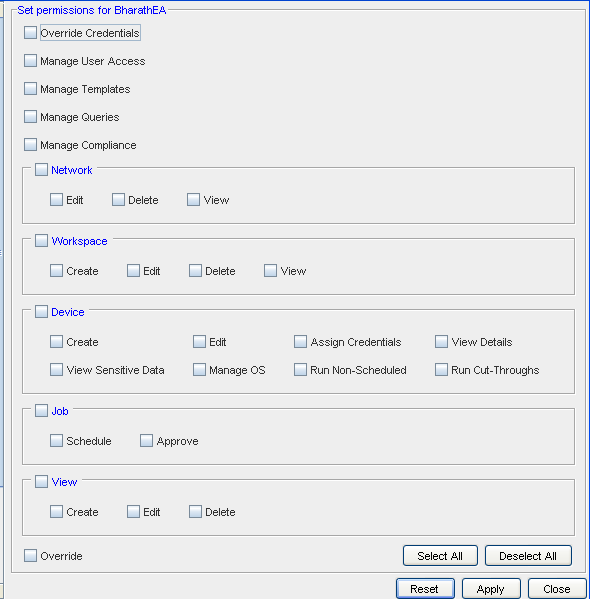
Click the user or group. The Set Permissions available for the displays in the right pane.
-
By default, all users and groups are provided view access. Using the check boxes, select any additional permissions for the user or group.
-
Make your selections for each task detailed in this window.
Note: Selecting or clearing the top check box of any category of permissions automatically selects or clears all permissions within the category.-
To select all permission, click Select All.
-
To clear any existing permissions, and begin your selections with a clean slate, click Deselect All .
-
To return to the original set of permissions, click Reset.
-
-
Once you have finished setting the permissions, click Apply. The Set permissions pane closes, and the Access Control Administration window refreshes.
For a user
