


Single Device Auto Discovery provides you with the ability to discover a single device from the Edit menu within a Network. This eliminates the need to access System Administration to manage newly deployed devices. You only have to enter the Management IP Address of the device to be discovered, complete the remaining options in the window and tabs, then Execute. The Scheduler Job window is bypassed for a Single Auto Discovery task.
While in the Devices view, you can select Edit from the menu bar, and then go to the Single Device Auto Discovery , to run an Auto Discovery job on a single Device.
-
From the menu bar, select Edit -> Single Device Auto Discovery.
The Single Device Auto Discovery window opens.
-
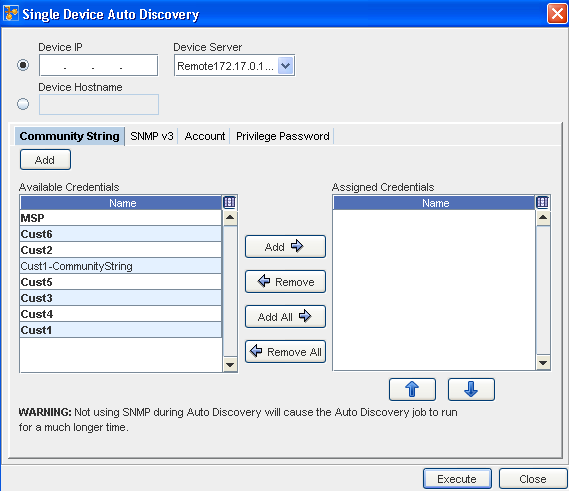
Enter the Device IP Address into the field.
-
Enter the Device HostName.
-
Click the Device Server drop-down arrow, and make a selection from the Device Server List.
-
In the Community String tab , click the Add button to Add a Credential, or from the list of Credentials, Add Available Credentials or Remove Assigned Credentials. As appropriate using the right arrow (->) to add Available Credentials, or use the left arrow (<-) to remove previously Assigned Credentials.
-
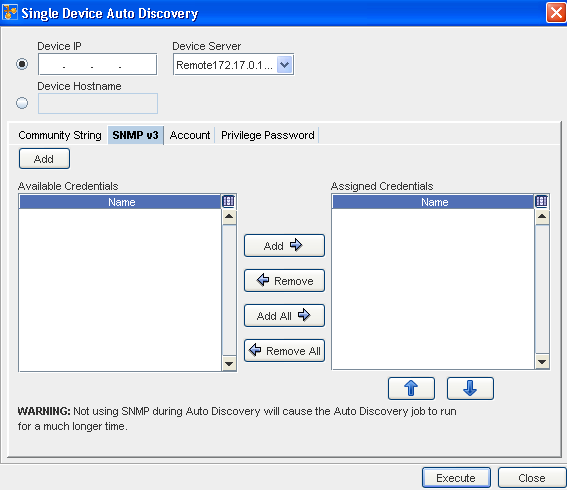
Go to the SNMP v3 tab and make any needed additions or changes. From this tab, you can also Add or Remove credentials using the appropriate arrows.
-
Go to the Account tab and make any needed additions or changes. From this tab you can also Add or Remove credentials using the arrows.
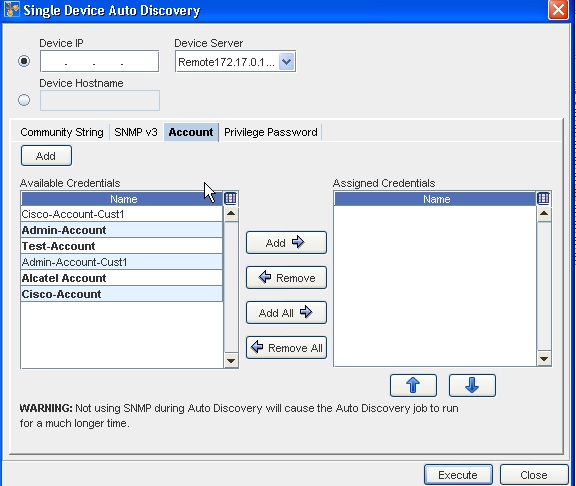 Important: Make note of the Warning before executing the job.
 -
Click Execute to run Auto Discovery on this single device. The results of the Auto Discovery are displayed.
-
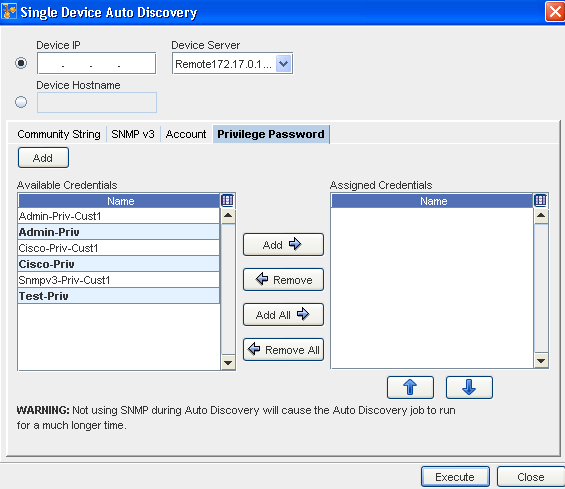
Go to the Privilege Passwordtab and make any needed additions or changes to the credentials in the Available or Assigned panes.
-
Click Execute to begin the config pull.
