


Templates are used to streamline the configuration process, and to provide added control of variables that are used in the config files. Templates allow you to not only reduce configuration time, possible errors and down time, but also to increase network stability and optimization.
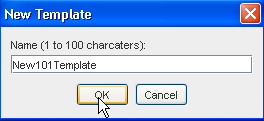
When a duplicate name is used for a template, you are prompted to change the name of the new template, or to cancel the creation on the template.
Template Tips:
- Templates are used for new deployments and mass change, but not for ongoing policy changes in the network.
- A template should be constructed from a contextual subsection of a config.
- Primary templates should contain all contextual templates needed to construct a "gold standard" configuration.
- A compliance audit for a contextual template is constructed from one or more tests.
- To create a new Template, you must first select the Automation Library.
- When the Library Manager opens, right-click on System (or a folder name), then select New -> Template .

- At the New Template window, enter a template Name, then click Ok.
The Automation Library Editor for the new template now displays.
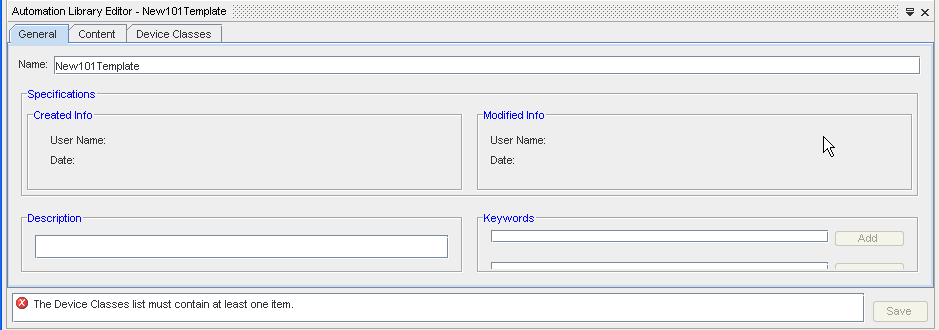
- At the General tab, enter Keywords if needed. First enter the keywords into the field, then click Add to add the words into the active field.
Keywords are words that are used to define the content of the template . For example, if you are creating a template for configuring Cisco devices with several technology types: Frame Relay, Ethernet and Private Lines, then you may want to enter the following keywords.
- Cisco
- routers
- switches
- frame relay
- ethernet
- private lines
You should enter any keyword that identifies the template when completing a search. When a search is completed on a keyword, all templates that contain the keyword are displayed. The search list can be modified in two ways: adding items to the list, and removing items from the list.
At the Contents tab,
- Go to the Contents tab, and begin to add content to your template.
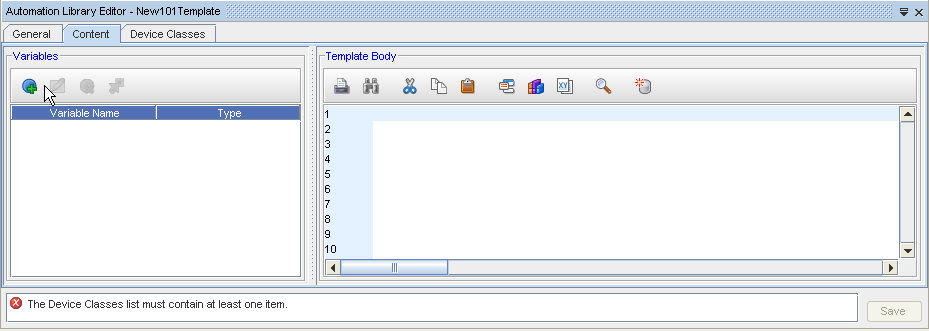
- Click the Add
 icon to add a row to the Variables section. The Template Variable window now displays, where you can enter a Name, select the Type, add Minimum and Maximum lengths if needed, and then enter the actual value.
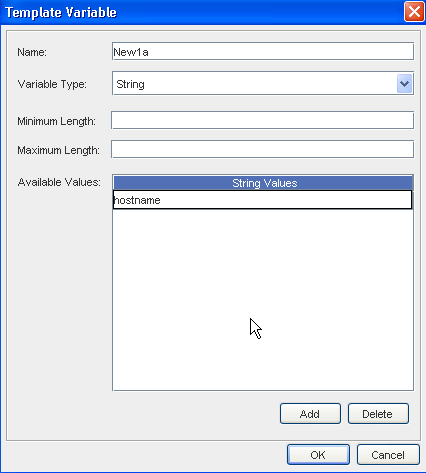
 When creating a template you can designate variables in which the user can supply a value (for example, password, IP address, DLCI, host name, or community string). These variables can be one of the following types:
- String - allows any alphanumeric character
- Integer - designates that only numbers can be entered in the field
- IPv4 Mask - can be a subnet mask or a wildcard mask
- IPv4 Addresses - can be any valid IP address
You can further define what the user can enter into the variable field using validation rules. For example, when creating a variable for a password, you might wish to set a minimum and maximum value for the number of characters allowed.
You can create available values, which enables the user to select from a predefined list of values. This is useful, for example, when creating a template variable for Management router IP addresses.
There are many benefits to creating variables within your templates, including:
- Reduced errors
- Increased user entry speed through the use of predefined lists
- Flexibility when creating templates
- Click Ok, and now see that the new value is added to the Variables section.
Note: Notice the other available icons on the Variables section of the Editor.
Icon Description 
Used to Edit an existing Variable in the list 
Used to Remove an existing Variable in the list 
Used to Insert the selected Variable into the Template Body section of this editor 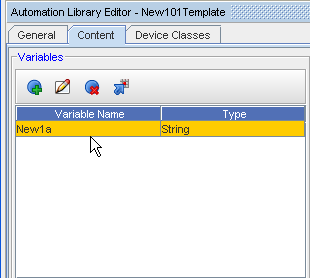
- At the Template Body section, run your cursor over the icons, and then select to insert or add any additional items to your template. For example, use the Insert Reference Variable icon to select and then insert a template variable into the Template you are creating.
For example, the Find
 feature allows you to locate a single alphanumeric word or word strings within a template. It is not necessary to replace information once it is located within the template. You can complete a search to see where and how the information is used.
 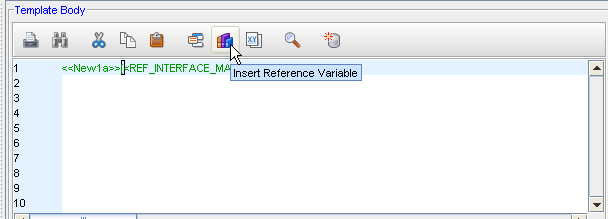 Note: Notice the other available icons on the Template Body section of the Editor.
Icon
Description

Used to Print
Used to find words or strings

Used to Cut words or strings

Used to Copy

Used to Insert Templates

Used to Insert Reference Variables

Used to Generate Variables

Used to Paste what is cut

Used to Preview the Template

Used to create Data Files
At the Device Classes tab,
- Now, go to the Device Classes tab, and click Manage to get to the Device Classes list.
Caution: Notice the error message
 displaying. During your creating the template, appropriate errors display until they are resolved by your addressing the error, and making the correct selections or insertions.
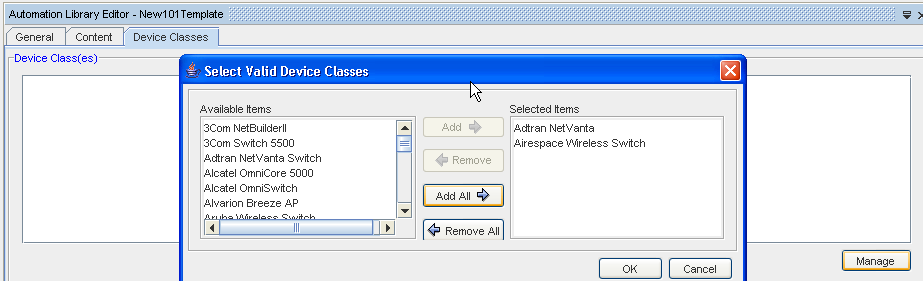
- At the Select Valid Device Classes window, select the Device Classes you want to add by first highlighting them in the Available Items column, then using the Add or Add All arrows to move the items into the Selected Items column.
- Click Ok when you have completed selecting the Valid Device Classes.
- Click Save to save your newly created Template.
- Close the Automation Library, and see that your Template is now stored in the folder.
Removing Templates from the Automation Library
Periodically, you should cleanse the Automation Library of obsolete Templates.
- Deleting files that are in the Automation Library do not delete the same file that you have saved locally.
- You are strongly encouraged to immediately remove any files from the Automation Library that you have saved to a local drive.
- Although Network Configuration Manager does not allow you to import a non-unique name, it does not track revisions.
- You must cleanse your local Templates in the location where they are saved.
