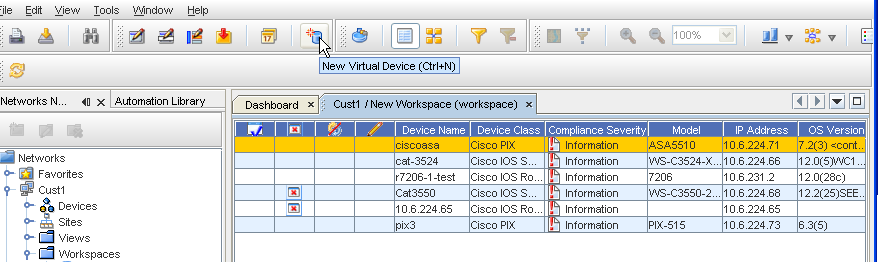
Virtual devices are added to a Workspace using the Virtual icon . A new Virtual devices icons are configuration containers for new Network devices that have not yet been deployed.
Virtual device configurations can be pushed to new devices via out-of-Band mechanisms.
After creating the Workspace, you can begin configuring the layout using Virtual and Network devices.
To add virtual devices,
-
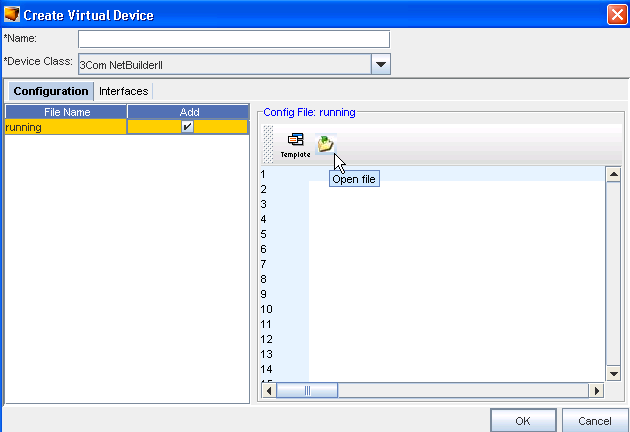
With the Workspace displayed, select the Virtual Device icon from the menu bar. The Create Virtual Device window opens.
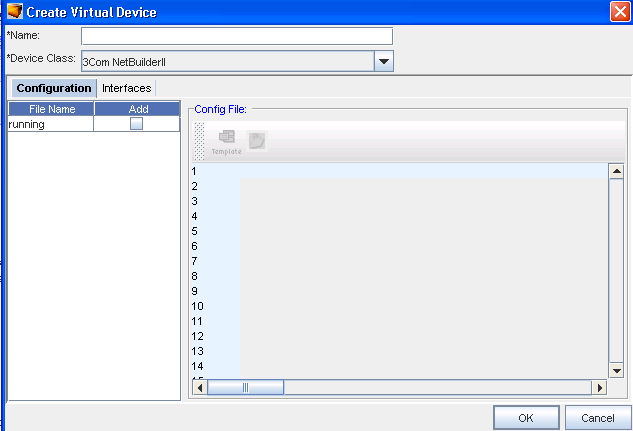
Notice that there are three tabs in this window:
-
Configuration
-
Interfaces
-
-
Enter a Name for the Virtual Device (if appropriate).
-
You can also use the Device Class drop-down and select a different class if needed.
-
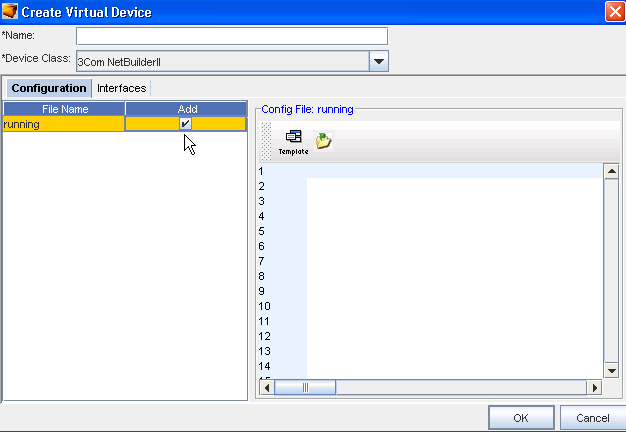
In the Configuration tab, click Add to add any additional items to the workspace.
-
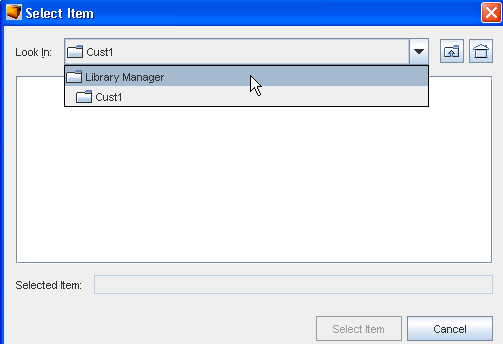
Click the Template icon to locate a Template to the Config file.
-
Continue to go through the windows to select the appropriate Template.
-
Click Ok when you have made your selections.
-
Next, to add additional items to the running Config file, click the Open File icon , and again go through the various windows to add your item.
-
Click Ok when you have added all items, or click the Interfaces tab to continue.
Working with the Configuration tab,
Working with the Interfaces tab,
-
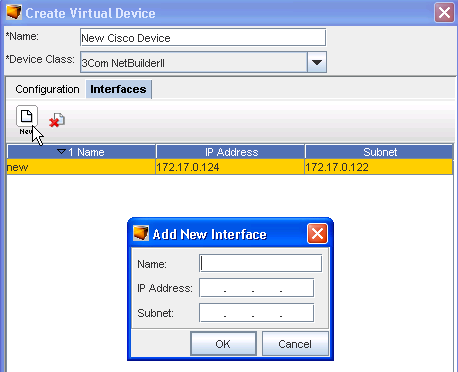
Click the Interfaces tab.
-
Click the New icon to add a new interface.
-
At the Add New Interface window, enter the IP Address and the Subnet address in the fields.
-
Click Ok.