


-
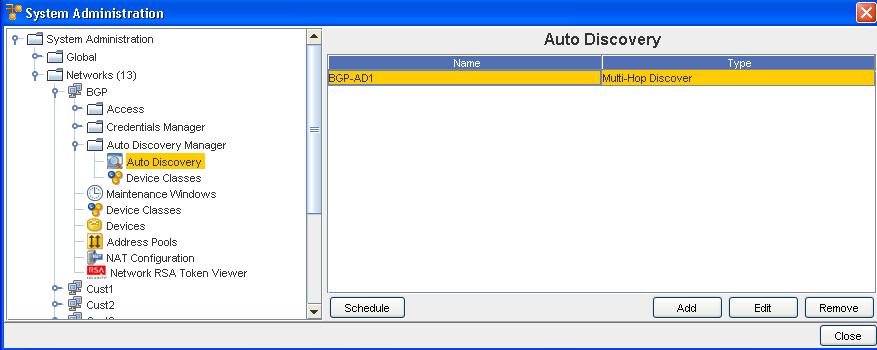
From the menu bar, access Tools -> System Administration. The System Administration window opens.
-
In the navigation pane, expand the Networks folder.
-
Click Auto Discovery .
-
The right pane populates with any Auto Discovery jobs that have been created.
-
The Schedule, Add, Edit, and Remove buttons are displayed
-
Select one or more Auto Discovery jobs to be deleted.
-
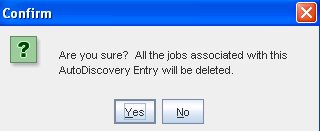
Click Remove. The Confirm window opens asking, "Are you sure?".
Note: All associated jobs with the Auto Discovery entry will be deleted. -
If okay, click Yes. The Confirm window closes.
The System Administration window refreshes. The selected Auto Discovery job is removed from the right pane.
