


Building or creating a new test allows you to customize your own compliance .
-
To create a new Attribute Test, you must first select the Automation Library.
-
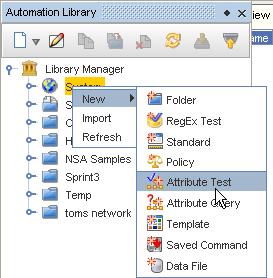
When the Library Manager opens, right-click on System (or a folder name), then select New -> Attributed Test.
-
From the New Attribute Test window, enter a name for the new test, then click Ok.
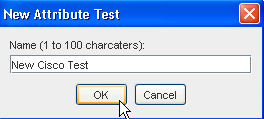
The Automation Library Editor for the new attributed test opens.

-
The Name field is the name of the test; if updated here, it is saved with the updated name (if the Save button is clicked).
-
The Description field serves as a description of what the test is testing, as well as any special design notes about how the test functions. It is available to the Audit Trail when the compliance test is executed.
-
The Keywords field allows you to save one or more keywords that can be used to locate the test.
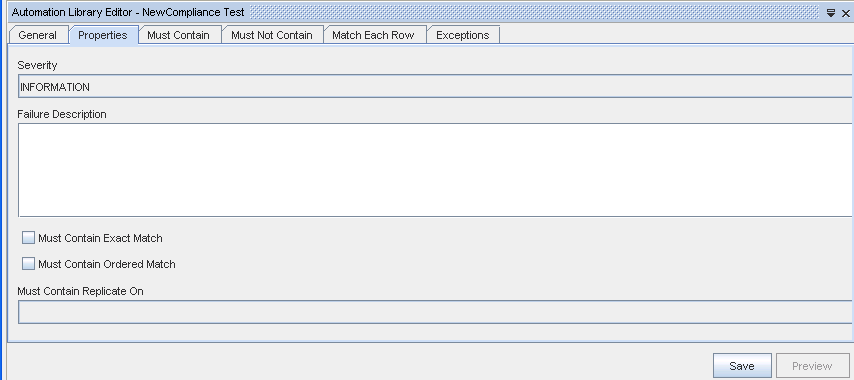
The properties tab contains general properties of the test.
-
The Severity drop-down fields indicate the severity of a test failure; this is rolled up into compliance and auditing reports.
-
The Failure Description field serves as a description of what it means when the test fails. This field should describe the nature of the failure, and what corrective action needs to be taken. The Failure Description is rolled up to compliance and auditing reports.
-
The Must Contain Exact Match check box applies only to the Must Contain Rules; if checked, the rules must match exactly the rows in the Primary Result Set. No additional rows are allowed in the Primary Result Set that do not appear in the Must Contain rules. If not checked, additional rows by the Must Contain rules are allowed.
-
The Must Contain Ordered Match check box applies only to the Must Contain Rules; if checked, the rules are matched against the Primary Result Set, in order; that is the rules and rows in the result set must appear in the same order.
-
The Must Contain Replicate On field drop-down options contain the aliases from the primary Query. If an alias is selected, the Must Contain rule set is applied repeatedly, each time the object referred to by the alias changes (as determined by a change in the primary key of the table the alias refers to).
-
-
From the drop-down arrow, select a Severity.
-
Enter a Failure Description if needed.
-
Select the appropriate Must Contain check box, then click within the appropriate check box.
-
If appropriate, click the Must Contain Replicate On drop-down arrow, and make a selection from the options.
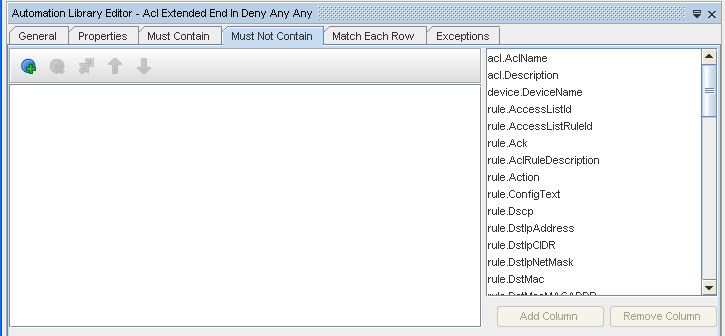
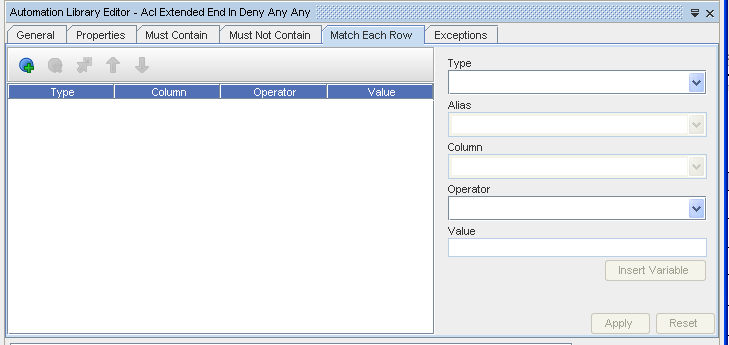
Note: You must Save the empty test before you are allowed to add any queries to it.Now, use the Must Contain, Must Not Contain, or the Match Each Row tab to insert your parameters. See the following examples.

-
Click Apply or Save. Your test is now customized and can be linked.
At the General tab,
At the Properties tab,
Icons
| Icon | Description |
 |
Used to Remove a row in the listing. |
 |
Used to Insert an additional line. |
 |
Used to Move the selected item in the list up or down within the list. |
 |
Used to Add a row in the left section of the window. |
Must Contain
Must Not Contain
Match Each Row
Linking Tests to Standards
For a Test to be linked to a Standard, the Test must be defined before it is shown as available for linking to a Standard.
