Learn how to upgrade the system with the System Upgrade wizard.
Prerequisites
If you have enabled Online Update, the files have automatically been staged, and you can skip steps 1, 3, and 4. For information about enabling and configuring Online Update, refer to Automating the Download of Updates.
Procedure
- Download the core update file for each of your deployed architectures fromhttps://my.vmware.com/ .
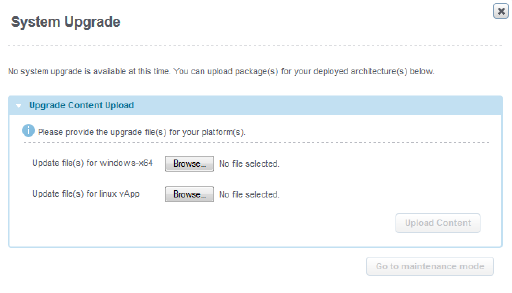
Option Description Linux (binary only) MnR_7.0.8_Linux_64-bit_Update_File.zip Windows MnR_7.0.8_Windows_64-bit_Update_File.zip - From Centralized Management, click Configuration > System Upgrade.
If an upgrade package is currently being downloaded via Online Update, wait until the download is complete before proceeding to the next step.
- For your Linux and/or Windows deployments, click Browse and select the core update file.

- Click Upload Content.
- The system displays a message about ensuring that there is minimum of 5 GB disk space on the servers. Click OK.
The system upgrade files are uploaded to Centralized Management and non-disruptively distributed to all of the servers in the deployment. This process may take several minutes.
- When you are ready to proceed with the upgrade, click Go to maintenance mode.

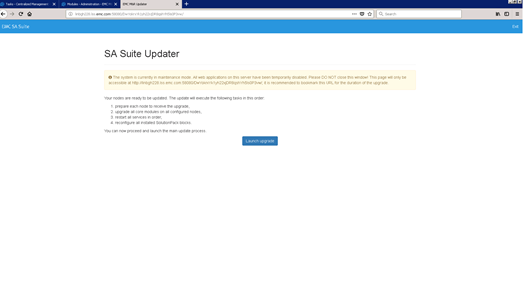
Maintenance mode begins, the front end becomes unavailable, and you are redirected to the Platform Upgrade page. Any users who try to access the front end will receive a message that it is in maintenance mode and has been temporarily disabled.
- When the system has completed the validation checks, click Launch upgrade.

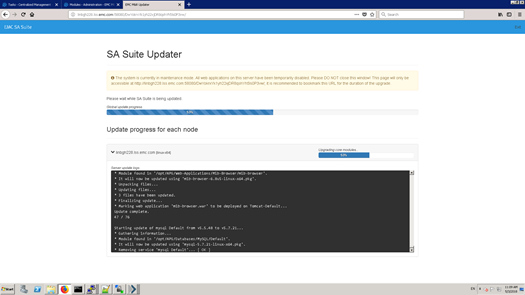
The upgrade begins. After several minutes, the Upgrade status displays.
 Note: You may need to manually refresh your browser to see the Upgrade status page.
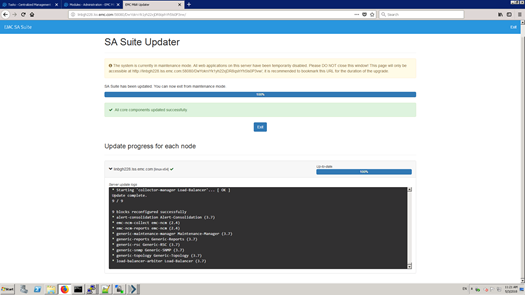
When the upgrade is complete, the system displays a green check mark next to each node and a success message at the top of the window.

- Click Exit.
- Click OK.
The system restarts the front end, and it is now available to users.
- Verify that all of the services are running on each host by checking Centralized Management > Phyical Overview > <host> > Services.
Note: It is normal for the Topology-Mapping Service on the primary backend, the frontend, or the additional backend to remain stopped at this point. The service will start automatically when the SolutionPack for VMware Smart Assurance M&R Health is upgraded on these systems.
- In Windows deployments, the Java module is updated during the upgrade, but the old version of Java is not removed. VMware Smart Assurance recommends that you remove the older version of Java. Only the latest Java version folder should be kept. Remove the Java files as described in this message:
Some files were left behind after the update of Java...
Please manually remove directory <version number> from the path 'C:\Program Files\APG\Java\Sun-JRE\<version number>’