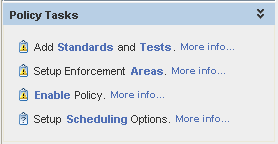
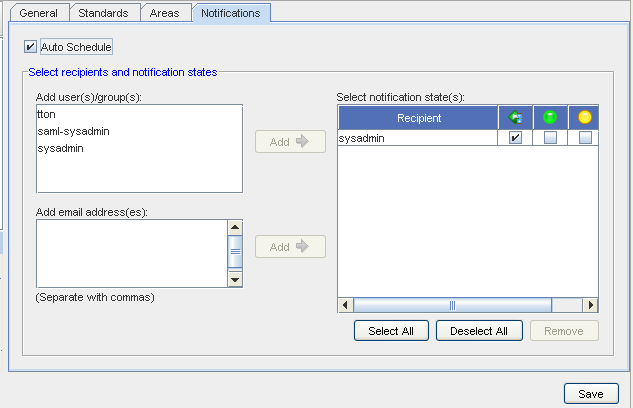
When using the Policy Tasks check list, notice that when you select to Setup Scheduling Options, the Policy Editor has automatically moved into the Notifications tab.

From this tab you can Automatically Schedule the Policy to run for compliance verification.

-
In the top portion of the tab, select the check box to Auto Schedule .
-
In the Select recipients and notification states section of the window, you can add the users to the Select Notification states by first highlighting the user name, then clicking the Add button.
-
At the Add email adress(es) section, you can enter as many email address as you need to ensure the notification of the job is sent to those who need to have this information. Once you add an email address, click the Add button. This moves the email names you have entered into the Recipient section.
-
At the Select Notification State(s) section, place a check mark into each appropriate notification check box. You can also Use the Select All or Deselect All buttons for notification.
-
Once your list of recipients and their notification state are selected, click Ok.
When you use the Policy Task check list (going from one task to another) upon completion of that task, a check mark displays to the left of that task indicating that task is now complete. You have now completed the Auto Schedule portion of the Policy Tasks.