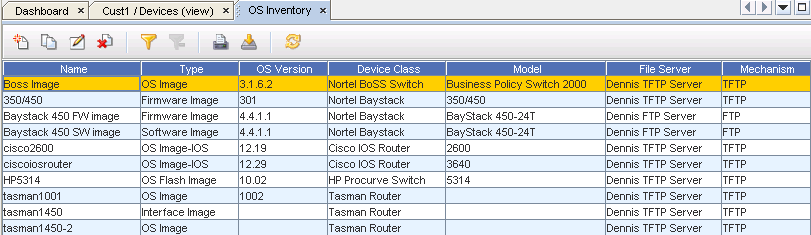
The OS Inventory window displays the current listing of your OS Images, including the Name, OS Version, Device Class, Model number, Type and Location of the inventory.
The OS Inventory window can be accessed by completing this step.
-
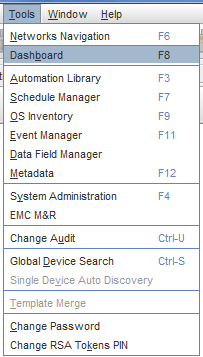
On the menu bar access Tools -> OS Inventory.
The OS Inventory window displays.
-
Click the New icon
 to go to the OS Image window, and enter information into the fields to create a new OS Image.
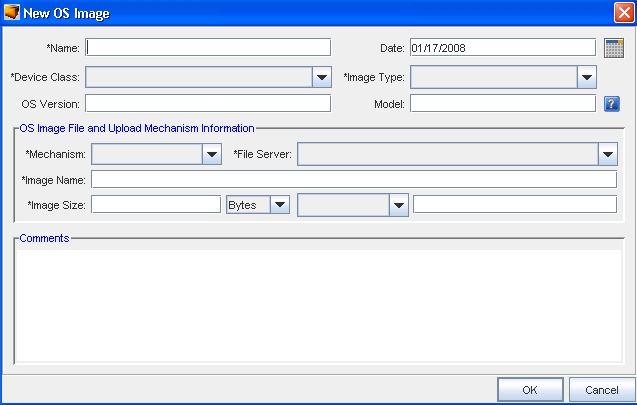
-
At the New OS Image window, enter information into at least the fields that are marked with an asterisk (*).
When you are creating a new OS Image, the following fields can be used for defining the OS Image information.
New OS Image - Fields and Descriptions
-
Click Ok when you have completed all the fields to add this new Inventory to the OS Image Inventory listing.
| Field |
Description |
| Name |
The Name of the OS Image. This can be any name you choose. |
| Date |
You can select a date (when to upgrade the OS Image) using the calendar. |
| Device Class |
From this listing (using the drop-down arrow) you can select the appropriate Device Class. This listing includes all device classes supporting OS Image upgrades. See the Network Configuration Manager Installation Guides for more information. |
| Image Type |
Make a selection from the drop-down arrow listing. Some device classes may have more than one type (for example, the Cisco IOS Device Class has more than one type of image). |
| OS Version |
This is the actual version number of the OS Image. |
| Model |
This is the valid model number of the device that can use this image, and can support Regular Expressions. Click the question mark to see the RegEx choices. |
| OS Image File and Upload Mechanism Information |
|
| Mechanism |
Select the Mechanism from the available options shown in the drop-down arrow list. If the File Server is not present, the following message displays. Click Ok to continue. |
| File Server |
Select the File Server from the drop-down listing. |
| Image Name |
Enter an appropriate Image Name. |
| Image Size |
Enter the Image Size, and select either Bytes, KB or MB from the Bytes drop-down arrow list. |
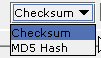
| Checksum Note: This field may not be displayed for all Device Classes. Currently, this field is only available for CISCO IOS Routers and CISCO IOS Switches. |
You can use the drop-down arrow in this field to make a selection. After making your selection, you must enter the Checksum or MD5 Hash for the OS image. The vendor's web site should supply you with this information. |
| Comments |
Here you can enter any comments that you think are needed to provide additional information on this image. |