


To create a view:
-
In the Networks navigation tree, right-click Views.
-
From the menu options, select Add View.
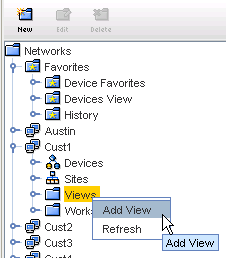
The New View window opens.
-
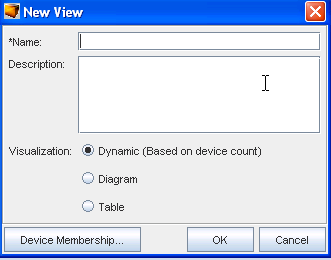
In the New View window, enter the view name. There are three options for how the view will display when opened.
-
Dynamic - (based on the device count. This will open in either the diagram or table view, depending on the device count). Note that this is the default.
-
Diagram - layout using device icons
-
Table - layout of device properties in table format
-
-
To change the default setting, select a new visualization (view) option.
-
To add devices to the view, click Device Membership. The Device Membership window opens.
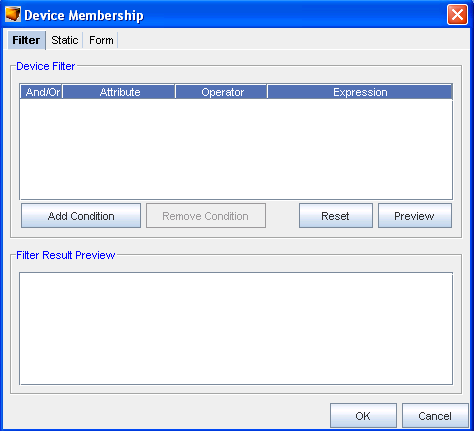
The Device Membership window contains three tabs:
| Filter |
Allows you to filter devices by setting conditions based on the device type, name, vendor, or model, or other criteria, and then save the filter settings |
| Static |
Allows you to select from a list of all the available network devices |
| Form |
Allows you to select from a list of queries |
To filter devices:
-
Click Add Condition. A row is added in the Device Filter section. Determine if you want to use the And/ Or for the filter, then select accordingly.
-
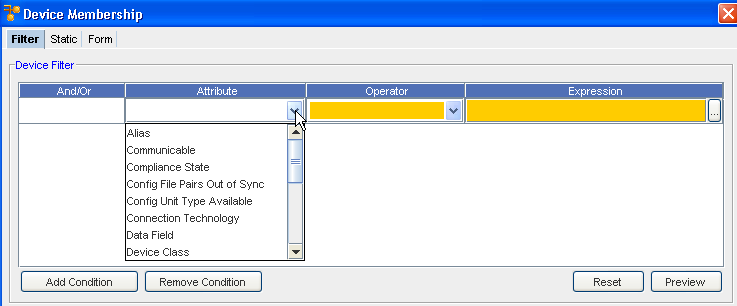
Click once inside the Attributes column, the attributes the devices can be defined by are displayed.
-
Select an Attribute from the list.
-
Click once inside the Operator column. Select an Operator from the list.
-
Double-click once inside the Expression column. Select from the available options (if provided), or enter an expression. Enter the Expression that defines the attribute.
-
If entering more than one filter, click Add Condition. A new row is added to the Device Filter section.
-
To add additional filters, repeat steps 1-6.
-
When the filters are set, click Preview. A preview of the filtered results displays in the Filter Result Preview window.
-
When finished setting the filter, click OK. The Device Membership window closes. The filter devices display in the selected view.
To select from a static list of network devices:
-
In the Device Membership window, select the Static tab.
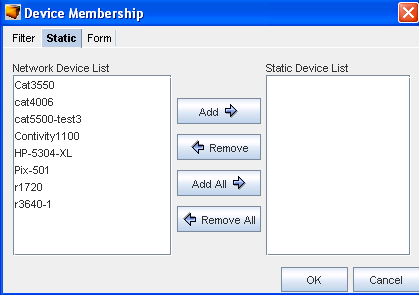
The Static tab contains two columns:
-
Using the Add and Remove buttons, create a list of static devices from the selections in each list.
-
When finished, click OK. The Membership Device window closes.
-
On the New View window, click OK. The New View window closes, and the created view opens, allowing you to review the configuration.
| Network Device List |
Here are the devices that are associated with your network. These devices are available even if they are not set up in a site hierarchy. |
| Static Device List |
These are the devices that are used in a defined view. |
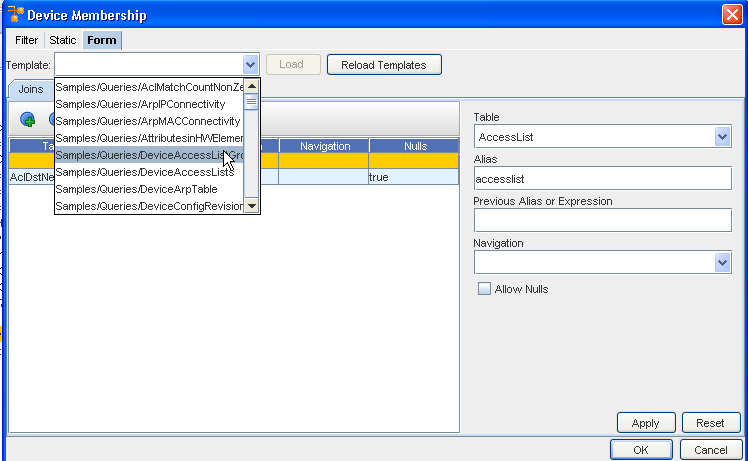
To use the Form tab:
-
From this tab, first click the Template drop-down, and then select a template from the list.
-
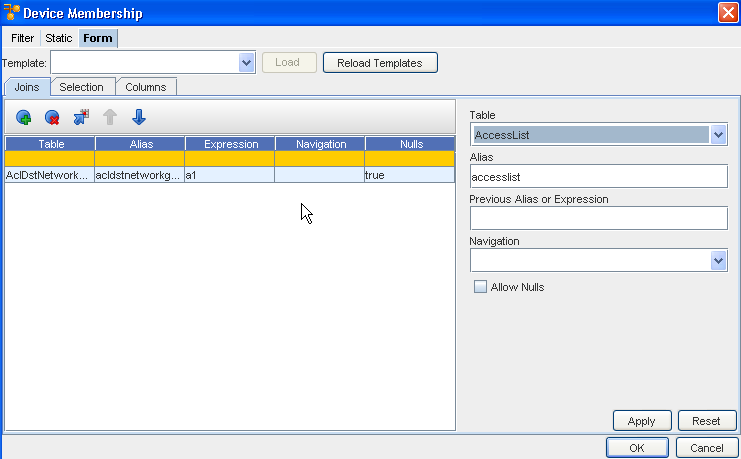
If you are not using a pre-defined template, make selections from the Table drop-down.
-
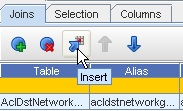
Click the Insert icon to insert a table.
-
Add an Alias, and also a Previous Alias or Expression .
-
Select a Navigation.
-
Check to Allow Nulls if needed.
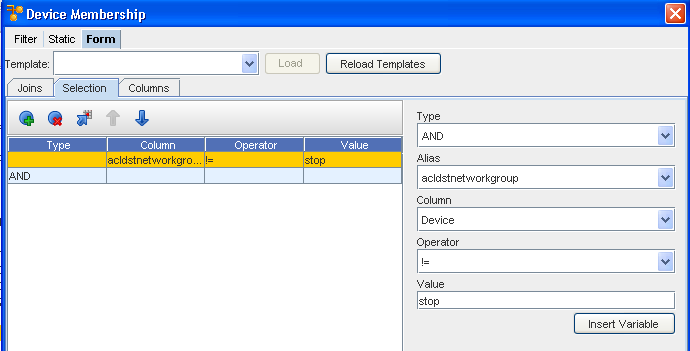
To complete the Selection section:
-
Insert a line, then select a Type, Alias, Column and Operator from the drop-down arrow menus.
-
Enter a Value, then click Ok.
To complete the Columns section:
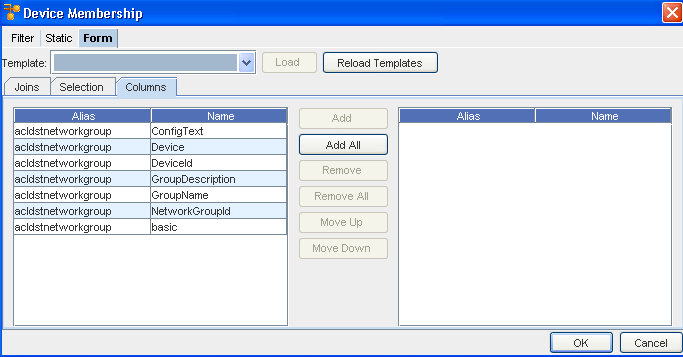
-
First determine the columns you wanted added, then select them from the listing.
-
Next, use the Add or Add All to move the selected columns into the right pane.
-
Click Ok.
-
Now, back at the Filter tab, click Apply.
