


Use the Application Accelerator IntelliJ plug-in
This topic tells you about the Application Accelerator IntelliJ plug-in. The plug-in is used to explore and generate projects from the defined accelerators in Tanzu Application Platform (commonly called TAP) using IntelliJ.
Dependencies
The plug-in must have access to the Tanzu Developer Portal (formerly named Tanzu Application Platform GUI) URL. For information about how to retrieve the Tanzu Developer Portal URL, see Retrieving the URL for the Tanzu Developer Portal.
Install the plug-in
The VMware Tanzu Application Accelerator plug-in for IntelliJ is available from the JetBrains Marketplace.
To install the plug-in from the JetBrains Marketplace:
- Open IntelliJ.
- Open the command palette, enter
Plugins, and click Plugins. - Select the Marketplace tab in the Plugins Settings dialog box.
- In the search box, enter
Tanzu. - Click Tanzu Application Accelerator then click Install.
Configure the plug-in
Before using the plug-in, you must enter the Tanzu Developer Portal URL in the IntelliJ Preferences:
-
Go to the IntelliJ menu, select IntelliJ IDEA > Preferences > Tools > Tanzu Application Accelerator.
-
Add the Tanzu Developer Portal URL. For example,
https://tap-gui.myclusterdomain.myorg.com. If you have access to the Tanzu Application Platform cluster that is running the Tanzu Developer Portal, run the following command to determine the fully-qualified domain name:kubectl get httpproxy tap-gui -n tap-gui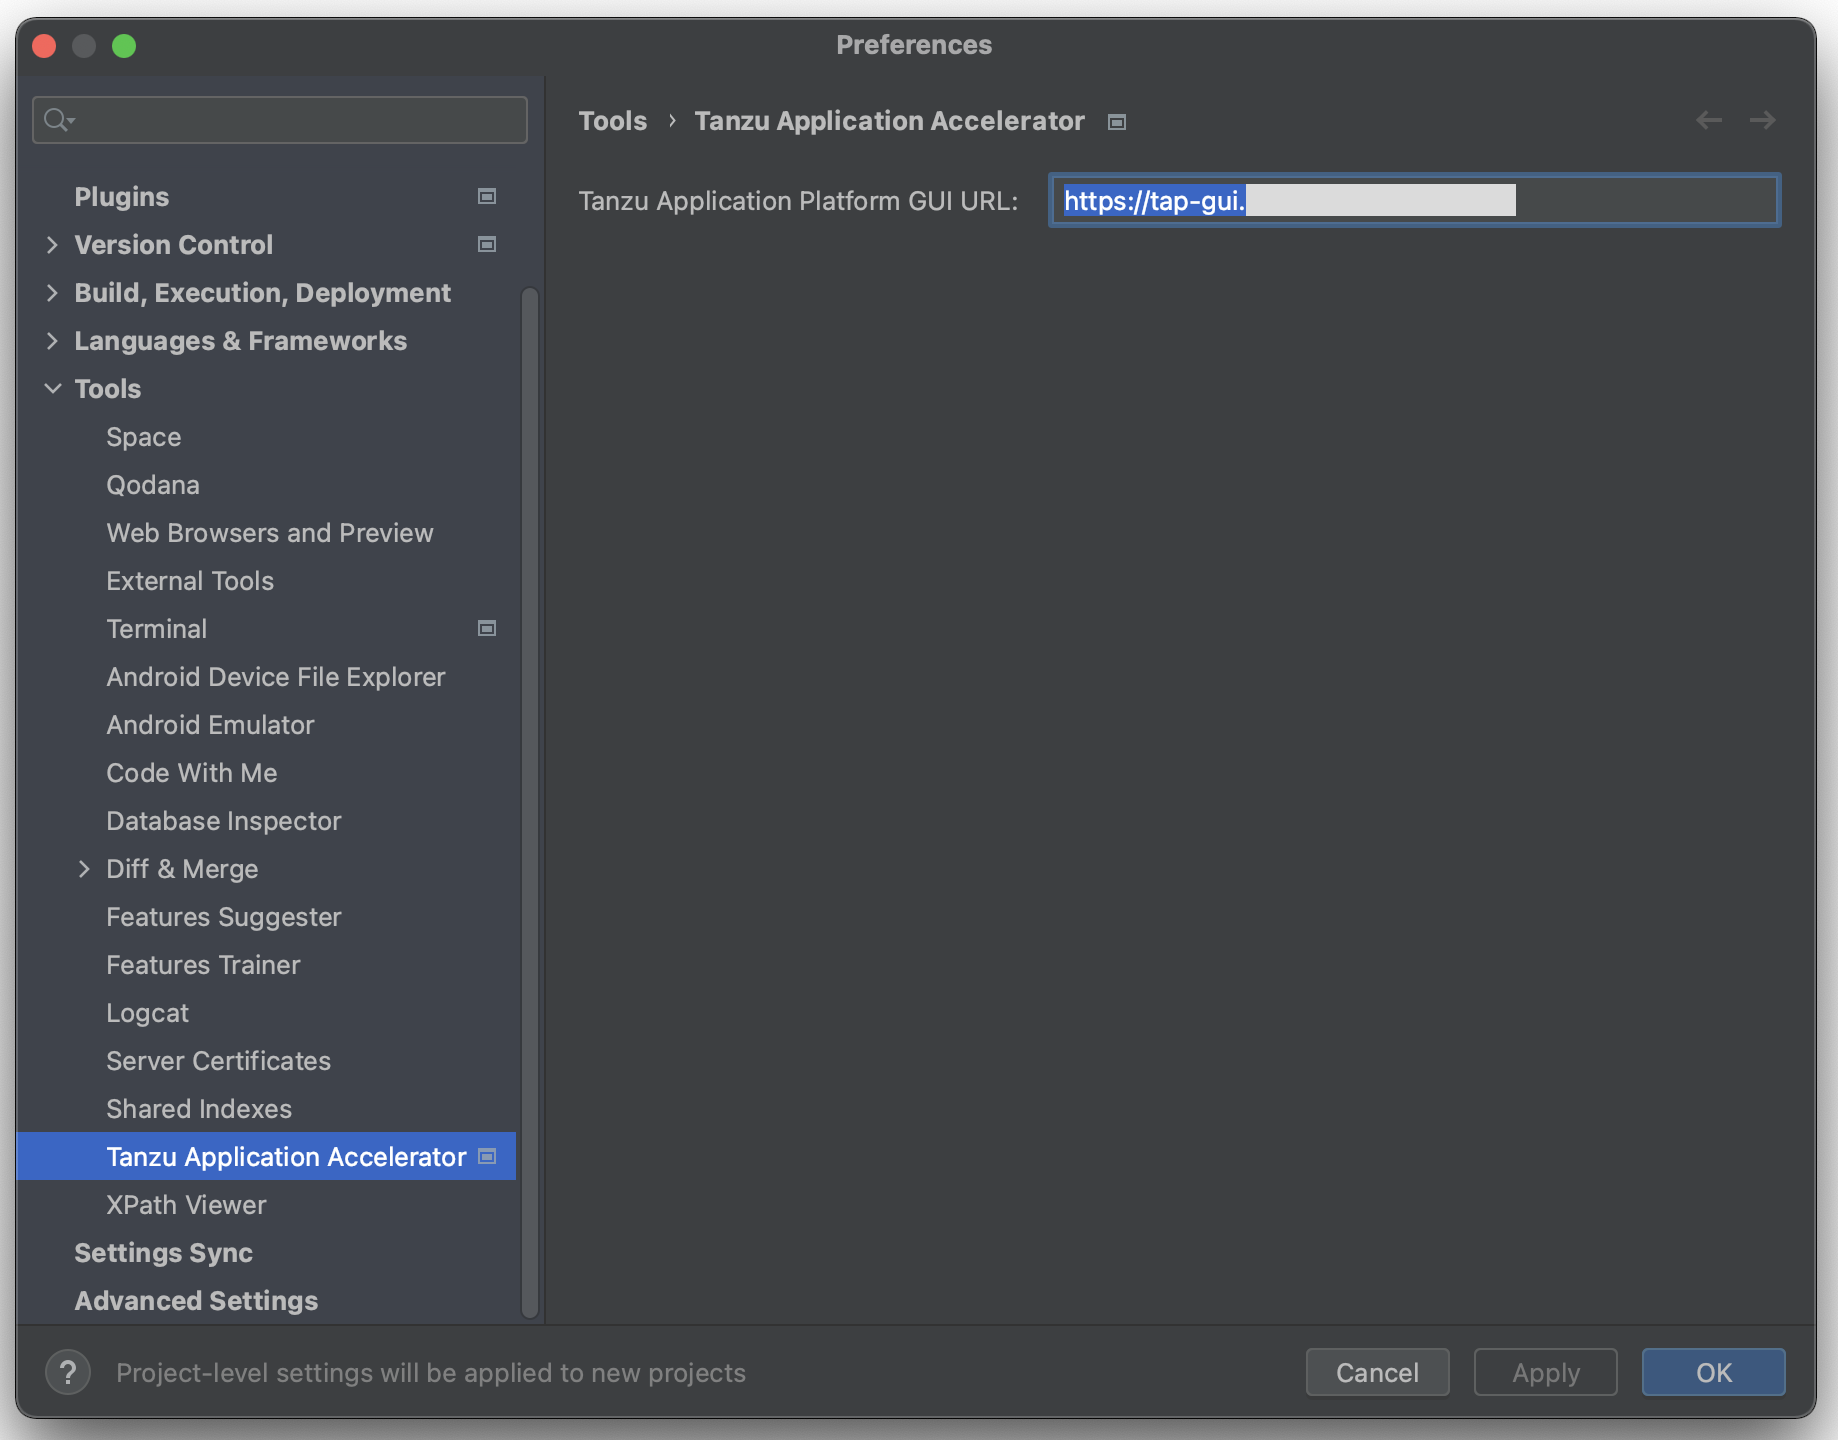
-
Click Apply and OK.
Use the plug-in
To use the IntelliJ plug-in:
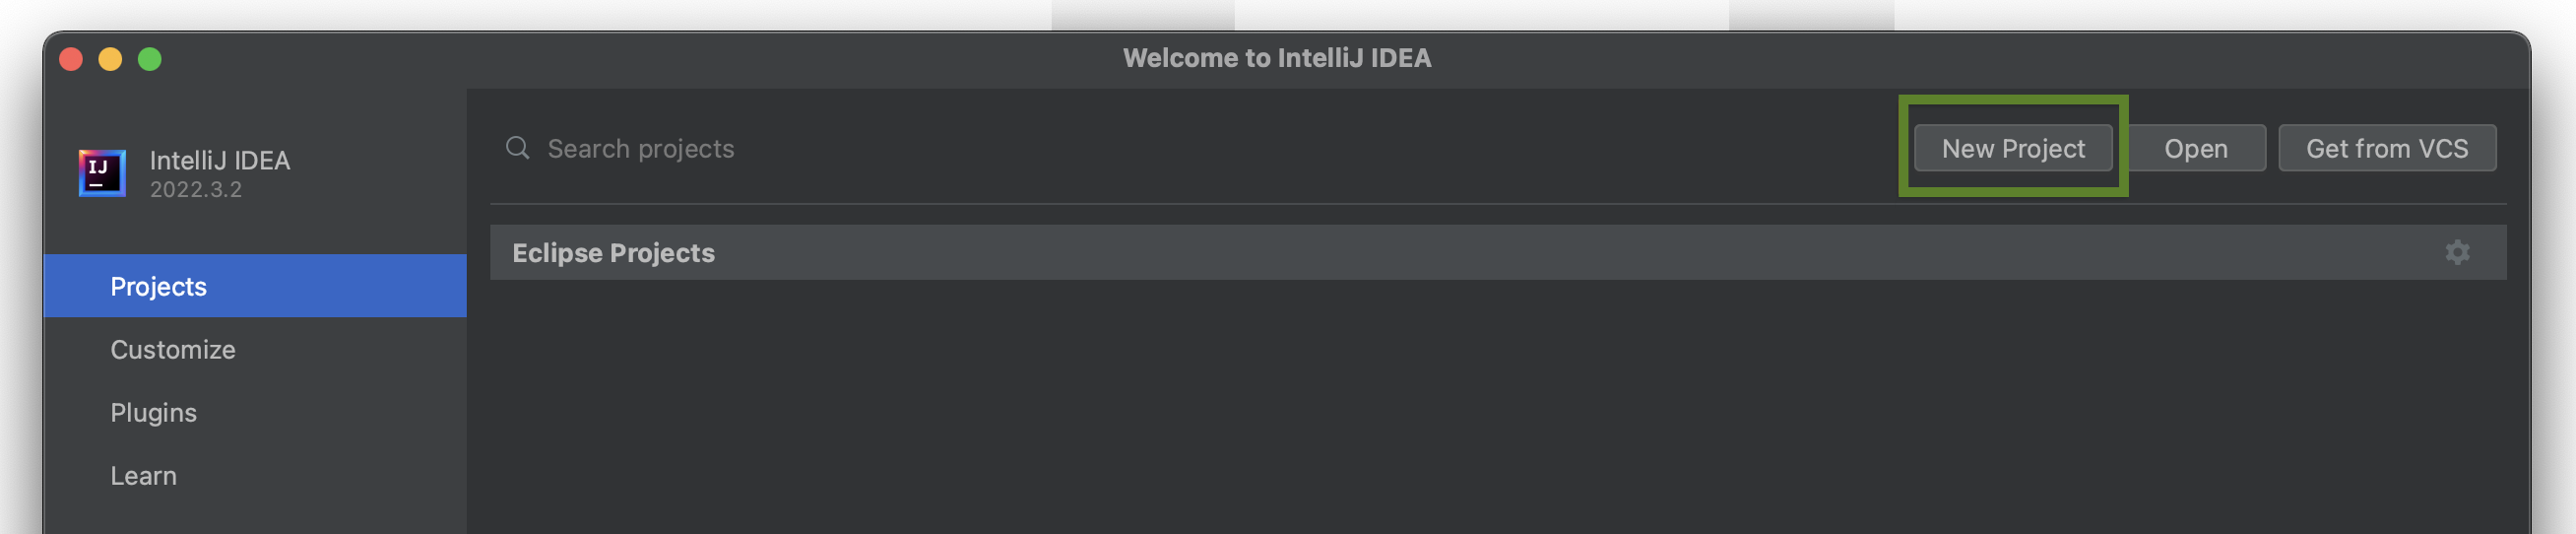
-
To explore the defined accelerators, select New Project, then select Tanzu Application Accelerator.
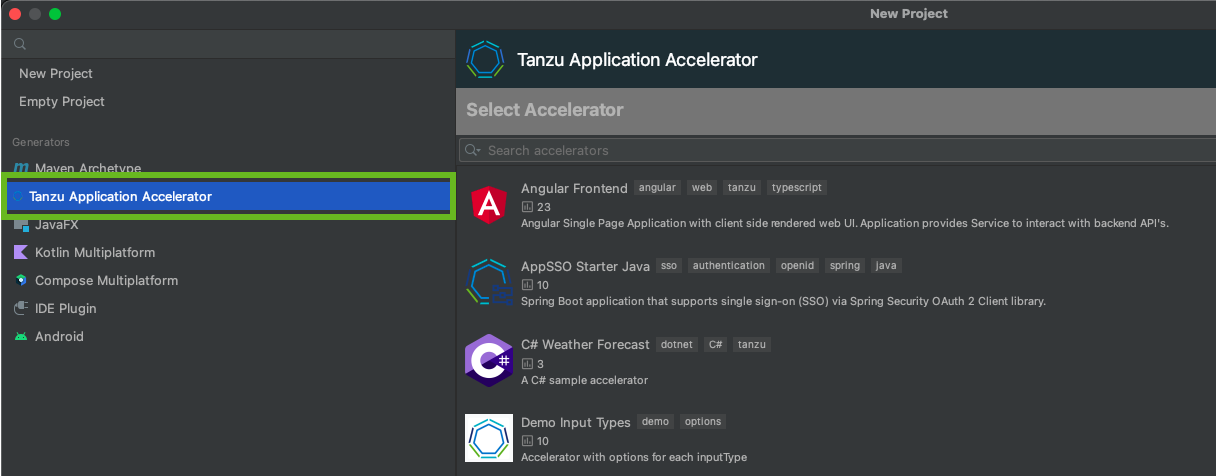
-
Choose one of the defined accelerators and configure the options.
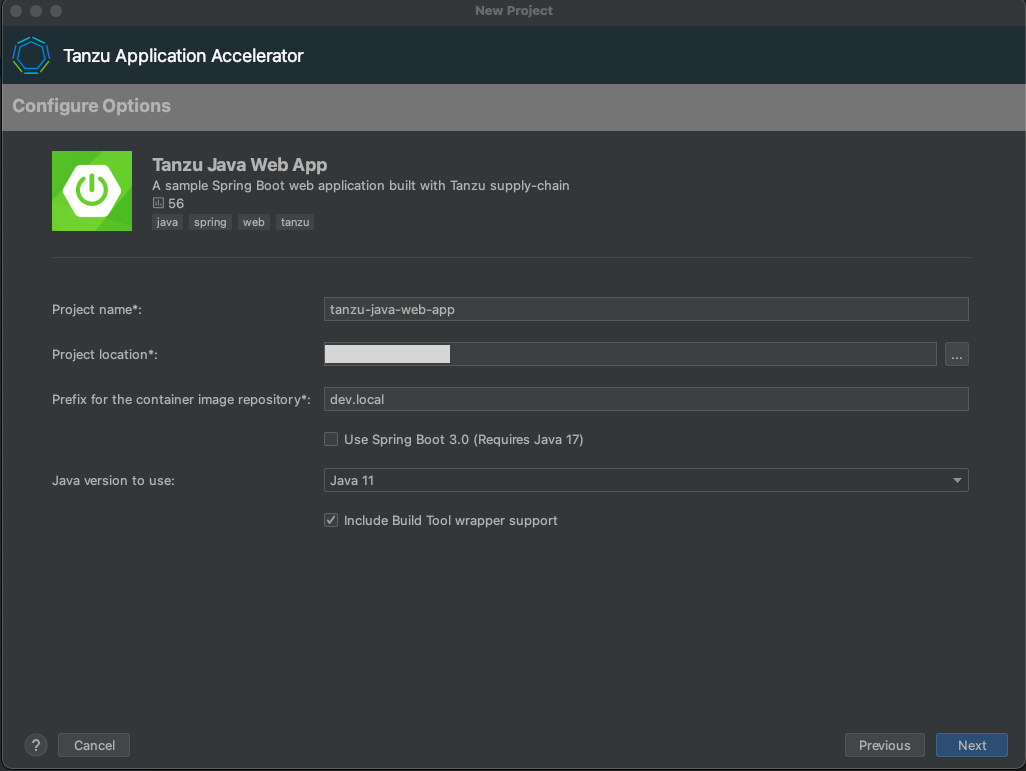
-
Click
Nextto go to the optional stepcreate git repository.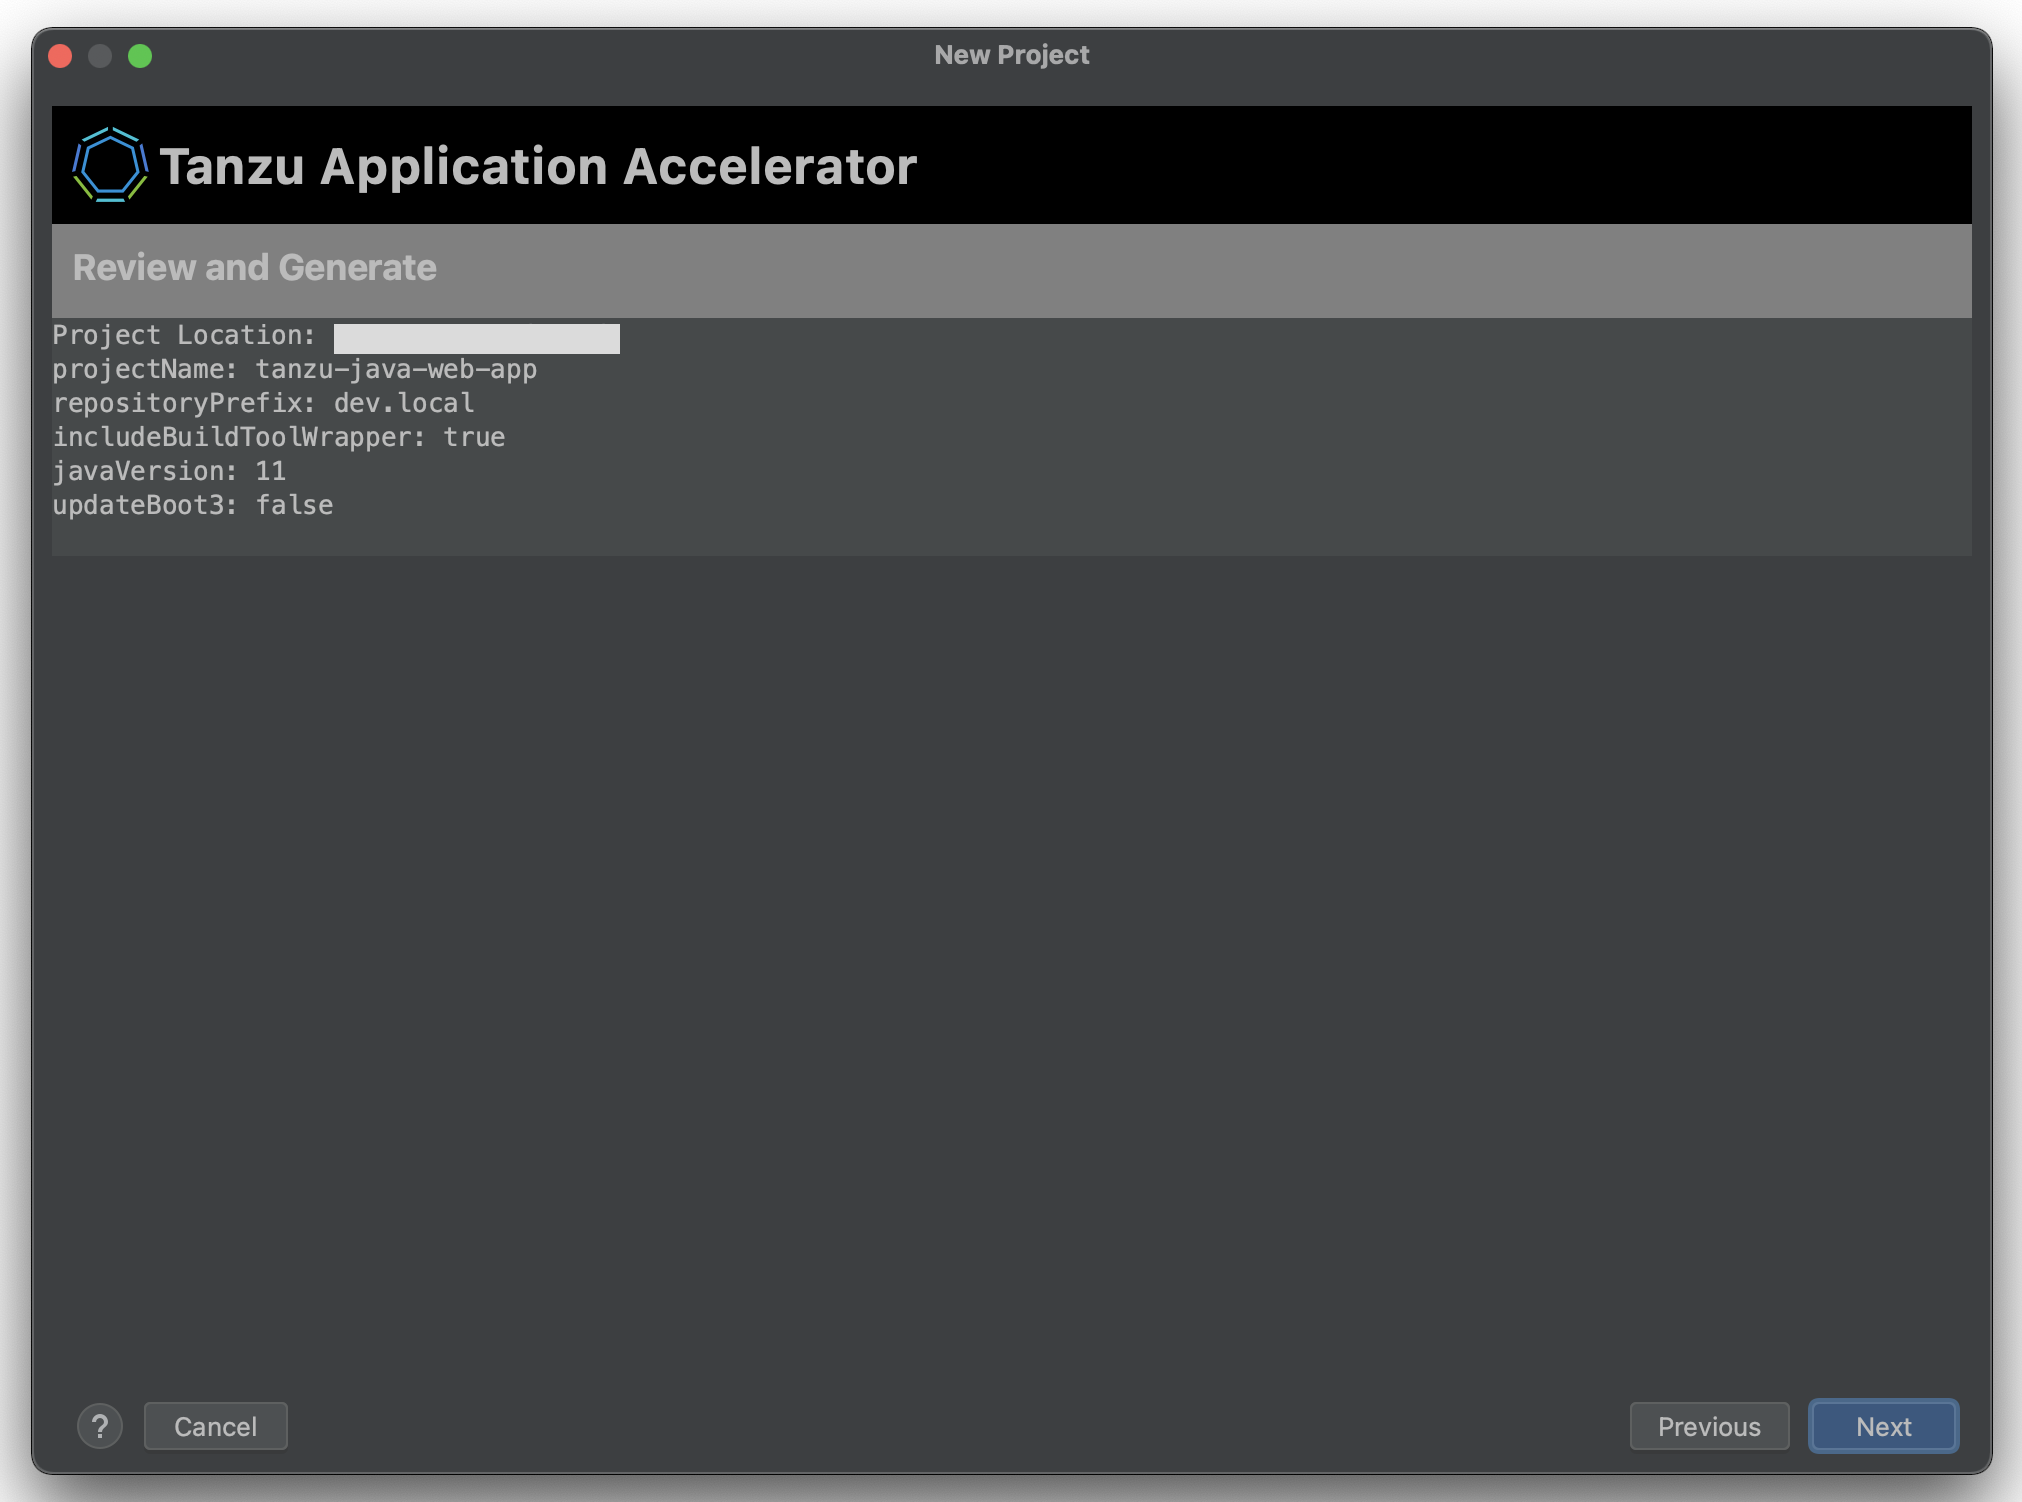
-
Fill the fields required to create the Git repository, a personal access token from the Git provider is required, this will be stored in a secured location for future use, click
Nextto go to the review step.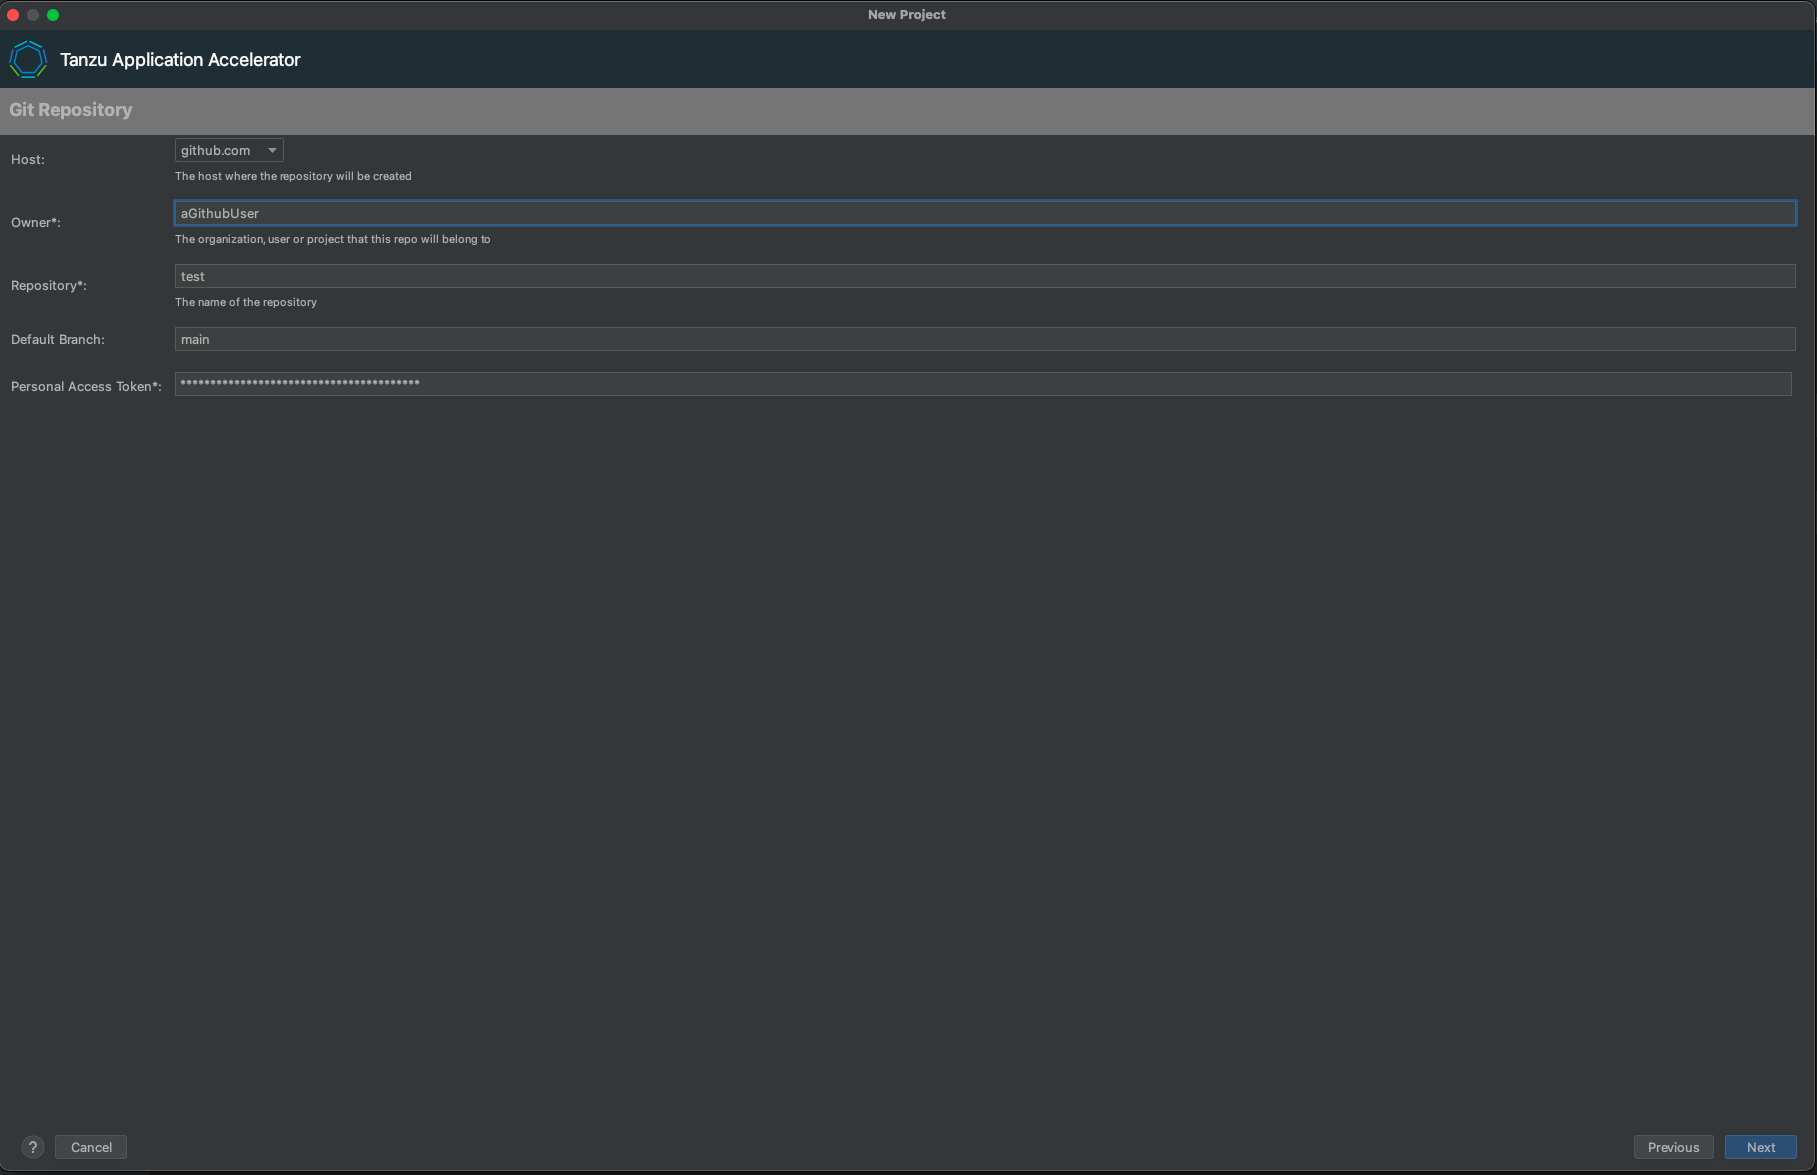
Note: This is an optional step, the values can be left blank if a repository isn’t required.
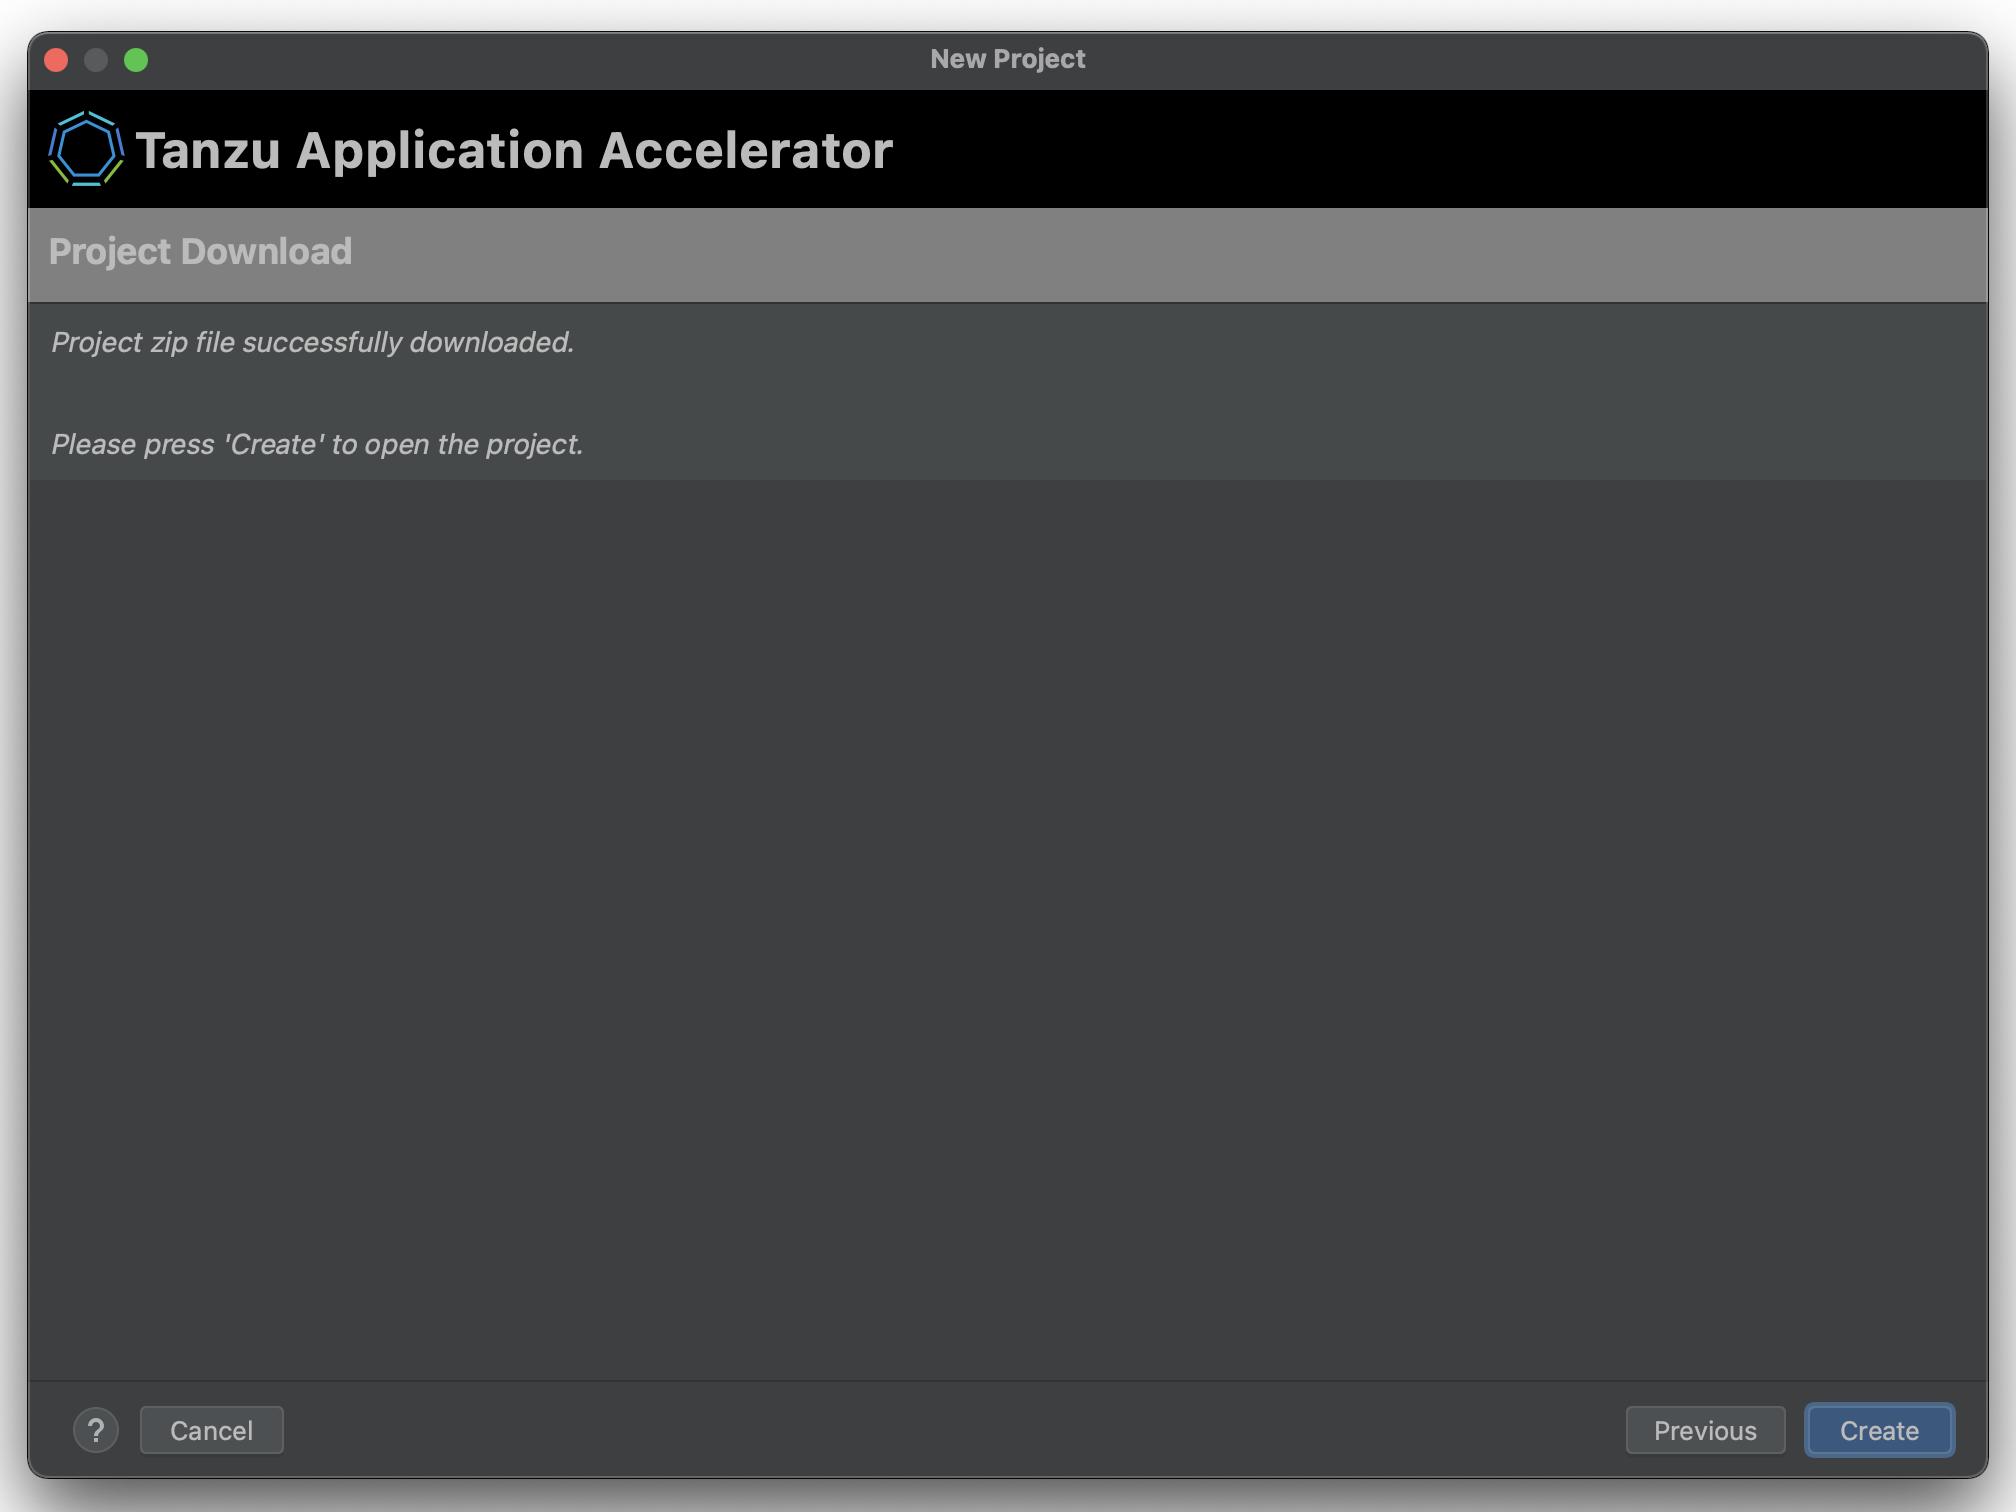
- Click
Nextto download the project. If the project is downloaded successfully, theCreatebutton is enabled and you can now create and open the project.
Retrieving the URL for the Tanzu Developer Portal
If you have access to the Tanzu Application Platform cluster that is running the Tanzu Application Platform GUI, run the following command to determine the fully-qualified domain name:
kubectl get httpproxy tap-gui -n tap-gui
The result is similar to:
NAME      FQDN                                      TLS SECRET     STATUS   STATUS DESCRIPTION
tap-gui   tap-gui.tap.tapdemo.myorg.com             tap-gui-cert   valid    Valid HTTPProxy
Download and Install Self-Signed Certificates
To enable communication between the Application Accelerator plug-in and a Tanzu Application Platform GUI instance that is secured using TLS, you must download and install the certificates locally.
Prerequisites
yq is required to process the YAML output.
Procedure
-
Find the name of the Tanzu Developer Portal certificate. The name of the certificate might look different to the following example.
kubectl get secret -n cert-managerFor example:
NAME TYPE DATA AGE canonical-registry-secret kubernetes.io/dockerconfigjson 1 18d cert-manager-webhook-ca Opaque 3 18d postgres-operator-ca-certificate kubernetes.io/tls 3 18d tanzu-sql-with-mysql-operator-ca-certificate kubernetes.io/tls 3 18d tap-ingress-selfsigned-root-ca kubernetes.io/tls 3 18d <------- This is the certificate that is needed -
Download the certificate:
kubectl get secret -n cert-manager tap-ingress-selfsigned-root-ca -o yaml | yq '.data."ca.crt"' | base64 -d > ca.crt -
Install the certificate on your local system and restart any applications that use the certificate. After restarting, the application uses the certificate to communicate with the endpoints using TLS.
- macOS
-
Run:
sudo security add-trusted-cert -d -r trustRoot -k /Library/Keychains/System.keychain ca.crtFor more information, see Installing a root CA certificate in the trust store in the Ubuntu documentation.
- Windows
-
Complete the following steps:
- Use Windows Explorer to navigate to the directory where the certificate was downloaded and select the certificate.
- In the Certificate window, click Install Certificate….
- Change the Store Location from Current User to Local Machine. Click Next.
- Select Place all certificates in the following store, click Browse, and select Trusted Root Certification Authorities
- Click Finish.
- A pop-up window stating The import was successful. is displayed.
