


Prerequisites for Prisma Scanner for Supply Chain Security Tools - Scan (Alpha)
This topic describes prerequisites you must complete to install SCST - Scan (Prisma) from the VMware package repository.
CautionThis integration is in alpha, which means that it is still in early development by the Tanzu Practices Global Tech Team and might be subject to change at any point. You might encounter unexpected behavior.
Verify the latest alpha package version
Print a list of available tags by running:
imgpkg tag list -i projects.registry.vmware.com/tanzu_practice/tap-scanners-package/prisma-repo-scanning-bundle | sort -V
Use the latest version returned in place of the sample version in this topic. For example, it is 0.1.5-alpha.13 in this example:
$ imgpkg tag list -i projects.registry.vmware.com/tanzu_practice/tap-scanners-package/prisma-repo-scanning-bundle | sort -V
0.1.4-alpha.11
0.1.4-alpha.12
0.1.4-alpha.15
0.1.5-alpha.11
0.1.5-alpha.12
0.1.5-alpha.13
Move images to a registry
You must move the images from tanzu.packages.broadcom.com to your own container image registry before installing.
Prisma Scanner is in the alpha development phase, and not packaged as part of Tanzu Application Platform. It is hosted on tanzu.packages.broadcom.com.
For information about supported registries, see each registry’s documentation.
To move images from tanzu.packages.broadcom.com to your registry:
-
Retrieve your Broadcom registry API token:
-
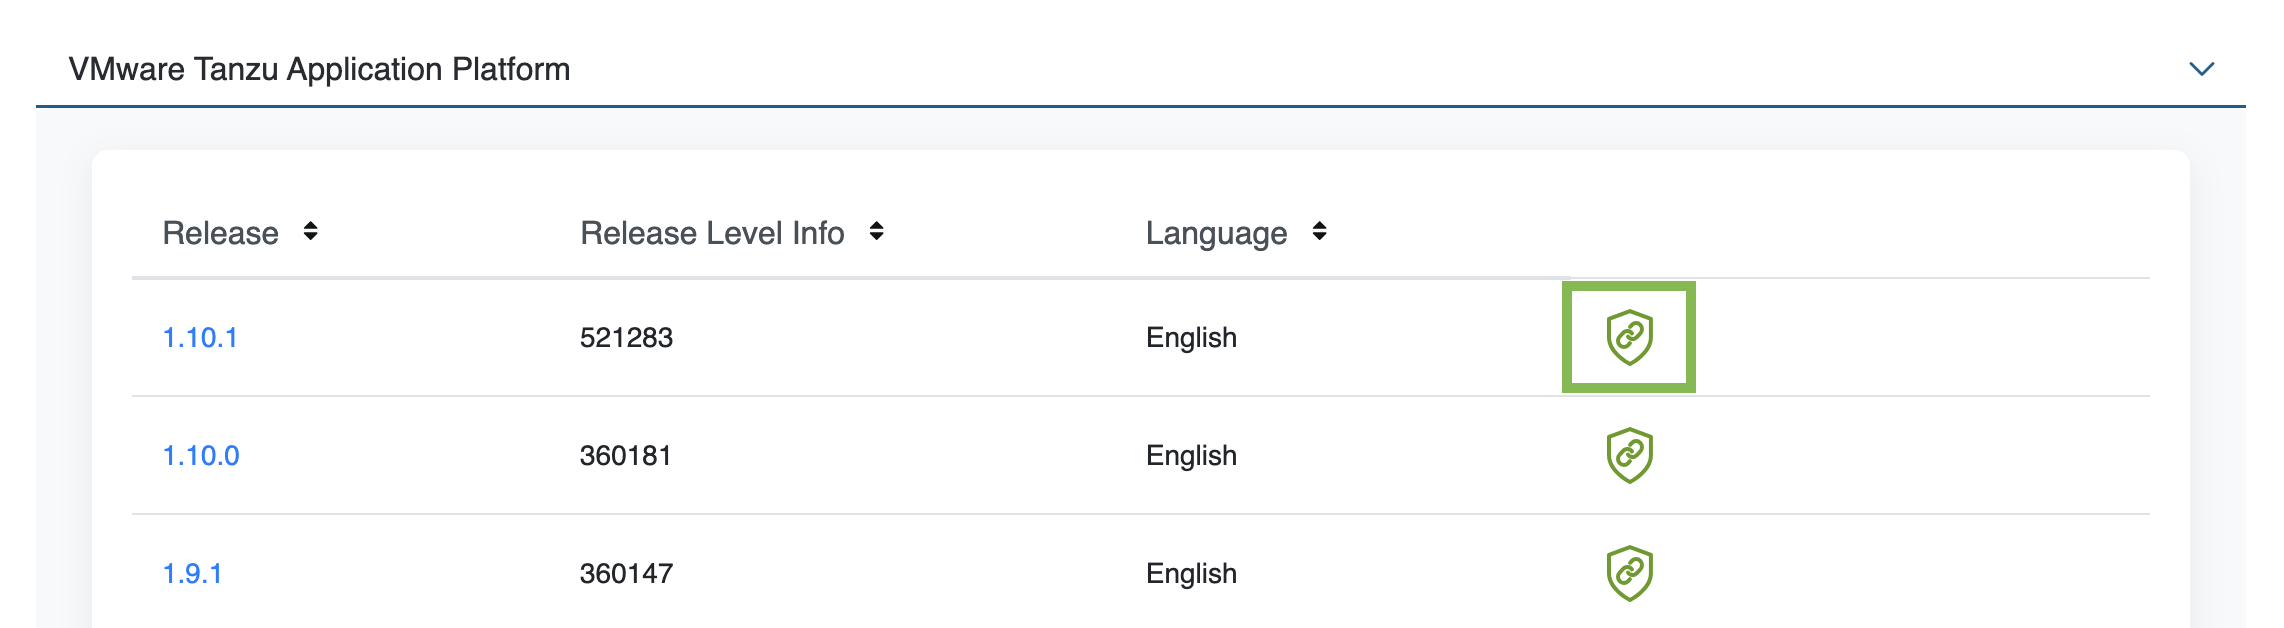
Sign in to the Broadcom Support Portal.
-
Go to Tanzu Application Platform (TAP) and expand the VMware Tanzu Application Platform drop-down menu.
-
Click the Token Download icon next to the Tanzu Application Platform version you want to download.
-
Follow the instructions in the dialog and then save the token as a variable named
MY_BROADCOM_SUPPORT_ACCESS_TOKENby running:export MY_BROADCOM_SUPPORT_ACCESS_TOKEN=API-TOKENWhere
API-TOKENis your token from the Broadcom Support Portal.
-
-
Set up environment variables for installation by running:
export IMGPKG_REGISTRY_HOSTNAME_0=tanzu.packages.broadcom.com
export IMGPKG_REGISTRY_USERNAME_0=MY-BROADCOM-SUPPORT-USERNAME
export IMGPKG_REGISTRY_PASSWORD_0=${MY_BROADCOM_SUPPORT_ACCESS_TOKEN}
export INSTALL_REGISTRY_HOSTNAME=MY-REGISTRY
export INSTALL_REGISTRY_USERNAME=MY-REGISTRY-USER
export INSTALL_REGISTRY_PASSWORD=MY-REGISTRY-PASSWORD
export VERSION=VERSION-NUMBER
export INSTALL_REPO=TARGET-REPOSITORY
Where:
MY-BROADCOM-SUPPORT-USERNAMEis the user with access to the images intanzu.packages.broadcom.com.MY-REGISTRYis your own registry.MY-REGISTRY-USERis the user with write access toMY-REGISTRY.MY-REGISTRY-PASSWORDis the password forMY-REGISTRY-USER.VERSION-NUMBERis your Prisma Scanner version. For example,0.1.4-alpha.12.TARGET-REPOSITORYis your target repository. This is a directory or repository onMY-REGISTRYthat serves as the location for the installation files for Prisma Scanner.
-
Install the Carvel tool imgpkg CLI. For more information, see Deploying Cluster Essentials.
-
Relocate images with the imgpkg CLI by running:
imgpkg copy -b projects.registry.vmware.com/tanzu_practice/tap-scanners-package/prisma-repo-scanning-bundle:${VERSION} \
--to-repo ${INSTALL_REGISTRY_HOSTNAME}/${INSTALL_REPO}/prisma-repo-scanning-bundle
Add the Prisma Scanner package repository
Tanzu CLI packages are available on repositories. Adding the Prisma Scanning package repository makes the Prisma Scanning bundle and its packages available for installation.
VMware recommends installing the Prisma Scanner objects in the existing tap-install namespace to keep Prisma Scanner grouped logically with the other Tanzu Application Platform components.
-
Add the Prisma Scanner package repository to the cluster by running:
tanzu package repository add prisma-scanner-repository \ --url ${INSTALL_REGISTRY_HOSTNAME}/${INSTALL_REPO}/prisma-repo-scanning-bundle:$VERSION \ --namespace tap-install -
Get the status of the Prisma Scanner package repository, and ensure that the status updates to
Reconcile succeeded, by running:tanzu package repository get prisma-scanner-repository --namespace tap-installFor example:
$ tanzu package repository get prisma-scanning-repository --namespace tap-install - Retrieving repository prisma-scanner-repository... NAME: prisma-scanner-repository VERSION: 71091125 REPOSITORY: projects.registry.vmware.com/tanzu_practice/tap-scanners-package/prisma-repo-scanning-bundle TAG: 0.1.4-alpha.12 STATUS: Reconcile succeeded REASON: -
List the available packages by running:
tanzu package available list --namespace tap-installFor example:
$ tanzu package available list --namespace tap-install
/ Retrieving available packages...
 NAME                                                 DISPLAY-NAME                                                              SHORT-DESCRIPTION
 prisma.scanning.apps.tanzu.vmware.com                Prisma for Supply Chain Security Tools - Scan                             Default scan templates using Prisma
Prepare the Prisma Scanner configuration
Before installing Prisma Scanner, you must create the configuration and a Kubernetes secret that contains credentials to access Prisma Cloud.
Obtain the console URL and access keys and token
Prisma Scanner supports two methods of authentication:
- Basic authentication with an API key and a secret
- Token-based authentication
The steps to configure both are outlined in this topic to help you to decide which option to use.
NoteThe tokens issued by Prisma Cloud expires after 1 hour, so this method requires frequent refreshing.
To obtain your Prisma compute console URL and access keys and token. For more information, see the Palo Alto Networks documentation.
- Access key and secret authentication
-
To create a Prisma secret:
-
Create a Prisma secret YAML file and insert the base64-encoded Prisma API token into the
prisma_token:apiVersion: v1 kind: Secret metadata: name: PRISMA-ACCESS-KEY-SECRET namespace: APP-NAME data: username: BASE64-PRISMA-ACCESS-KEY-ID password: BASE64-PRISMA-ACCESS-KEY-PASSWORDWhere:
PRISMA-ACCESS-KEY-SECRETis the name of your Prisma token secret.APP-NAMEis the namespace you want to use.BASE64-PRISMA-ACCESS-KEY-IDis your base64-encoded Prisma access key ID.BASE64-PRISMA-ACCESS-KEY-PASSWORDis your base64-encoded Prisma access key password.
-
Apply the Prisma secret YAML file by running:
kubectl apply -f YAML-FILEWhere
YAML-FILEis the name of the Prisma secret YAML file you created. -
Use the
--values-fileflag to customize the default configuration. You must define the following fields in thevalues.yamlfile for the Prisma Scanner configuration. You can add fields to activate or deactivate behaviors. You can append the values to this file as shown later in this topic. Create avalues.yamlfile by using the following configuration:--- namespace: DEV-NAMESPACE targetImagePullSecret: TARGET-REGISTRY-CREDENTIALS-SECRET prisma: url: PRISMA-URL basicAuth: name: PRISMA-ACCESS-KEY-SECRETWhere:
DEV-NAMESPACEis your developer namespace. To use a namespace other than the default namespace, ensure that the namespace exists before you install. If the namespace does not exist, the scanner installation fails.TARGET-REGISTRY-CREDENTIALS-SECRETis the name of the secret that contains the credentials to pull an image from a private registry for scanning.PRISMA-URLis the FQDN of your Twistlock server.PRISMA-CONFIG-SECRETis the name of the secret you created that contains the Prisma configuration to connect to Prisma. This field is required.
-
- Access token authentication
-
To access token authentication:
-
Create a Prisma secret YAML file and insert the base64-encoded Prisma API token into the
prisma_tokenas in this example:apiVersion: v1 kind: Secret metadata: name: PRISMA-TOKEN-SECRET namespace: APP-NAME data: prisma_token: BASE64-PRISMA-API-TOKENWhere:
PRISMA-TOKEN-SECRETis the name of your Prisma token secret.APP-NAMEis the namespace you want to use.BASE64-PRISMA-API-TOKENis the name of your base64-encoded Prisma API token.
-
Apply the Prisma secret YAML file by running:
kubectl apply -f YAML-FILEWhere
YAML-FILEis the name of the Prisma secret YAML file you created. -
Use the
--values-fileflag to customize the default configuration. You must define the following fields in thevalues.yamlfile for the Prisma Scanner configuration. You can add fields as needed to activate or deactivate behaviors. You can append the values to this file as shown later in this topic. Create avalues.yamlfile by using the following configuration:--- namespace: DEV-NAMESPACE targetImagePullSecret: TARGET-REGISTRY-CREDENTIALS-SECRET prisma: url: PRISMA-URL tokenSecret: name: PRISMA-CONFIG-SECRETWhere:
DEV-NAMESPACEis your developer namespace. To use a namespace other than the default namespace, ensure that the namespace exists before you install. If the namespace does not exist, the scanner installation fails.TARGET-REGISTRY-CREDENTIALS-SECRETis the name of the secret that contains the credentials to pull an image from a private registry for scanning.PRISMA-URLis the FQDN of your Twistlock server.PRISMA-CONFIG-SECRETis the name of the secret you created that contains the Prisma configuration to connect to Prisma. This field is required.
-
Activate or deactivate SCST - Store integration
The Prisma Scanner integration can work with or without the SCST - Store integration. The values.yaml file is slightly different for each configuration.
When using SCST - Store integration to persist the results that Prisma Scanner finds you can enable the SCST - Store integration by appending the fields to the values.yaml file.
The Grype, Snyk, and Prisma Scanner integrations enable the Metadata Store. To prevent conflicts, the configuration values are slightly different based on whether the Grype Scanner integration is installed or not. If you install Tanzu Application Platform by using the Full Profile, the Grype Scanner integration is installed unless you explicitly exclude it.
- Another scanner is already installed
-
You need your CA secret name and authentication token secret name for
values.yamlwhen installing Prisma Scanner.You can find your CA secret name and authentication token secret name in the configuration of an installed scanner in the namespace that you want to install Prisma Scanner in.
For information about how the scanner was likely initially created, see Set up multicluster SCST - Store
Here is an example
values.yamlwhen there are other scanners already installed in the samedev-namespacewhere Prisma Scanner is installed:#! ... metadataStore: #! The URL where the Store deployment is accessible. #! Default value is: "https://metadata-store-app.metadata-store.svc.cluster.local:8443" url: "STORE-URL" caSecret: #! The name of the secret that contains the ca.crt to connect to the Store deployment. #! Default value is: "app-tls-cert" name: "CA-SECRET-NAME" importFromNamespace: "" #! Because both Prisma and Grype/Snyk both enable store, one must leave importFromNamespace blank #! authSecret is for multicluster configurations. authSecret: #! The name of the secret that contains the auth token to authenticate to the Store deployment. name: "AUTH-SECRET-NAME" importFromNamespace: "" #! Because both Prisma and Grype/Snyk both enable store, one must leave importFromNamespace blankWhere:
STORE-URLis the URL where the Store deployment is accessible.CA-SECRET-NAMEis the name of the secret that contains theca.crtto connect to the Store deployment. The default value isapp-tls-cert.AUTH-SECRET-NAMEis the name of the secret that contains the authentication token to authenticate to the Store deployment.
- No other scanners are installed
-
For information about creating and exporting secrets for the Metadata Store CA and authentication token referenced in the data values when installing Prisma Scanner, see
Set up multicluster Supply Chain Security Tools (SCST) - Store.
An example
values.yamlwhen no other scanner integrations installed in the samedev-namespacewhere Prisma Scanner is installed:#! ... metadataStore: #! The URL where the Store deployment is accessible. #! Default value is: "https://metadata-store-app.metadata-store.svc.cluster.local:8443" url: "STORE-URL" caSecret: #! The name of the secret that contains the ca.crt to connect to the Store Deployment. #! Default value is: "app-tls-cert" name: "CA-SECRET-NAME" #! The namespace where the secrets for the Store Deployment live. #! Default value is: "metadata-store" importFromNamespace: "STORE-SECRETS-NAMESPACE" #! authSecret is for multicluster configurations. authSecret: #! The name of the secret that contains the auth token to authenticate to the Store Deployment. name: "AUTH-SECRET-NAME" #! The namespace where the secrets for the Store Deployment live. importFromNamespace: "STORE-SECRETS-NAMESPACE"Where:
STORE-URLis the URL where the Store deployment is accessible.CA-SECRET-NAMEis the name of the secret that contains theca.crtto connect to the Store Deployment. Default isapp-tls-cert.STORE-SECRETS-NAMESPACEis the namespace where the secrets for the Store Deployment live. Default ismetadata-store.AUTH-SECRET-NAMEis the name of the secret that contains the authentication token to authenticate to the Store Deployment.
- No SCST - Store integration
-
If you do not want to enable the SCST - Store integration, explicitly deactivate the integration by appending the following field to the
values.yamlfile that is enabled by default:# ... metadataStore: url: "" # Deactivate Supply Chain Security Tools - Store integration
Prepare the ScanPolicy
To prepare the ScanPolicy, use a sample for your needs.
- Sample ScanPolicy that uses Prisma policies
-
The following sample
ScanPolicyallows you to control whetherSupplyChainpasses or fails based on the compliance and vulnerability rules configured in the Prisma compute console.The policy reads the
complianceScanPassedandvulnerabilityScanPassedfields returned from Prisma scanner output to control the results of the scan.apiVersion: scanning.apps.tanzu.vmware.com/v1beta1 kind: ScanPolicy metadata: name: prisma-scan-policy labels: 'app.kubernetes.io/part-of': 'enable-in-gui' spec: regoFile: | package main import future.keywords.in deny[msg] { vulnerabilityAndComplianceScanResults := {e | e := input.bom.metadata.properties.property[_]} some result in vulnerabilityAndComplianceScanResults failedScans:= "false" in result failedScans vulnerabilityMessages := { message | components := {e | e := input.bom.components.component} | {e | e := input.bom.components.component[_]} some component in components vulnerabilities := {e | e := component.vulnerabilities.vulnerability} | {e | e := component.vulnerabilities.vulnerability[_]} some vulnerability in vulnerabilities ratings := {e | e := vulnerability.ratings.rating.severity} | {e | e := vulnerability.ratings.rating[_].severity} formattedRatings := concat(", ", ratings) message := sprintf("Vulnerability - Component: %s CVE: %s Severity: %s", [component.name, vulnerability.id, formattedRatings]) } complianceMessages := { message | compliances := {e | e := input.bom.metadata.component.compliances.compliance} | {e | e := input.bom.metadata.component.compliances.compliance[_]} some compliance in compliances message := sprintf("Compliance - %s \\nId: %s Severity: %s Category: %s", [compliance.title, compliance.id, compliance.severity, compliance.category]) } combinedMessages := complianceMessages | vulnerabilityMessages some message in combinedMessages msg := message } - Sample ScanPolicy that uses local policies
-
The following sample
ScanPolicyallows you to control whetherSupplyChainpasses or fails based on the Prisma Scanner CycloneDX vulnerability results returned from Prisma Scanner.apiVersion: scanning.apps.tanzu.vmware.com/v1beta1 kind: ScanPolicy metadata: name: prisma-scan-policy labels: 'app.kubernetes.io/part-of': 'enable-in-gui' spec: regoFile: | package main # Accepted Values: "Critical", "High", "Medium", "Low", "Negligible", "UnknownSeverity" notAllowedSeverities := ["Critical", "High", "UnknownSeverity"] ignoreCves := [] contains(array, elem) = true { array[_] = elem } else = false { true } isSafe(match) { severities := { e | e := match.ratings.rating.severity } | { e | e := match.ratings.rating[_].severity } some i fails := contains(notAllowedSeverities, severities[i]) not fails } isSafe(match) { ignore := contains(ignoreCves, match.id) ignore } deny[msg] { comps := { e | e := input.bom.components.component } | { e | e := input.bom.components.component[_] } some i comp := comps[i] vulns := { e | e := comp.vulnerabilities.vulnerability } | { e | e := comp.vulnerabilities.vulnerability[_] } some j vuln := vulns[j] ratings := { e | e := vuln.ratings.rating.severity } | { e | e := vuln.ratings.rating[_].severity } not isSafe(vuln) msg = sprintf("CVE %s %s %s", [comp.name, vuln.id, ratings]) }Apply the YAML by running:
kubectl apply -n $DEV-NAMESPACE -f SCAN-POLICY-YAML-FILEWhere:
DEV-NAMESPACEis the name of the developer namespace you want to use.SCAN-POLICY-YAML-FILEis the name of your SCST - Scan YAML file.
Install Prisma Scanner
After all prerequisites are fulfilled, install Prisma Scanner. For more information, see Install another scanner for Supply Chain Security Tools - Scan.
Configure for a self-signed registry certificate
When attempting to pull an image from a registry with a self-signed certificate during image scans additional configuration is necessary.
Use a Tanzu Application Platform values shared CA
If your tap-values.yaml used during installation has the following shared section filled out, Prisma Scanner uses this and enable it to connect to your registry without additional configuration.
shared:
   ca_cert_data: | # To be passed if using custom certificates
      -----BEGIN CERTIFICATE-----
      MIIFXzCCA0egAwIBAgIJAJYm37SFocjlMA0GCSqGSIb3DQEBDQUAMEY...
      -----END CERTIFICATE-----
Create a secret within the developer namespace
To create a secret within the developer namespace:
-
Create a secret that holds the registry’s CA certificate data. An example of the secret:
apiVersion: v1 kind: Secret metadata: name: prisma-registry-cert namespace: dev type: Opaque data: ca_cert_data: BASE64_CERT -
Update your Prisma Scanner installation
values.yamlfile. AddcaCertSecretto the root ofprisma-values.yamlwhen installing Prisma Scanner. For example:namespace: dev targetImagePullSecret: tap-registry caCertSecret: prisma-registry-cert
Connect to Prisma through a proxy
To connect to Prisma through a proxy, you must add environmentVariables configuration to prisma-values.yaml. All valid container env configurations are supported.
For example:
namespace: dev
targetImagePullSecret: tap-registry
environmentVariables:
- name: HTTP_PROXY
  value: "test.proxy.com"
- name: HTTPS_PROXY
  value: "test.proxy.com"
- name: NO_PROXY
  value: "127.0.0.1,.svc,.svc.cluster.local,demo.app"
Known limits
OpenShift is not supported.
