


If you have an existing YAML configuration file from a previous deployment of VMware Tanzu Kubernetes Grid Integrated Edition, you can use the VMware Tanzu Kubernetes Grid Integrated Edition Management Console to deploy a new Tanzu Kubernetes Grid Integrated Edition instance from that file.
You can import a YAML from an earlier supported version of Tanzu Kubernetes Grid Integrated Edition Management Console. In this case, after you import the YAML, open the configuration in the wizard and configure any missing settings that are new in this version.
For information about how to deploy Tanzu Kubernetes Grid Integrated Edition by using the configuration wizard, see Deploy Tanzu Kubernetes Grid Integrated Edition by Using the Configuration Wizard.
WARNING: Ideally, do not deploy TKGI from the management console to a data center that also includes TKGI instances that you deployed manually. If deploying management console and manual instances of TKGI to the same data center cannot be avoided, make sure that the TKGI instances that you deployed manually do not use the folder names BoshVMFolder: pks_vms, BoshTemplateFolder: pks_templates, BoshDiskPath: pks_disk. If a manual installation uses these folder names, the VMs that they contain will be deleted when you delete a TKGI instance from the management console.
If NSX-T Data Center uses custom certificates and you do not provide the CA certificate for NSX Manager, Tanzu Kubernetes Grid Integrated Edition Management Console automatically generates one and registers it with NSX Manager. This can cause other services that are integrated with NSX Manager not to function correctly. If you have manually deployed TKGI instances to the same data center as the one to which you are deploying this instance, you must manage NSX-T certificates manually by specifying the nsx_ca_crt option.
For information about how to upgrade an existing deployment, see Upgrade Tanzu Kubernetes Grid Integrated Edition Management Console.
YAML Files and Passwords
When Tanzu Kubernetes Grid Integrated Edition Management Console generates the content of the YAML file for the YAML editor, it masks the passwords for NSX Manager, vCenter Server, and Harbor so that they do not appear in plain text. In the generated YAML files, the password fields look like the following example:
admin_password: <hidden:f065be51-84e9-4ca7-972d-ed46f7273123>
The <hidden> tag includes a GUID that refers to a database entry for the password that was entered into the configuration wizard. If you import a YAML file from an instance of Tanzu Kubernetes Grid Integrated Edition Management Console that is deployed in a different vSphere environment, the GUID provided in the hidden tag will not correspond to an entry in the database of the environment in which you are importing the YAML. As a consequence, if you import a YAML from a different vSphere environment, you must manually update the passwords for NSX Manager, vCenter Server, and Harbor in the YAML editor. If you are importing a YAML file from the same environment, the correct passwords are held in the database and no action is required.
Prerequisites
- Deploy the Tanzu Kubernetes Grid Integrated Edition Management Console to vCenter Server.
- The vCenter Server instance must be correctly configured for Tanzu Kubernetes Grid Integrated Edition deployment. For information about the vCenter Server requirements, see Virtual Infrastructure Prerequisites.
- Depending on the type of networking to use, your infrastructure must meet the appropriate prerequisites. For information about networking prerequisites, see the following topics:
- Log in to Tanzu Kubernetes Grid Integrated Edition Management Console.
- You have an existing YAML configuration file that you exported during a previous Tanzu Kubernetes Grid Integrated Edition deployment from Tanzu Kubernetes Grid Integrated Edition Management Console.
- For information about how to set the networking parameters in the YAML file, see Networking Options in the YAML File below.
Import a YAML Configuration File
- On the VMware Tanzu Kubernetes Grid Integrated Edition landing page, click Install then Import Configuration File.

View a larger version of this image - Drag the YAML file into the Import Configuration File window, or click Browse to navigate to it.
- In the Configuration File editor, modify the contents of the YAML file appropriately for the new instance of Tanzu Kubernetes Grid Integrated Edition that you want to deploy.
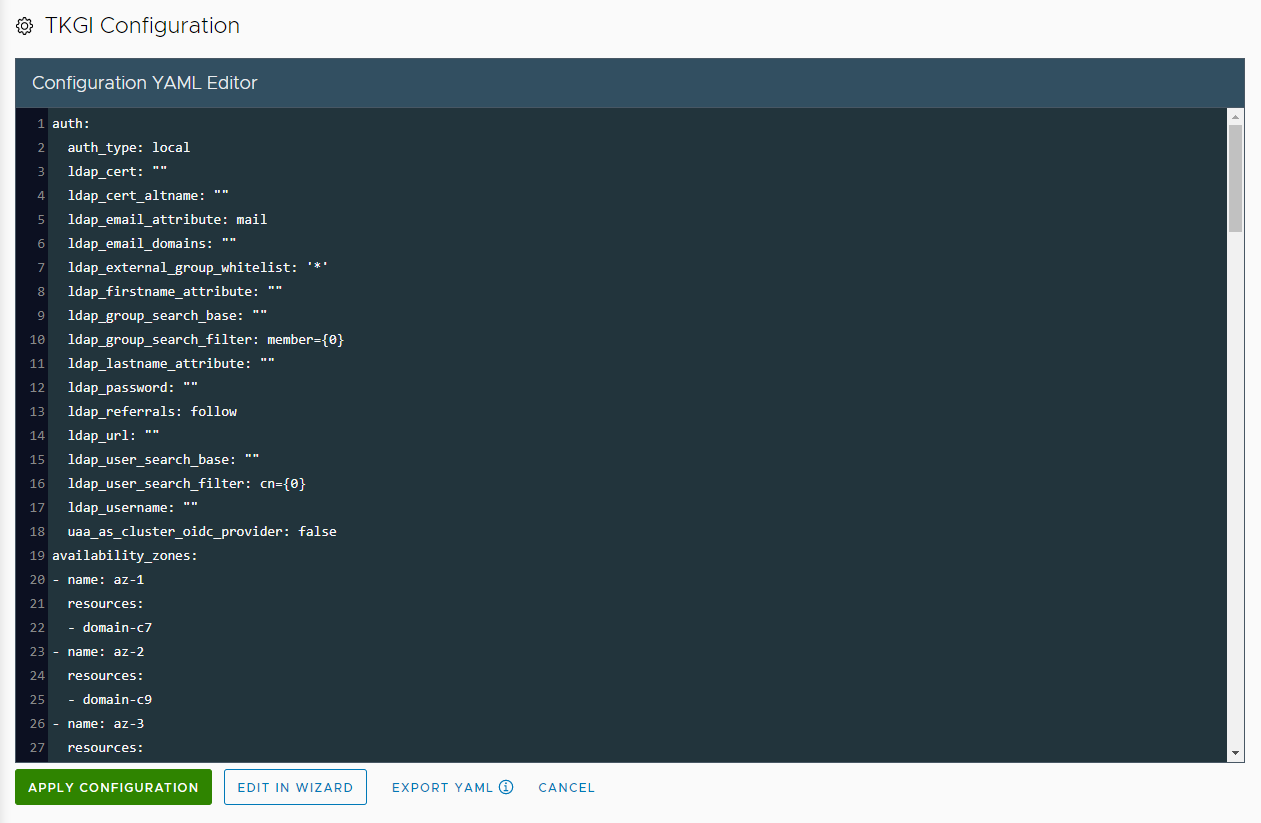
View a larger version of this image
If the YAML was generated by an instance of the management console that is running in a different vSphere environment, update the passwords for NSX Manager, vCenter Server, and Harbor.
You can click the Edit in Wizard button, to open the imported configuration in the wizard and modify it there. For example, if you have imported a YAML that was generated by a previous version of Tanzu Kubernetes Grid Integrated Edition Management Console, open it in the wizard so that you can configure any options that are new in this version.
To abandon this YAML and start again, click Import YAML to upload the YAML again or to import a new one. - When you have finished editing the YAML in the Configuration File editor, click Export YAML to save a copy of your updated YAML configuration.
- Click Apply Configuration and Continue to deploy Tanzu Kubernetes Grid Integrated Edition from this configuration file.
- On the TKGI Configuration page, follow the progress of the deployment.
- When the deployment has completed successfully, click Continue to monitor and manage your deployment.

View a larger version of this image
Networking Options in the YAML File
The networking parameters for the three types of Tanzu Kubernetes Grid Integrated Edition networking are all included in the network: section of the YAML file. When you edit the YAML file, you only need to set those parameters that apply to your type of networking.
The following table lists the parameters to set for each type of networking.
| Unprepared NSX-T Data Center | Prepared NSX-T Data Center | vSphere without NSX-T |
|
additional_dep_reserved_ip_range autoprovision_nsx dep_dns dep_network_name dep_reserved_ip_range_from dep_reserved_ip_range_to ntp_servers nsx_ca_crt nsx_dns nsx_fip_id nsx_host nsx_manual_ssl_certs nsx_nat_mode nsx_node_ip_block_id nsx_password nsx_pod_ip_block_id nsx_t0_id nsx_username nsx_verify_ssl_certs opsman_fqdnuse_nsx |
additional_dep_reserved_ip_range additional_svc_reserved_ip_range dep_dns dep_network_cidr dep_network_gateway dep_network_name dep_reserved_ip_range_from dep_reserved_ip_range_to flannel_pod_network_cidr flannel_service_network_cidr ntp_servers opsman_fqdn svc_dns svc_network_name svc_network_cidr svc_network_gateway svc_reserved_ip_range_from svc_reserved_ip_range_to use_antrea use_nsx |
Next Steps
You can now access the Tanzu Kubernetes Grid Integrated Edition control plane and begin deploying Kubernetes clusters. For information about how to deploy clusters directly from the management console, see Create and Manage Clusters in the Management Console.
For information about how you can use Tanzu Kubernetes Grid Integrated Edition Management Console to monitor and manage your Tanzu Kubernetes Grid Integrated Edition deployment, see Monitor and Manage Tanzu Kubernetes Grid Integrated Edition in the Management Console.
Important: If you deployed Tanzu Kubernetes Grid Integrated Edition with plans that use Windows worker nodes, see Enable Plans with Windows Worker Nodes for information about how to install a Windows Server stemcell and other necessary configuration actions that you must perform. Plans that use Linux worker nodes are available immediately, but plans that use Windows worker nodes are ignored until you install the Windows Server stemcell.
If Tanzu Kubernetes Grid Integrated Edition fails to deploy, see Troubleshooting.
