


Install Harbor in Workload Clusters Deployed by a Supervisor
This topic explains how to deploy Harbor to Tanzu Kubernetes Grid (TKG) workload clusters deployed to vSphere by a vSphere with Tanzu Supervisor.
Harbor provides an enterprise-ready container image registry.
You can install Harbor on a workload cluster in two ways:
Install Harbor Using the Tanzu CLI
Prerequisites
Adhere to the following prerequisites.
- Prepare to Install Tanzu Packages.
- Install Cert Manager Using the Tanzu CLI.
- Install Contour Using the Tanzu CLI.
Reference
Refer to the following topic as needed.
Install Harbor
-
Create the namespace for Harbor.
kubectl create ns tanzu-system-registry -
Get the latest Harbor package version in the repository.
kubectl -n tkg-system get packagesThe latest version in this repository is 2.5.3+vmware.1-tkg.1 which is what we will install. Adjust the version accordingly depending on your requirements.
-
Create the
harbor-data-values.yamlfile.Start with the example data values file. See Harbor Components, Configuration, Data Values.
-
Edit the
harbor-data-values.yamlfile and update the values for the following parameters.Field Description hostnameThe FQDN for accessing the Harbor admin console and Registry service. Replace “yourdomain.com” with a unique hostname. harborAdminPasswordChange the password to something strong and unique (can also be changed in the UI after install). persistence.persistentVolumeClaim.database.storageClass:Enter the name of the vSphere storage policy for the vSphere namespace. persistence.persistentVolumeClaim.jobLog.jobservice.storageClass:Enter the name of the vSphere storage policy for the vSphere namespace. persistence.persistentVolumeClaim.redis.storageClass:Enter the name of the vSphere storage policy for the vSphere namespace. persistence.persistentVolumeClaim.registry.storageClass:Enter the name of the vSphere storage policy for the vSphere namespace. persistence.persistentVolumeClaim.trivy.storageClass:Enter the name of the vSphere storage policy for the vSphere namespace. tlsCertificate.tlsSecretLabels:{“managed-by”: “vmware-vRegistry”} -
Configure additional parameters as needed.
See Harbor Configuration Parameters for a full list of available parameters.
-
Install Harbor using the Tanzu CLI.
tanzu package install harbor --package harbor.tanzu.vmware.com --version 2.5.3+vmware.1-tkg.1 --values-file ./harbor-data-values.yaml --namespace tanzu-system-registry -
Verify Harbor installation using the Tanzu CLI.
tanzu package installed get harbor --namespace tanzu-system-registry

NAME:                    harbor
PACKAGE-NAME:            harbor.tanzu.vmware.com
PACKAGE-VERSION:         2.5.3+vmware.1-tkg.1
STATUS:                  Reconcile succeeded
Configure DNS for Harbor Using an Envoy Service of Type LoadBalancer
If the prerequisite Contour with Envoy service is exposed via a LoadBalancer, obtain the external IP address of the load balancer and create DNS records for the Harbor FQDNs.
-
Get the
External-IPaddress for the Envoy service of type LoadBalancer.kubectl get service envoy -n tanzu-system-ingressYou should see the
External-IPaddress returned, for example:NAME TYPE CLUSTER-IP EXTERNAL-IP PORT(S) AGE envoy LoadBalancer 10.99.25.220 10.195.141.17 80:30437/TCP,443:30589/TCP 3h27mAlternatively you can get the
External-IPaddress using the following command.kubectl get svc envoy -n tanzu-system-ingress -o jsonpath='{.status.loadBalancer.ingress[0]}' -
To verify the installation of the Harbor extension, update your local
/etc/hostsfile with the Harbor and Notary FQDNs mapped to theExternal-IPaddress of the load balancer, for example:127.0.0.1 localhost 127.0.1.1 ubuntu #TKG Harbor with Envoy Load Balancer IP 10.195.141.17 core.harbor.domain 10.195.141.17 core.notary.harbor.domain -
To verify the installation of the Harbor extension, log in to Harbor.
- Create two CNAME records on a DNS server that map the Envoy service Load Balancer
External-IPaddress to the Harbor FQDN and the Notary FQDN. - Install the External DNS extension.
Configure DNS for Harbor Using an Envoy Service of Type NodePort
If the prerequisite Contour > Envoy service is exposed via a NodePort, obtain the virtual machine IP address of a worker node and create DNS records for the Harbor FQDNs.
Note: To use NodePort, you must have specified the correct port.https value in the harbor-data-values.yaml file.
-
Switch context to the vSphere Namespace where the cluster is provisioned.
kubectl config use-context VSPHERE-NAMESPACE -
List the nodes in the cluster.
kubectl get virtualmachines -
Pick one of the worker nodes and describe it using the following command.
kubectl describe virtualmachines tkg2-cluster-X-workers-9twdr-59bc54dc97-kt4cm -
Locate the IP address of the virtual machine, for example
Vm Ip: 10.115.22.43. -
To verify the installation of the Harbor extension, update your local
/etc/hostsfile with the Harbor and Notary FQDNs mapped to the worker node IP address, for example:127.0.0.1 localhost 127.0.1.1 ubuntu #TKG Harbor with Envoy NodePort 10.115.22.43 core.harbor.domain 10.115.22.43 core.notary.harbor.domain -
To verify the installation of the Harbor extension, log in to Harbor.
- Create two CNAME records on a DNS server that map the worker node IP address to the Harbor FQDN and the Notary FQDN.
- Install the External DNS extension.
Log In to the Harbor Web Interface
Once Harbor is installed and configured, log in and start using it.
-
Access the Harbor Registry web interface at
https://core.harbor.domain, or the hostname you used.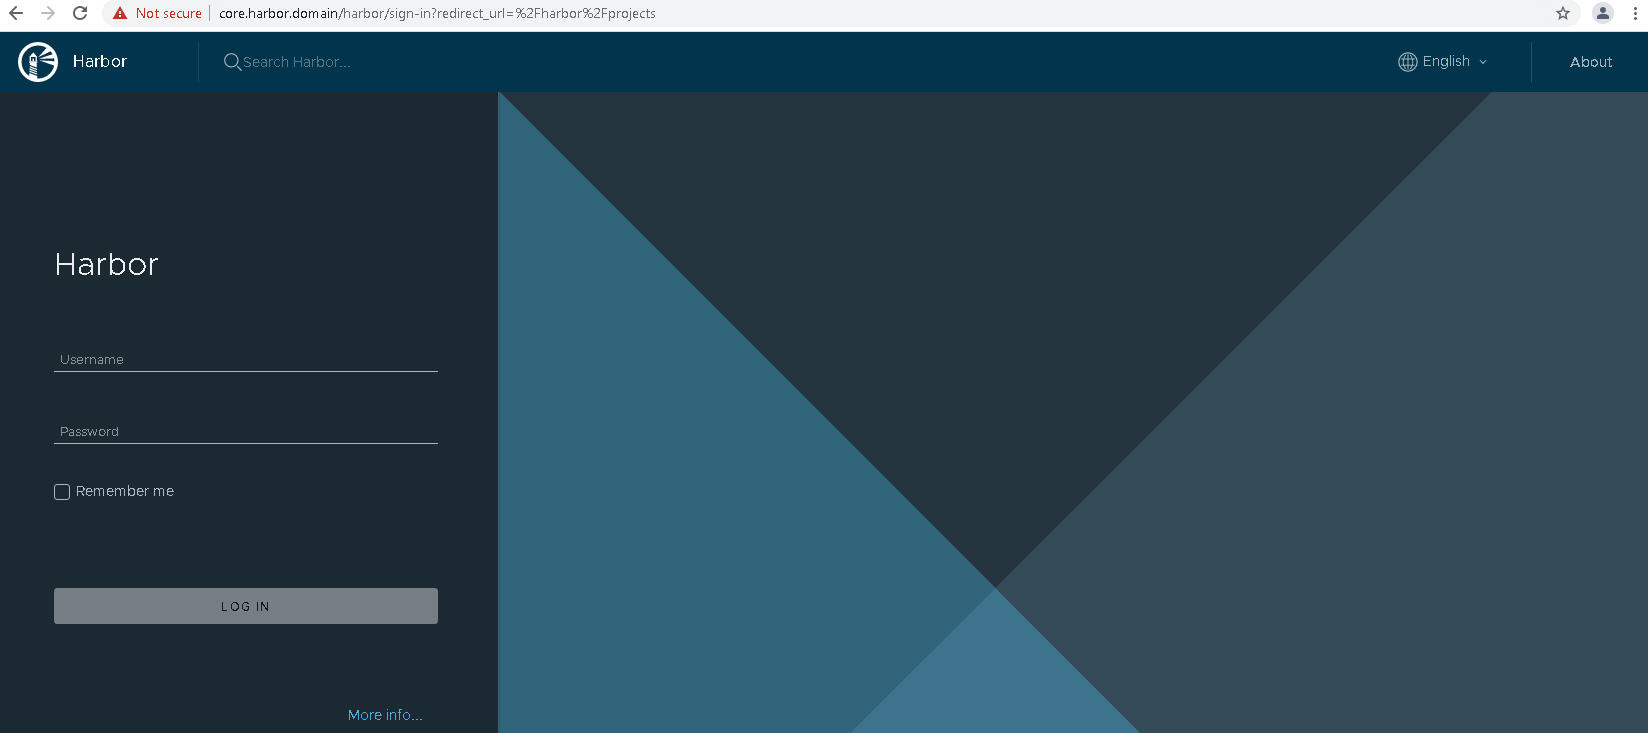
-
Log in to Harbor with the username admin and the generated password that you put in the
harbor-data-values.yamlfile.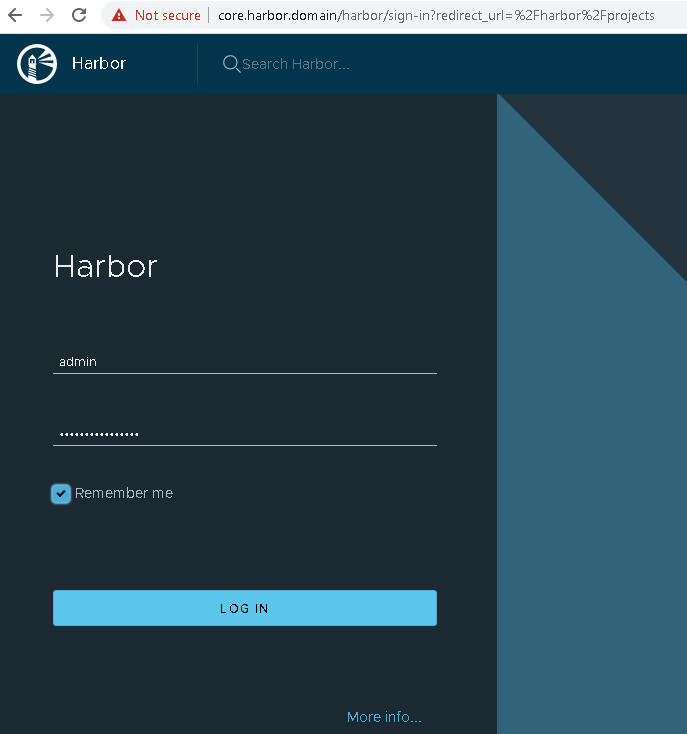
-
Verify that you can access the Harbor user interface.
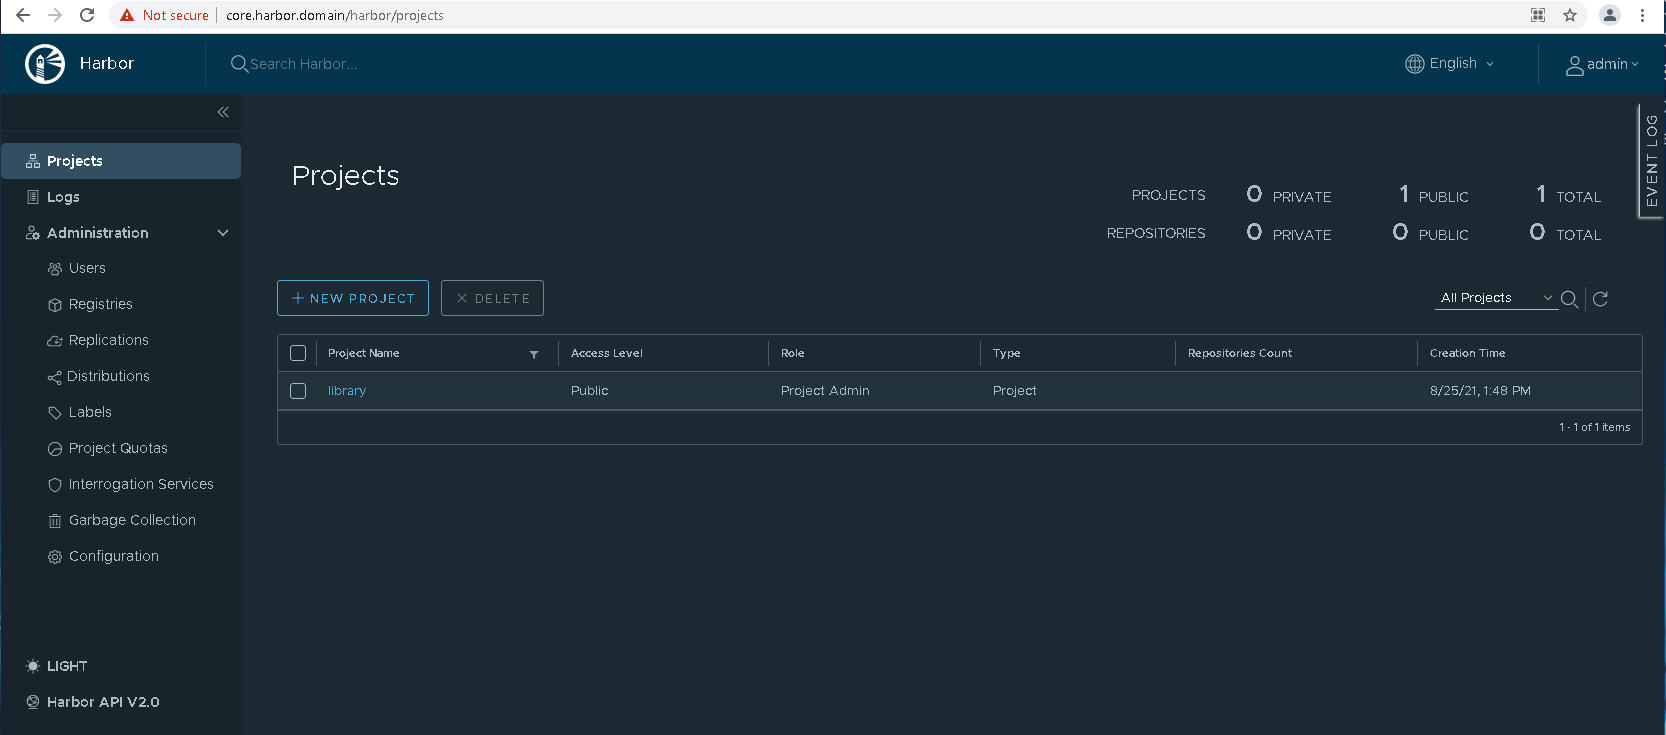
-
Obtain the Harbor CA certificate.
In the Harbor interface, select Projects > library, or create a New Project.
Click Registry Certificate and download the Harbor CA certificate (ca.crt).
-
Add the Harbor CA certificate into the trust store of Docker client so you can push and pull container images to and from the Harbor Registry. See Using Container Registries with TKG Clusters on Supervisor.
- Refer to the Harbor documentation for details on using Harbor.
Install Harbor Using Kubectl
You can install the Harbor package on a TKG cluster to operate as a private registry store for the container images you want to deploy to clusters.
Prerequisties
Adhere to the following prerequisites to install the Harbor package.
Harbor requires HTTP/S ingress. Specifically, Harbor services are exposed via an Envoy service in the Contour pacage. As a prerequisite, deploy the Contour package..
- If you are using NSX networking for Supervisor, create an Envoy service of type LoadBalancer.
- If you are using vSphere vDS networking for Supervisor, create an Envoy service of type LoadBalancer or NodePort, depending on your environment and requirements.
The Harbor extension requires DNS. For testing and verification purposes, add the Harbor and Notary FQDNs to your local /etc/hosts file. The instructions below describe how to do this.
In production Harbor requires a DNS Zone on either a local DNS Server, such as BIND, or on a public cloud, such as AWS Route53 or Azure DNS. Once you have set up DNS, to automatically register the Harbor FQDNs with a DNS Server, install the ExternalDNS extension. See Install ExternalDNS Using Kubectl.
Reference
Refer to the following topic as needed.
Install Harbor
To install the Harbor Registry using the Tanzu Package, complete the following steps.
-
List the available Harbor versions in the repository.
kubectl get packages -n tkg-systemThe most current package is
harbor.tanzu.vmware.com.2.7.1+vmware.1-tkg.1. -
Create the
harbor.yamlspecification.apiVersion: v1 kind: ServiceAccount metadata: name: harbor-sa namespace: tkg-system --- apiVersion: rbac.authorization.k8s.io/v1 kind: ClusterRoleBinding metadata: name: habor-role-binding roleRef: apiGroup: rbac.authorization.k8s.io kind: ClusterRole name: cluster-admin subjects: - kind: ServiceAccount name: harbor-sa namespace: tkg-system --- apiVersion: packaging.carvel.dev/v1alpha1 kind: PackageInstall metadata: name: harbor namespace: tkg-system spec: serviceAccountName: harbor-sa packageRef: refName: harbor.tanzu.vmware.com versionSelection: constraints: 2.7.1+vmware.1-tkg.1 values: - secretRef: name: harbor-data-values --- apiVersion: v1 kind: Secret metadata: name: harbor-data-values namespace: harbor-registry stringData: values.yml: | namespace: tanzu-system-registry hostname: <ENTER-HARBOR-FQDN> port: https: 443 logLevel: info tlsCertificate: tls.crt: "" tls.key: "" ca.crt: tlsCertificateSecretName: enableContourHttpProxy: true harborAdminPassword: <ENTER-STRONG-PASSWORD-HERE> secretKey: <ENTER-SECRET-KEY> database: password: <ENTER-STRONG-PASSWORD-HERE> shmSizeLimit: maxIdleConns: maxOpenConns: exporter: cacheDuration: core: replicas: 1 secret: <ENTER-SECRET> xsrfKey: <ENTER-XSRF-KEY-WHICH-IS-AN-ALPHANUMERIC-STRING-WITH-32-CHARS> jobservice: replicas: 1 secret: <ENTER-SECRET> registry: replicas: 1 secret: <ENTER-SECRET> notary: enabled: true trivy: enabled: true replicas: 1 gitHubToken: "" skipUpdate: false persistence: persistentVolumeClaim: registry: existingClaim: "" storageClass: "<ENTER-STORAGE-CLASS>" subPath: "" accessMode: ReadWriteOnce size: 50Gi jobLog: jobservice: existingClaim: "" storageClass: "<ENTER-STORAGE-CLASS>" subPath: "" accessMode: ReadWriteOnce size: 10Gi database: existingClaim: "" storageClass: "<ENTER-STORAGE-CLASS>" subPath: "" accessMode: ReadWriteOnce size: 10Gi redis: existingClaim: "" storageClass: "<ENTER-STORAGE-CLASS>" subPath: "" accessMode: ReadWriteOnce size: 10Gi trivy: existingClaim: "" storageClass: "<ENTER-STORAGE-CLASS>" subPath: "" accessMode: ReadWriteOnce size: 10Gi proxy: httpProxy: httpsProxy: noProxy: 127.0.0.1,localhost,.local,.internal pspNames: vmware-system-restricted network: ipFamilies: ["IPv4", "IPv6"] -
Customize the
harbor-data-valuessecret in theharbor.yamlspecification with appropriate values for your environment, including hostname, passwords, secrets, and storage class.See Harbor Configuration Parameters for a full list of available parameters.
-
Install Harbor.
kubectl apply -f harbor.yaml -
Verify Harbor installation.
kubectl get all -n harbor-registry
Configure DNS for Harbor Using an Envoy Service of Type LoadBalancer (NSX-T Networking)
If the prerequisite Envoy service is exposed via a LoadBalancer, obtain the external IP address of the load balancer and create DNS records for the Harbor FQDNs.
-
Get the
External-IPaddress for the Envoy service of type LoadBalancer.kubectl get service envoy -n tanzu-system-ingressYou should see the
External-IPaddress returned, for example:NAME TYPE CLUSTER-IP EXTERNAL-IP PORT(S) AGE envoy LoadBalancer 10.99.25.220 10.195.141.17 80:30437/TCP,443:30589/TCP 3h27mAlternatively you can get the
External-IPaddress using the following command.kubectl get svc envoy -n tanzu-system-ingress -o jsonpath='{.status.loadBalancer.ingress[0]}' -
To verify the installation of the Harbor extension, update your local
/etc/hostsfile with the Harbor and Notary FQDNs mapped to theExternal-IPaddress of the load balancer, for example:127.0.0.1 localhost 127.0.1.1 ubuntu #TKG Harbor with Envoy Load Balancer IP 10.195.141.17 core.harbor.domain 10.195.141.17 core.notary.harbor.domain -
To verify the installation of the Harbor extension, log in to Harbor.
- Create two CNAME records on a DNS server that map the Envoy service Load Balancer
External-IPaddress to the Harbor FQDN and the Notary FQDN. - Install the External DNS extension.
Configure DNS for Harbor Using an Envoy Service of Type NodePort (vDS Networking)
If the prerequisite Envoy service is exposed via a NodePort, obtain the virtual machine IP address of a worker node and create DNS records for the Harbor FQDNs.
Note: To use NodePort, you must have specified the correct port.https value in the harbor-data-values.yaml file.
-
Switch context to the vSphere Namespace where the cluster is provisioned.
kubectl config use-context VSPHERE-NAMESPACE -
List the nodes in the cluster.
kubectl get virtualmachines -
Pick one of the worker nodes and describe it using the following command.
kubectl describe virtualmachines tkg2-cluster-X-workers-9twdr-59bc54dc97-kt4cm -
Locate the IP address of the virtual machine, for example
Vm Ip: 10.115.22.43. -
To verify the installation of the Harbor extension, update your local
/etc/hostsfile with the Harbor and Notary FQDNs mapped to the worker node IP address, for example:127.0.0.1 localhost 127.0.1.1 ubuntu #TKG Harbor with Envoy NodePort 10.115.22.43 core.harbor.domain 10.115.22.43 core.notary.harbor.domain -
To verify the installation of the Harbor extension, log in to Harbor.
- Create two CNAME records on a DNS server that map the worker node IP address to the Harbor FQDN and the Notary FQDN.
- Install the External DNS extension.
Log In to the Harbor Web Interface
Once Harbor is installed and configured, log in and start using it.
-
Access the Harbor Registry web interface at
https://core.harbor.domain, or the hostname you used. -
Log in to Harbor with the username admin and the generated password that you put in the
harbor-data-values.yamlfile. -
Verify that you can access the Harbor user interface.
-
Obtain the Harbor CA certificate.
In the Harbor interface, select Projects > library, or create a New Project.
Click Registry Certificate and download the Harbor CA certificate (ca.crt).
-
Add the Harbor CA certificate into the trust store of Docker client so you can push and pull container images to and from the Harbor Registry. See Using Container Registries with TKG Clusters on Supervisor.
- Refer to the Harbor documentation for details on using Harbor.
