The Uploading Upgrade Package assists you with uploading the upgrade/patch package for VMware Telco Cloud Operations system using command-line interface and user interface.
Procedure
- Run the following commands from a host with SSH access to the Control Plane Node:
ssh clusteradmin@control-plane-ip docker tag registry.cluster.omega.local:8443/omega/omega-patching-runner:1.0.0-2 registry.cluster.omega.local:8443/omega/omega-patching-runner:latest
ssh clusteradmin@control-plane-ip docker push registry.cluster.omega.local:8443/omega/omega-patching-runner:latest
Note: You must run the earlier mentioned commands before installing a patch for the first time.
- To create a directory on the control plane node, run the following commands:
$ mkdir upgrade-package
- Copy the package to the control plane node of the VMware Telco Cloud Operations.
$ scp <patching file name>.tar.gz root@control-plane-ip:/var/vmware/patching/patch-repo/
For example:
scp patch-v101.tar.gz [email protected]:/var/vmware/patching/patch-repo/
Note: If root user is not enable, please use clusteradmin user to copy to the clusteradmin home, and move to the location:
/var/vmware/patching/patch-repo/
$ scp <patching file name>.tar.gz clusteradmin@control-plane-ip:/home/clusteradmin/
For example: scp patch-v101.tar.gz [email protected]:/home/clusteradmin/
Then log in to the control plane node. $ ssh clusteradmin@control-plane-ip.
Move the file to the location: $sudo mv <patching file name>.tar.gz /var/vmware/patching/patch-repo/.
For example: sudo mv patch-v101.tar.gz /var/vmware/patching/patch-repo/
- Go to https://Control Plane Node IP
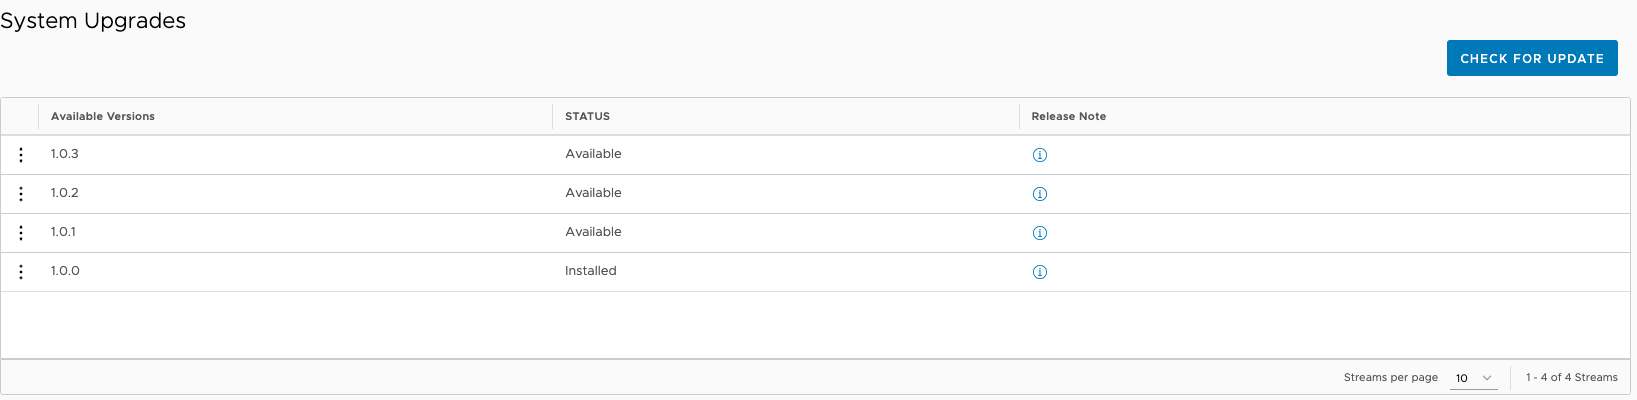
- Navigate to Administration > System Upgrade
- Click Check for Update.
All the available patches which were uploaded to the patching service are listed.