You can also create your own notification console with different filter set available in the Operations UI.
Procedure
- Go to https://Telcocloud serviceassurance-ui-IP.
A typical default URL for logging in to the user interface from the same system on which
VMware Telco Cloud Service Assurance is installed is, https://10.x.x.x.
- On the login screen, enter your username and password.
- Click Next.
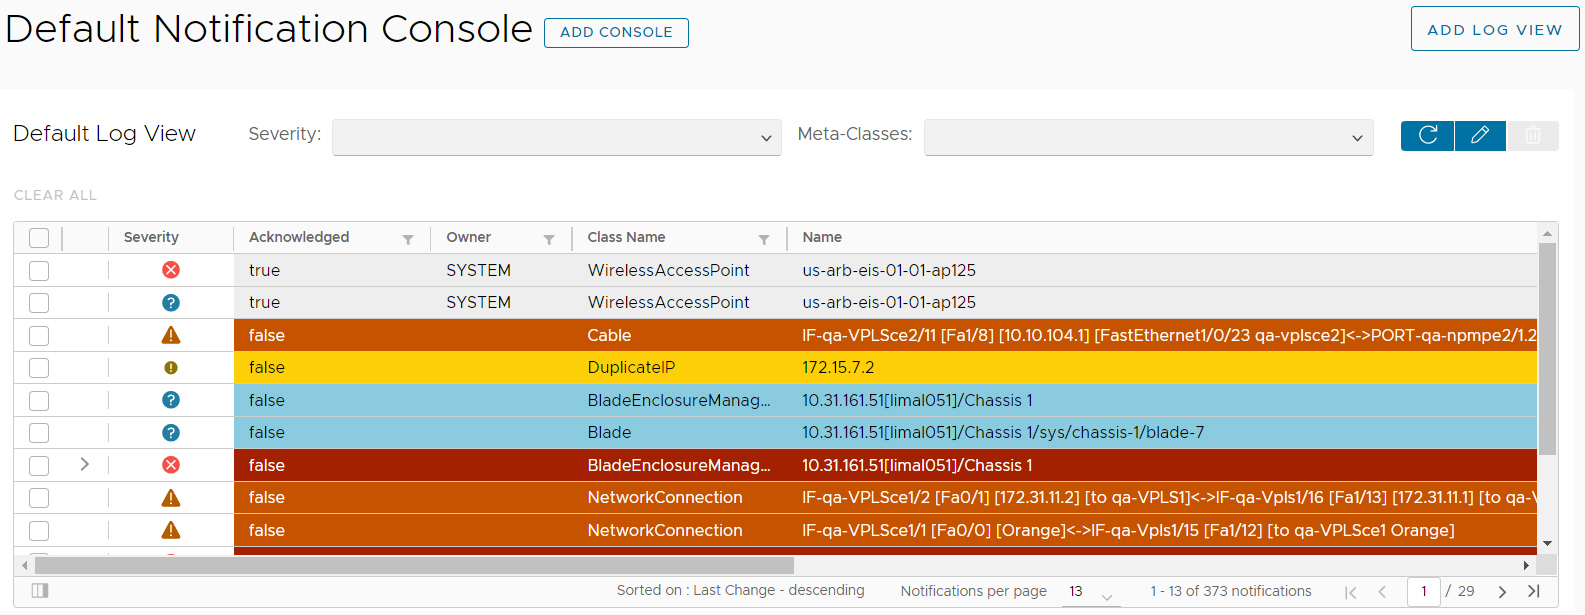
The Notification Console opens.
- To create you own notification console, click Add Console.
- Expand Filters.
- Click Add Another Filter Set.
- Enter name for the Filter Set Name.
- Click Add Attribute, and provide the following:
- Select the required Property from the drop-down.
- Select match or pattern from the Expression category drop-down.
- Match: Provides the exact value that matches with the input.
- Pattern: Provides the detailed value that contains the input character.
Note: You can use regex expression to customize the log view filter. For more information on regex expression, refer
Regular Expression Patterns.
- Enter Value.
- For some specific boolean columns, select Yes or No from the dropdown.
- For a selected integer or string column, provide the exact value as input.
- To add multiple values for a single attribute, click "+" icon. The operation is "OR" between the values like ("ROUTER" "MATCHES" "SWITCH OR ROUTER "). To remove any attribute, click the cross icon.
Note: Within the filter set, all operations are "AND" operations and between the filter set all operation are "OR" operation.
Note: For one attribute, you can have multiple values.
- Click Save.