This section provides instructions to instantiate the Helm charts as CNFs.
Instantiate the tcsa-init CNF
Before instantiating the Helm charts as CNFs, ensure that you create a VMware Tanzu Kubernetes Grid workload cluster. For more information, see Deploying VMware Tanzu Kubernetes Grid Workload Cluster.
- Navigate to the Network Function catalog and instantiate
tcsa initCNF.- Enter Name. For example, tcsa-init, and select the VMware Tanzu Kubernetes Grid workload cluster on which you want to deploy it.
- Enable Auto Rollback in Advanced Settings and click Next.

- In the Inventory Detail section, set the Namespace to default and select the default library chart repository, that is, the https://<harbor-registry-fqdn>/chartrepo/library endpoint of the associated registry and click Next.
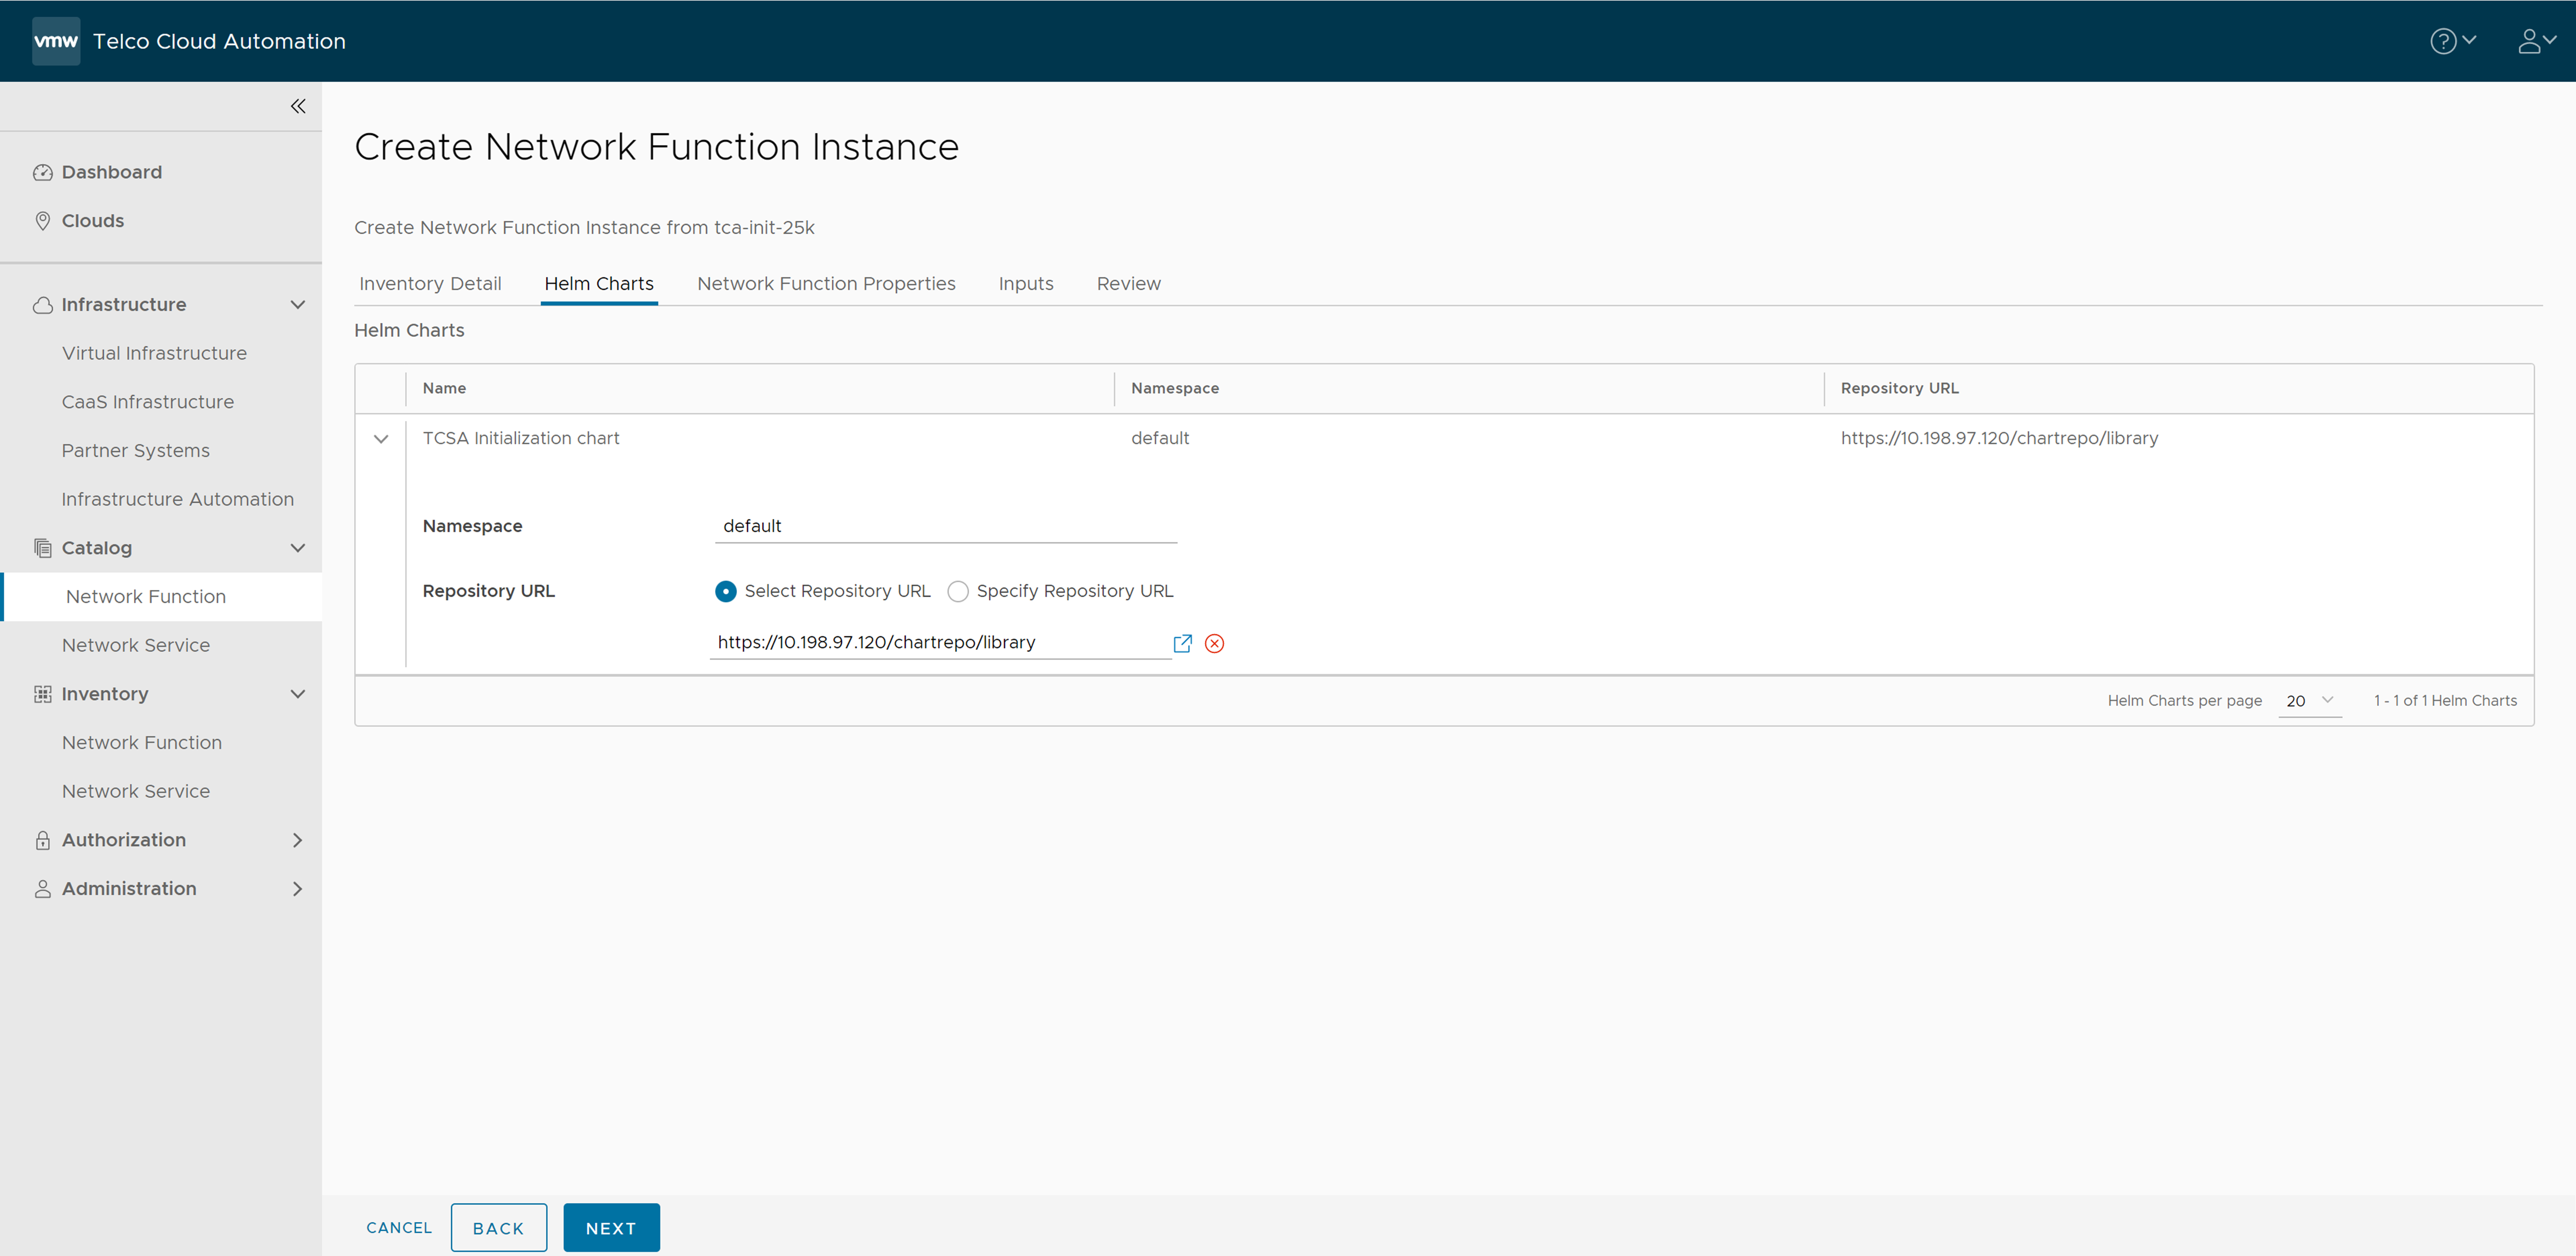
- The Network Function Properties page appears. Click Next.
- In the Inputs section, retain the default value and click Next.
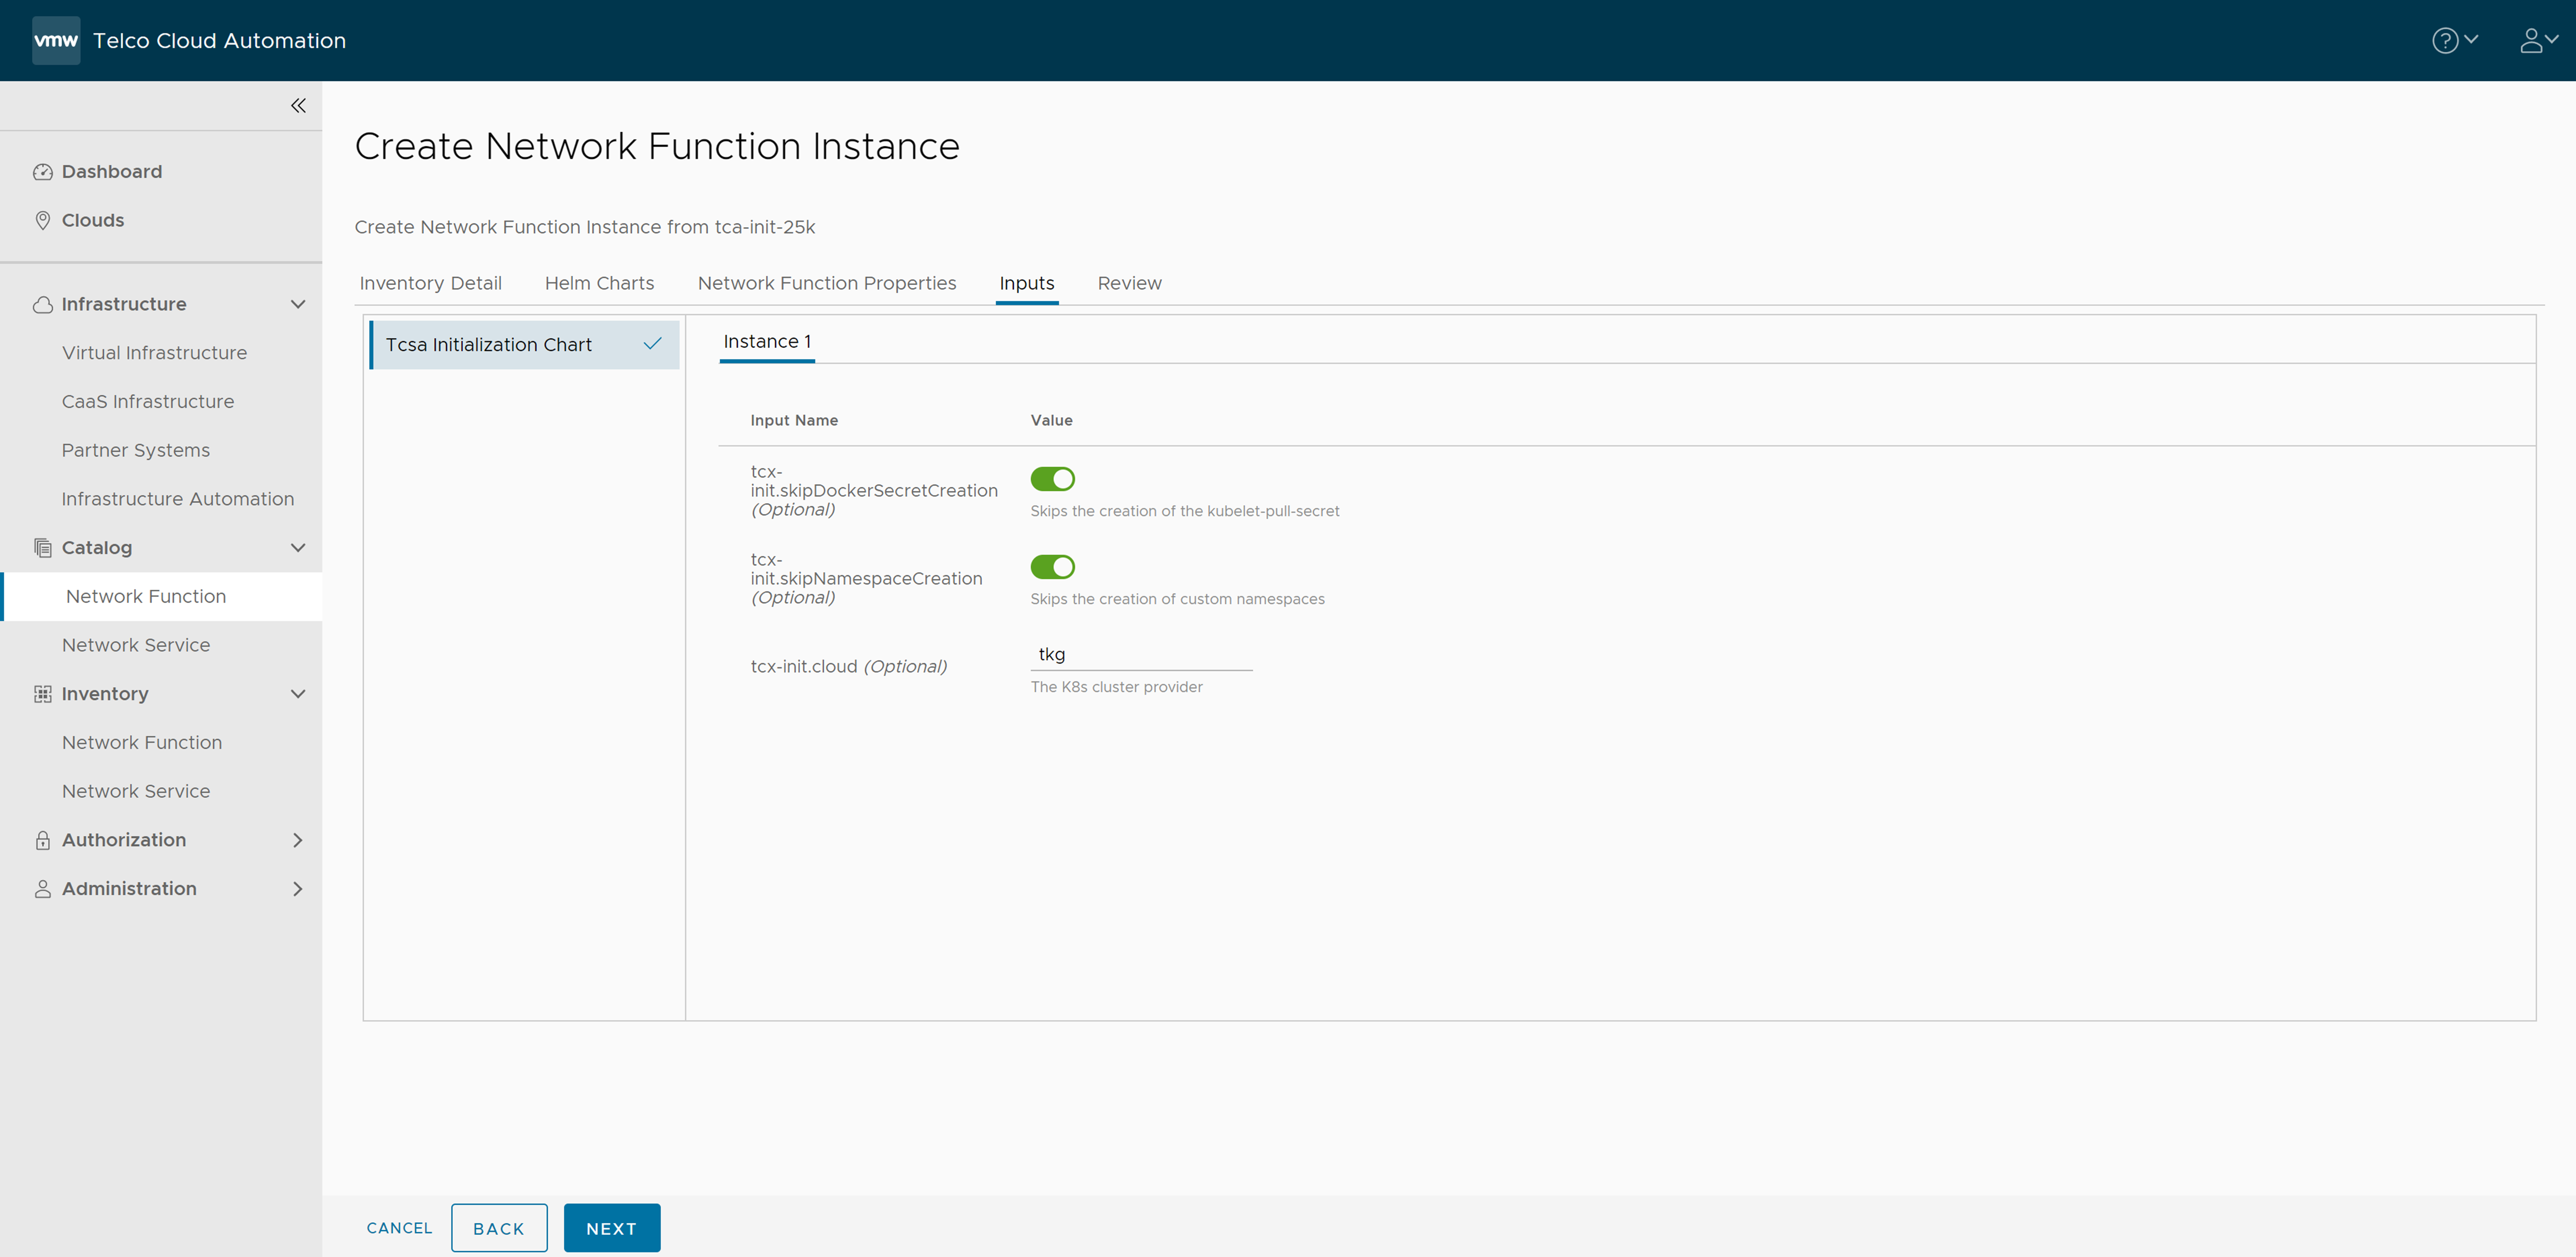
- Click Instantiate.
- Verify the instantiation is successful.
Instantiate the admin-operator CNF
- Navigate to the Network Function catalog and instantiate admin operator CNF.
- Enter Name. For example, admin-operator, and select the VMware Tanzu Kubernetes Grid workload cluster on which you want to deploy it.
- Enable Auto Rollback in Advanced Settings and click Next.

- In the Inventory Detail section, set the Namespace to default and select the default library chart repository, that is, the https://<harbor-registry-fqdn>/chartrepo/library endpoint of the associated registry and click Next.
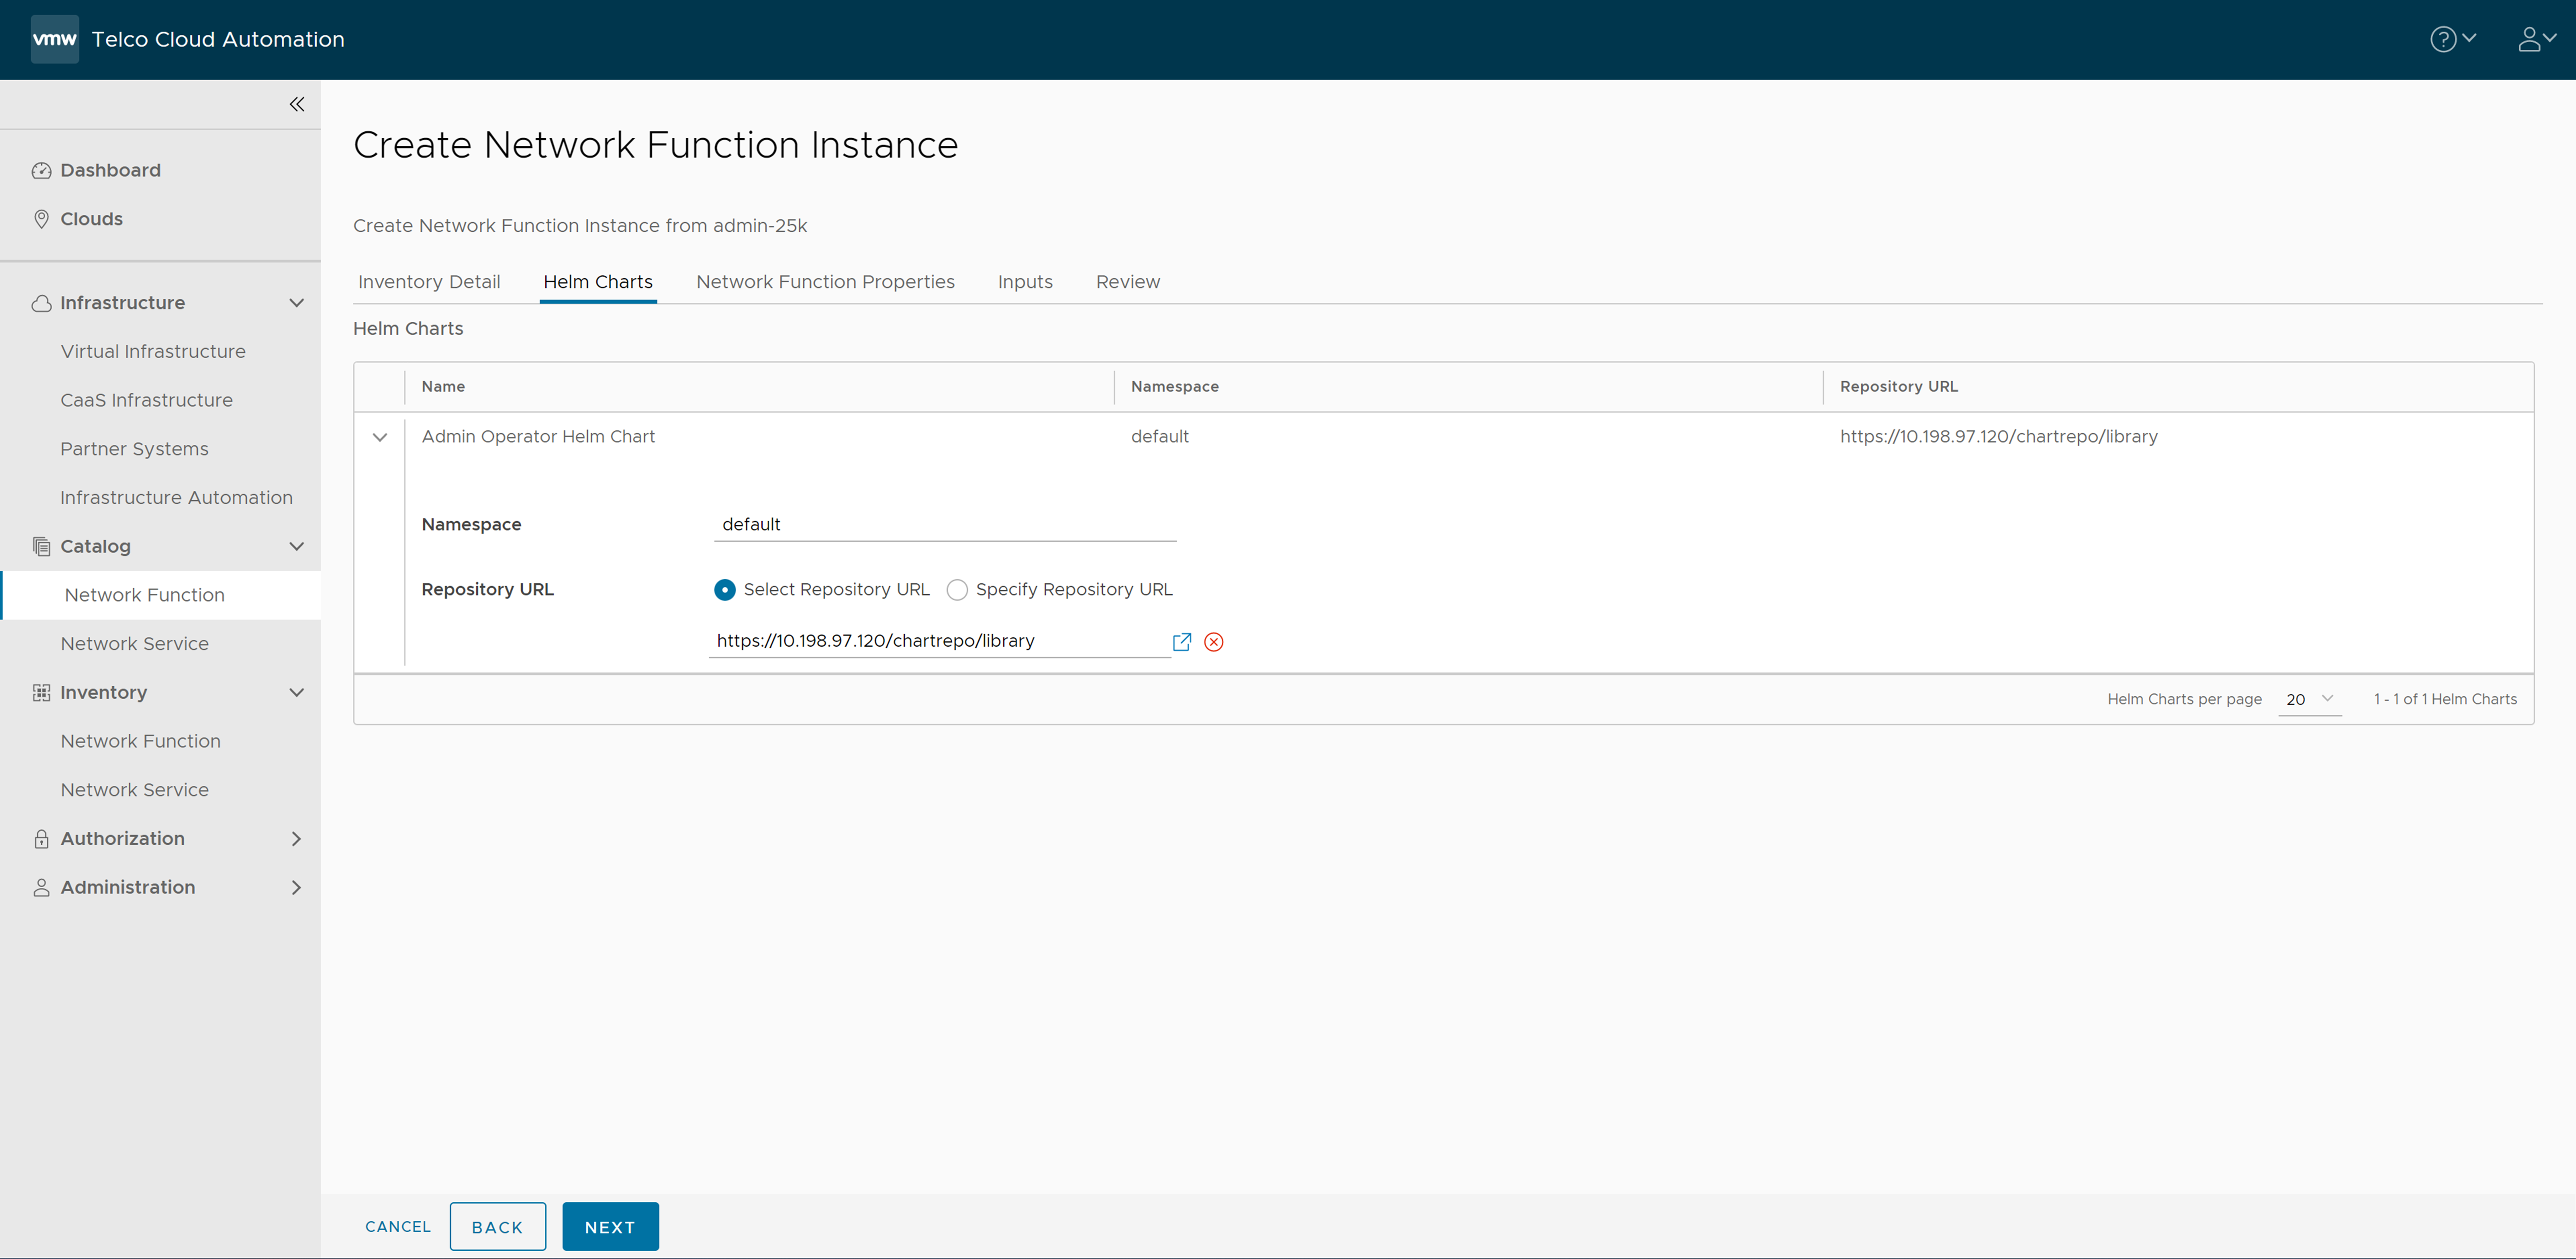
- The Network Function Properties page appears. Click Next.
- In the Inputs section, retain the default value and click Next.

- Click Instantiate.
- Verify the instantiation is successful.
Instantiate tcsa (VMware Telco Cloud Service Assurance) CNF
- Navigate to the Network Function catalog and instantiate VMware Telco Cloud Service Assurance CNF.
- Enter Name. For example, tcsa, and select the VMware Tanzu Kubernetes Grid workload cluster on which you want to deploy it.
- Enable Auto Rollback in Advanced Settings and click Next.
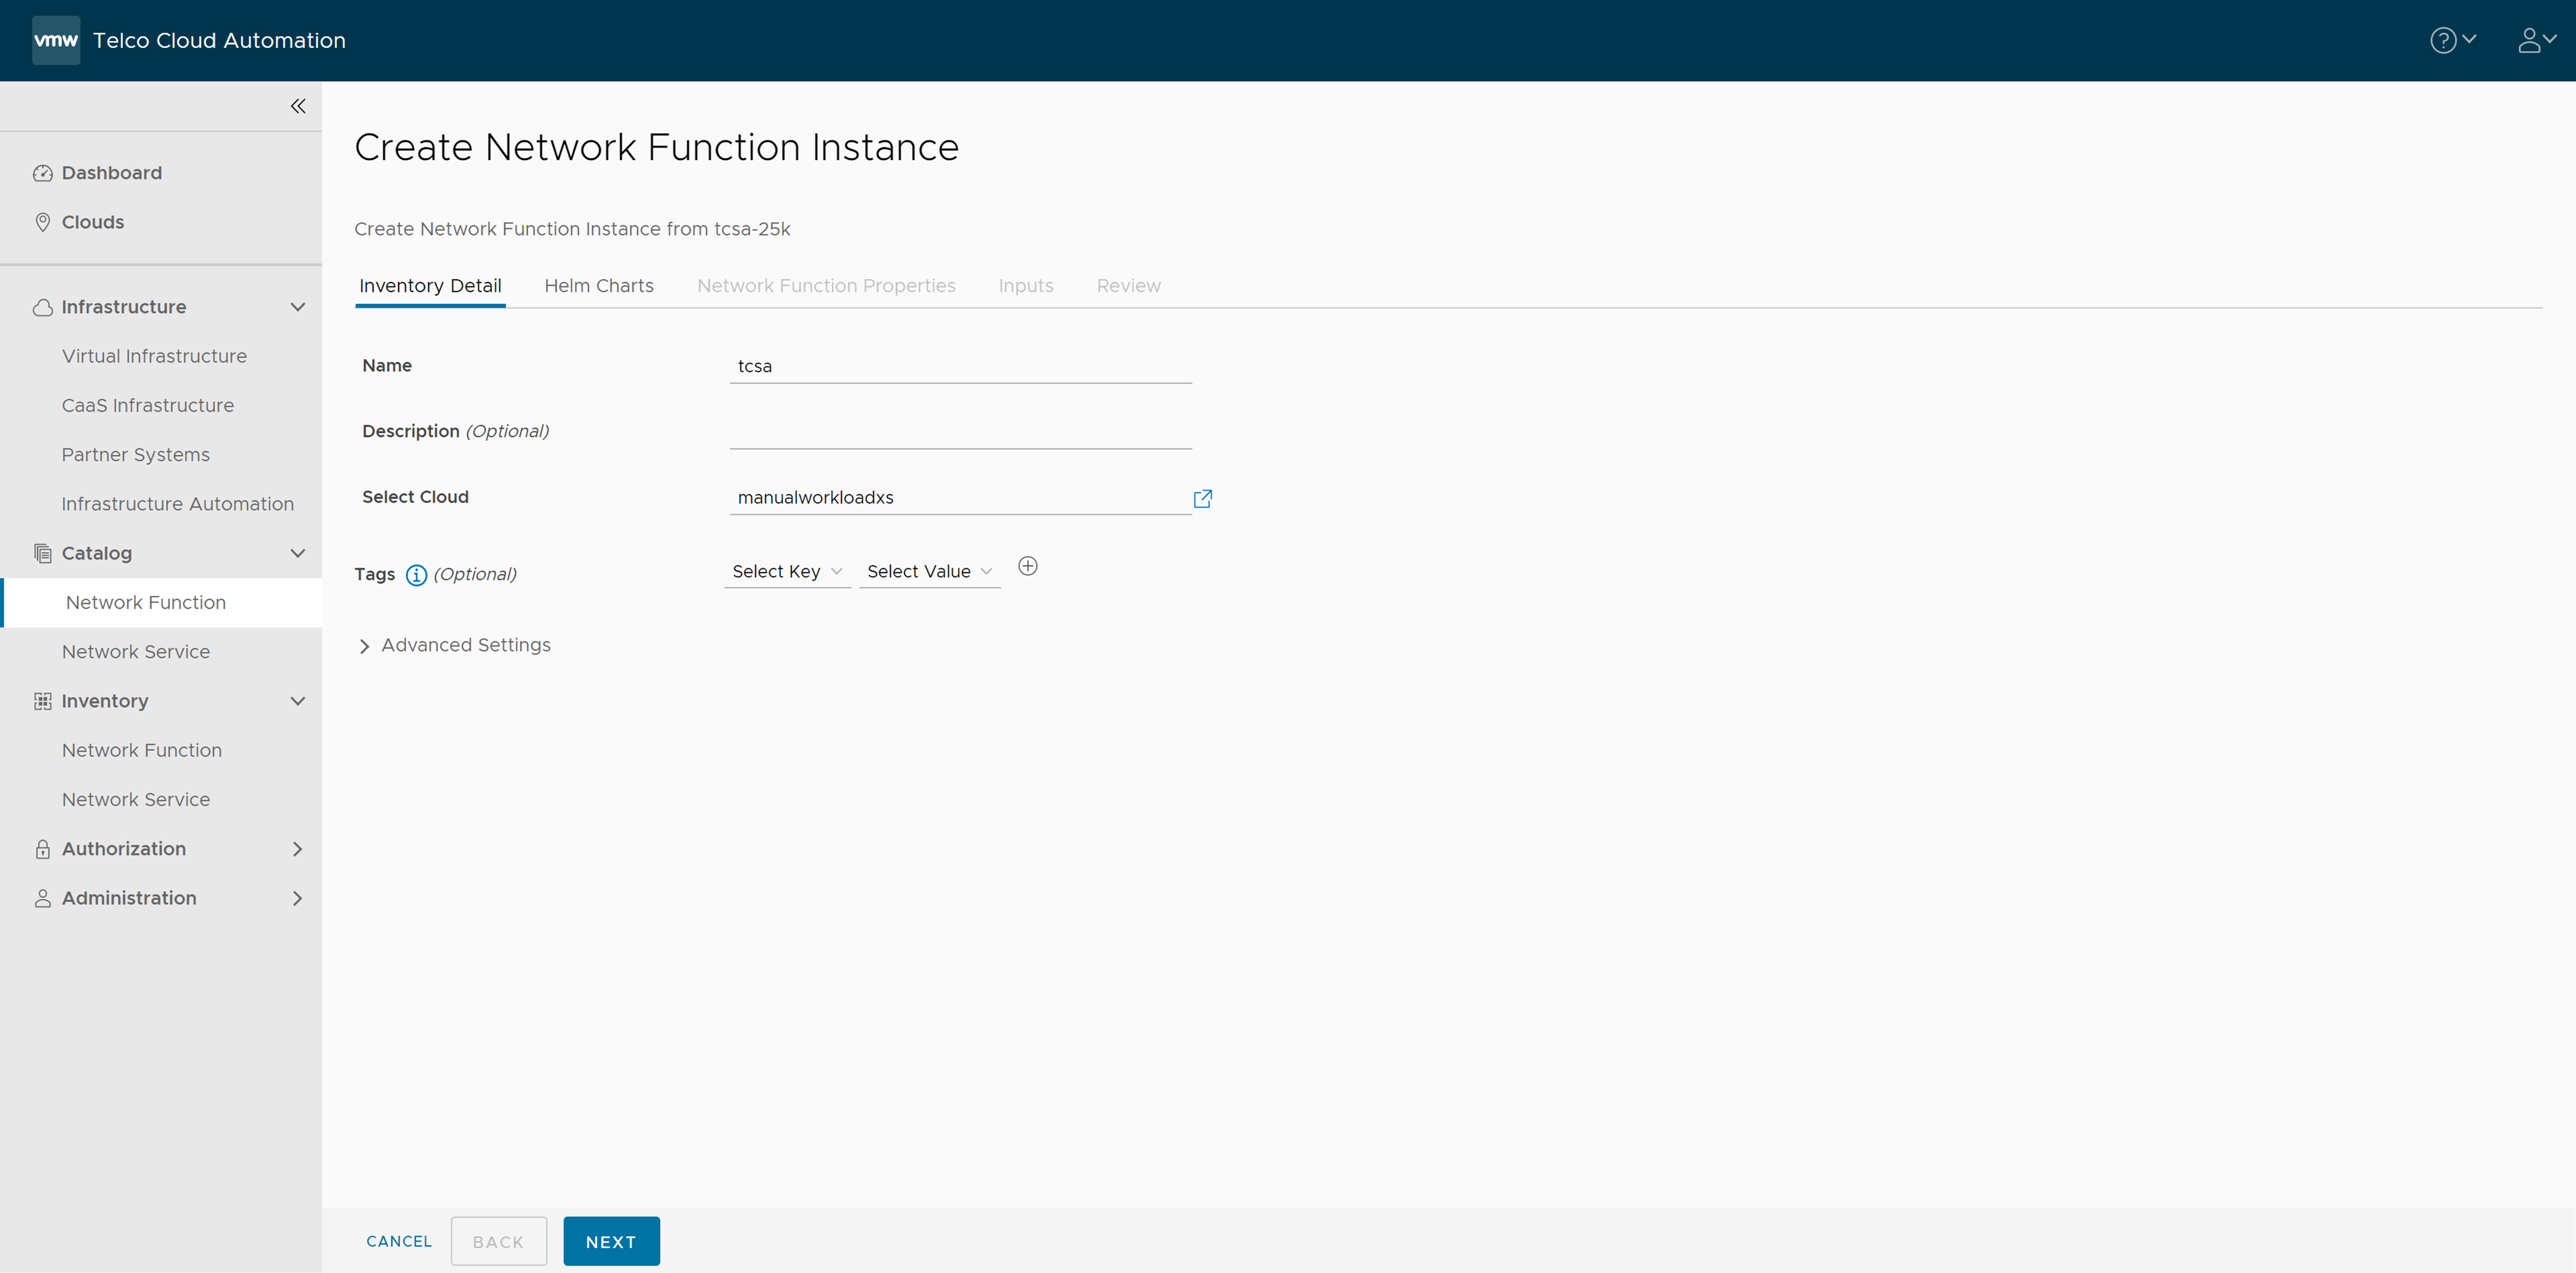
- In the IInventory Detail section, set the Namespace to default and select the default library chart repository, that is, the https://<harbor-registry-fqdn>/chartrepo/library endpoint of the associated registry and click Next.

- In the Inputs section, update the following parameters:
- Set registryRootUrl to the same value as the
--registry-urlparameter in the installer script of the Push Artifacts to Registry topic. - Set dashboardStaticAccessIp to the virtual IP of VMware Telco Cloud Service Assurance workload cluster.
- Set footprint to the VMware Telco Cloud Service Assurance footprint that you are deploying. For example, demo, 25k, 50k, 75k, 100k, and so on.
- Set edgeServicesStaticAccessIp to the virtual IP of the VMware Telco Cloud Service Assurance workload cluster.
- Set statusChecker.enabled to disabled state if it is enabled. The default value is
disabled. -
Note: The statusChecker.enabled parameter is disabled in VMware Telco Cloud Service Assurance because VMware Telco Cloud Automation does not support CNF timeouts.
- Set elasticsearch.retentionInterval to the desired retention period of metrics in Elasticsearch.
Note: By default, the retention interval is 1w. The retention interval values can be 1w, 2w, 3w, 4w, 5w, 4w, or 7w.
- Set appSpecs.elasticsearch.additionalValuesFile to one of the values like values-retention-1w, values-retention-2w, values-retention-3w, values-retention-4w, values-retention-5w, values-retention-6w, or values-retention-7w.
Select the same retention period as elasticsearch.retentioninterval. For example, values-retention-1w for 1 week. This is an additional configuration required to properly configure the retention of metrics in Elasticsearch.Note: Setting the Elasticsearch retention parameters is optional. By default, the retention interval is 1w for elasticsearch.retentioninterval and values-retention-1w for appSpecs.elasticsearch.additionalValuesFile.
Backup and Restore parameters are optional and must be configured only in-case if you are using external AWS or vSAN file services for Backup and Restore operations.
If AWS is used for backup, then update the following parameters:minioDatastoreType=s3 bucketName : Userdefined name, where the backup will be stored in AWS environment. accesskey : accesskey and secretkey are specific to the individual AWS account. secretkey : accesskey and secretkey are specific to the individual AWS account.
If VMware vSAN file service is used for backup, then update the following parameters:minioDatastoreType=nas nfsProvisionerEnabled: true nfsPath : nfspath where the backup will be stored. nfsServer : nfs-server on which backup will be stored. bucketName :Userdefined name, where the backup will be stored in VSAN file services.
For more information on configuring VMware vSAN file services, see Enabling VMware vSAN File Services topic.
- Set registryRootUrl to the same value as the
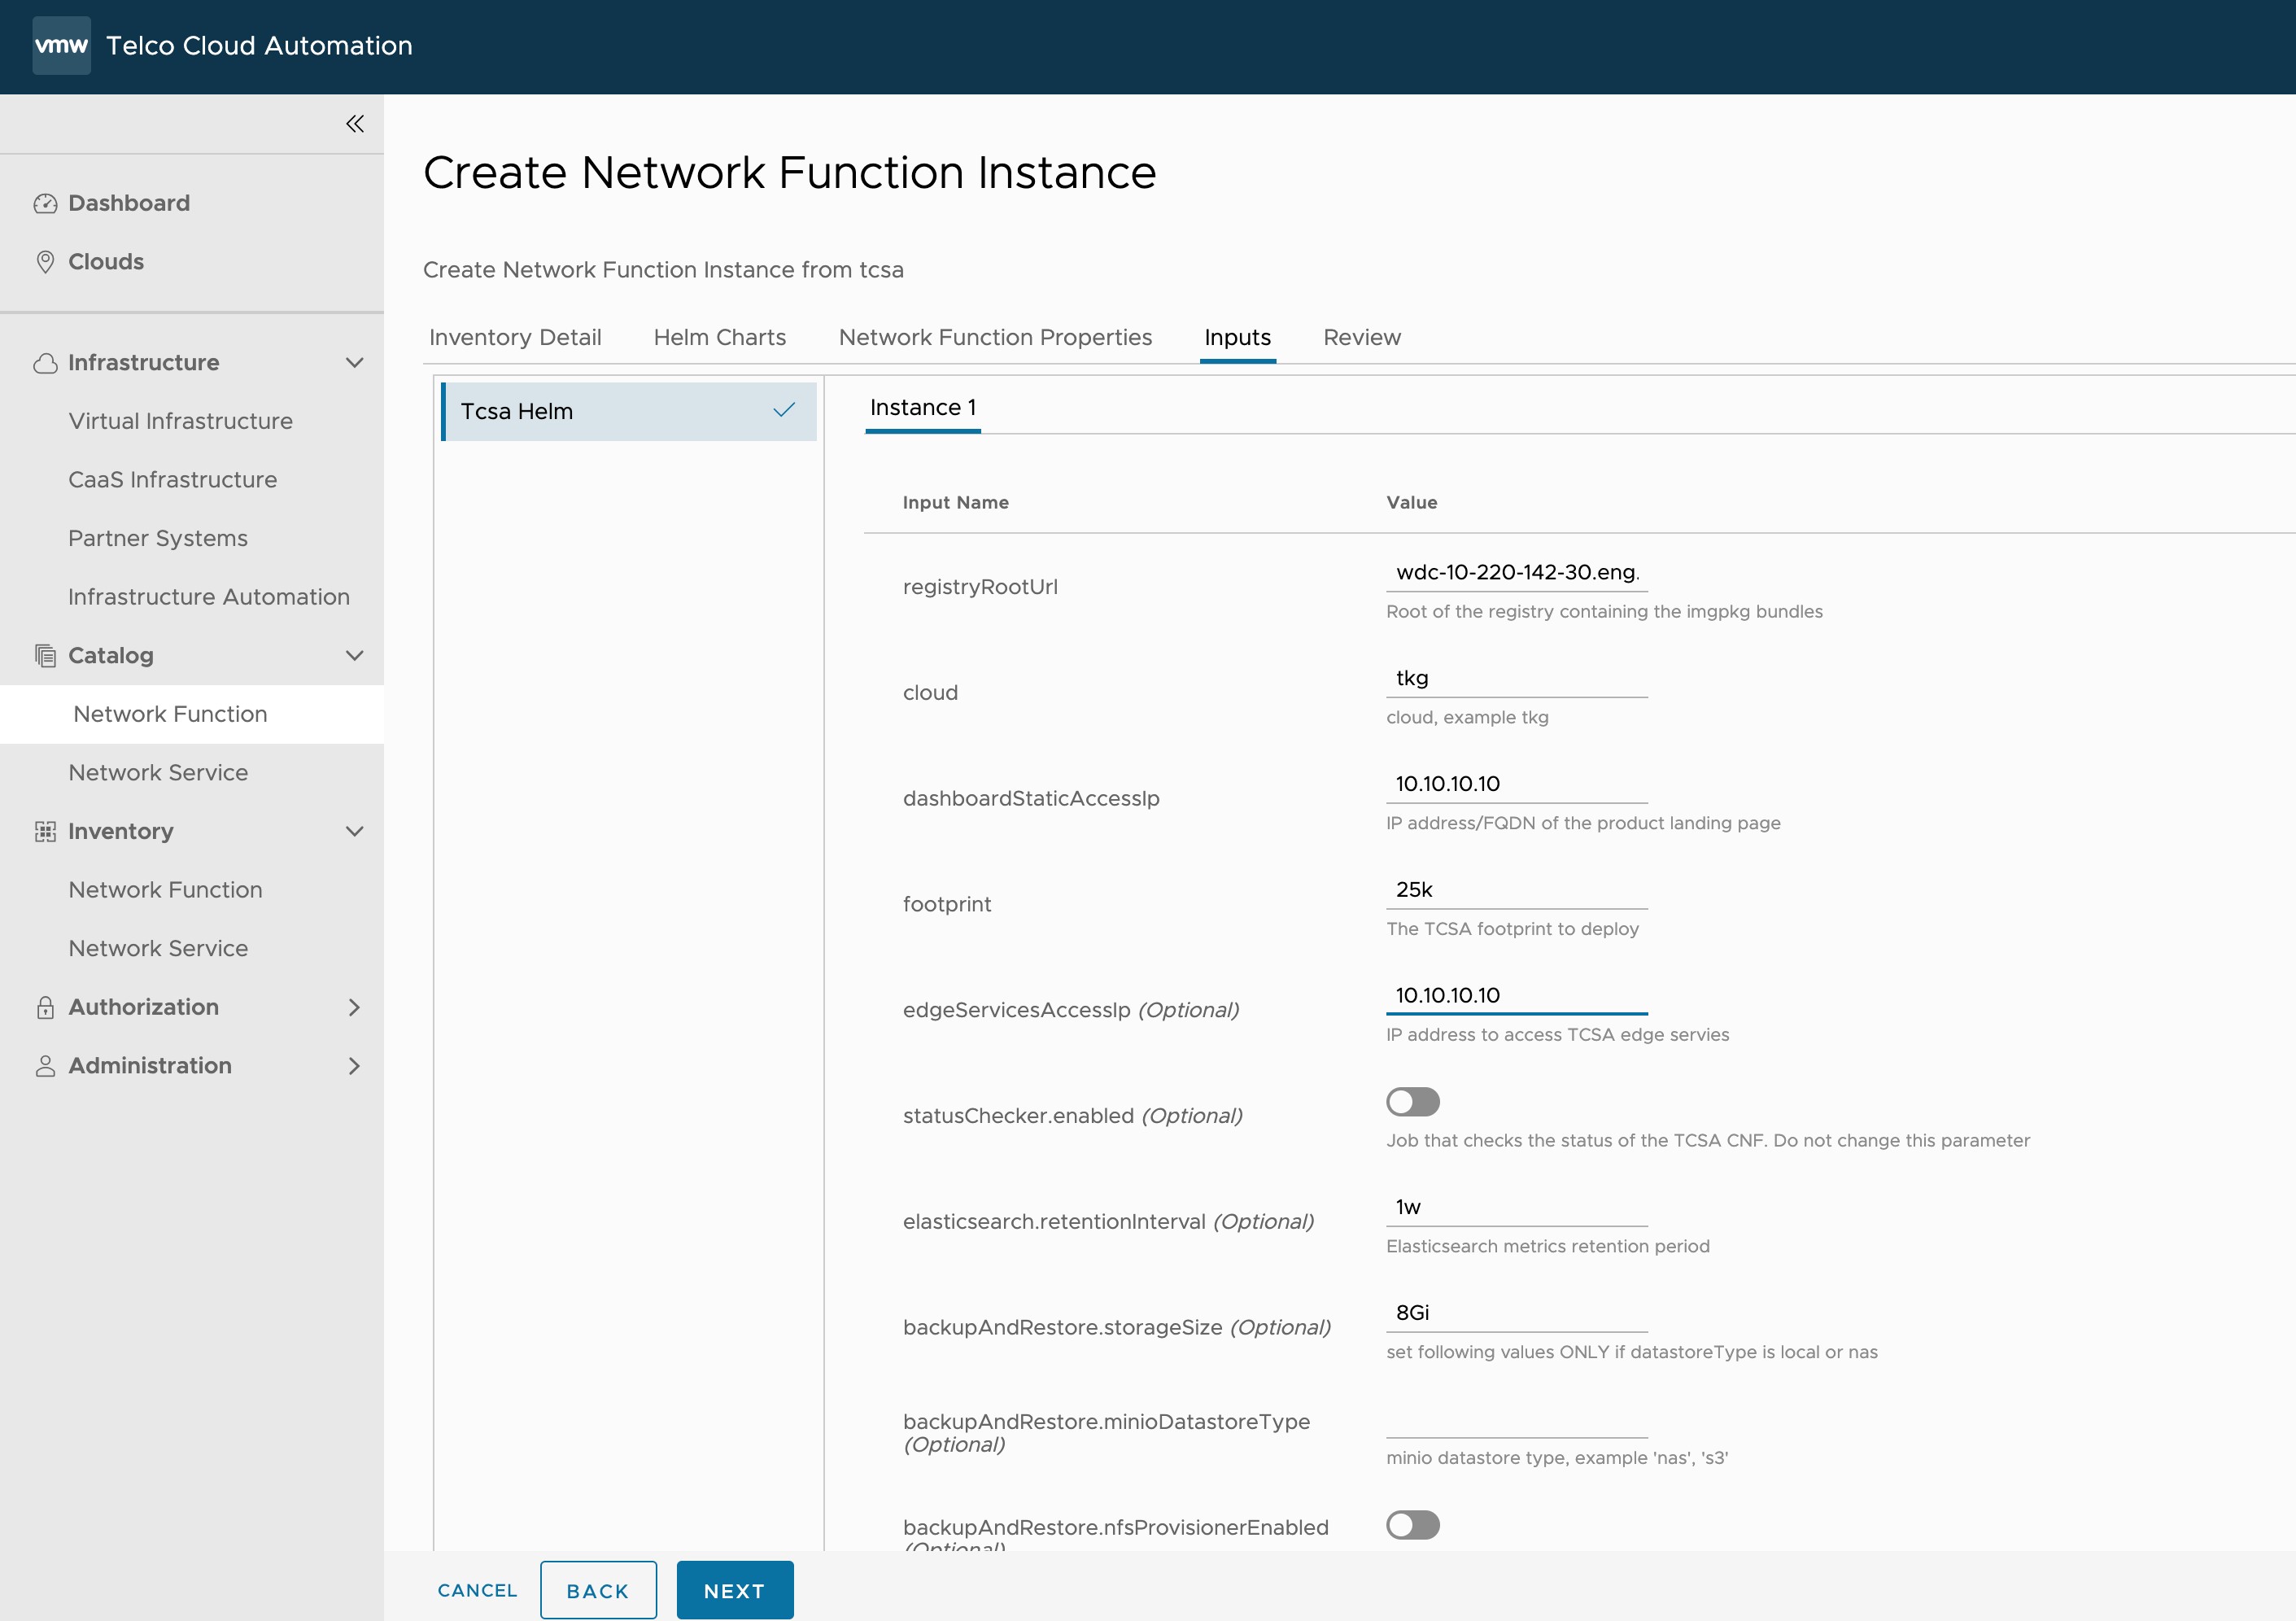
- Click Next.
- Click Instantiate.
- Verify the instantiation is successful.
Verify the deployment status by logging on to the deployment VM and running the following kubectl command:
root [ ~/base/tcx-deployer/clis ]# kubectl get tcxproduct OR root [ ~/base/tcx-deployer/clis ]# kubectl get apps
For all the apps, the reconcilation status must be successful.
Note: After the deployment is complete, you can view the version in the
About page of VMware Telco Cloud Service Assurance UI.