The section provides procedure to instantiate applications in VMware Telco Cloud Service Assurance using tps.csar file.
- Launch VMware Telco Cloud Automation and navigate to .
- Select TPS CNF, click the vertical ellipsis (⋮) and then click Instantiate.
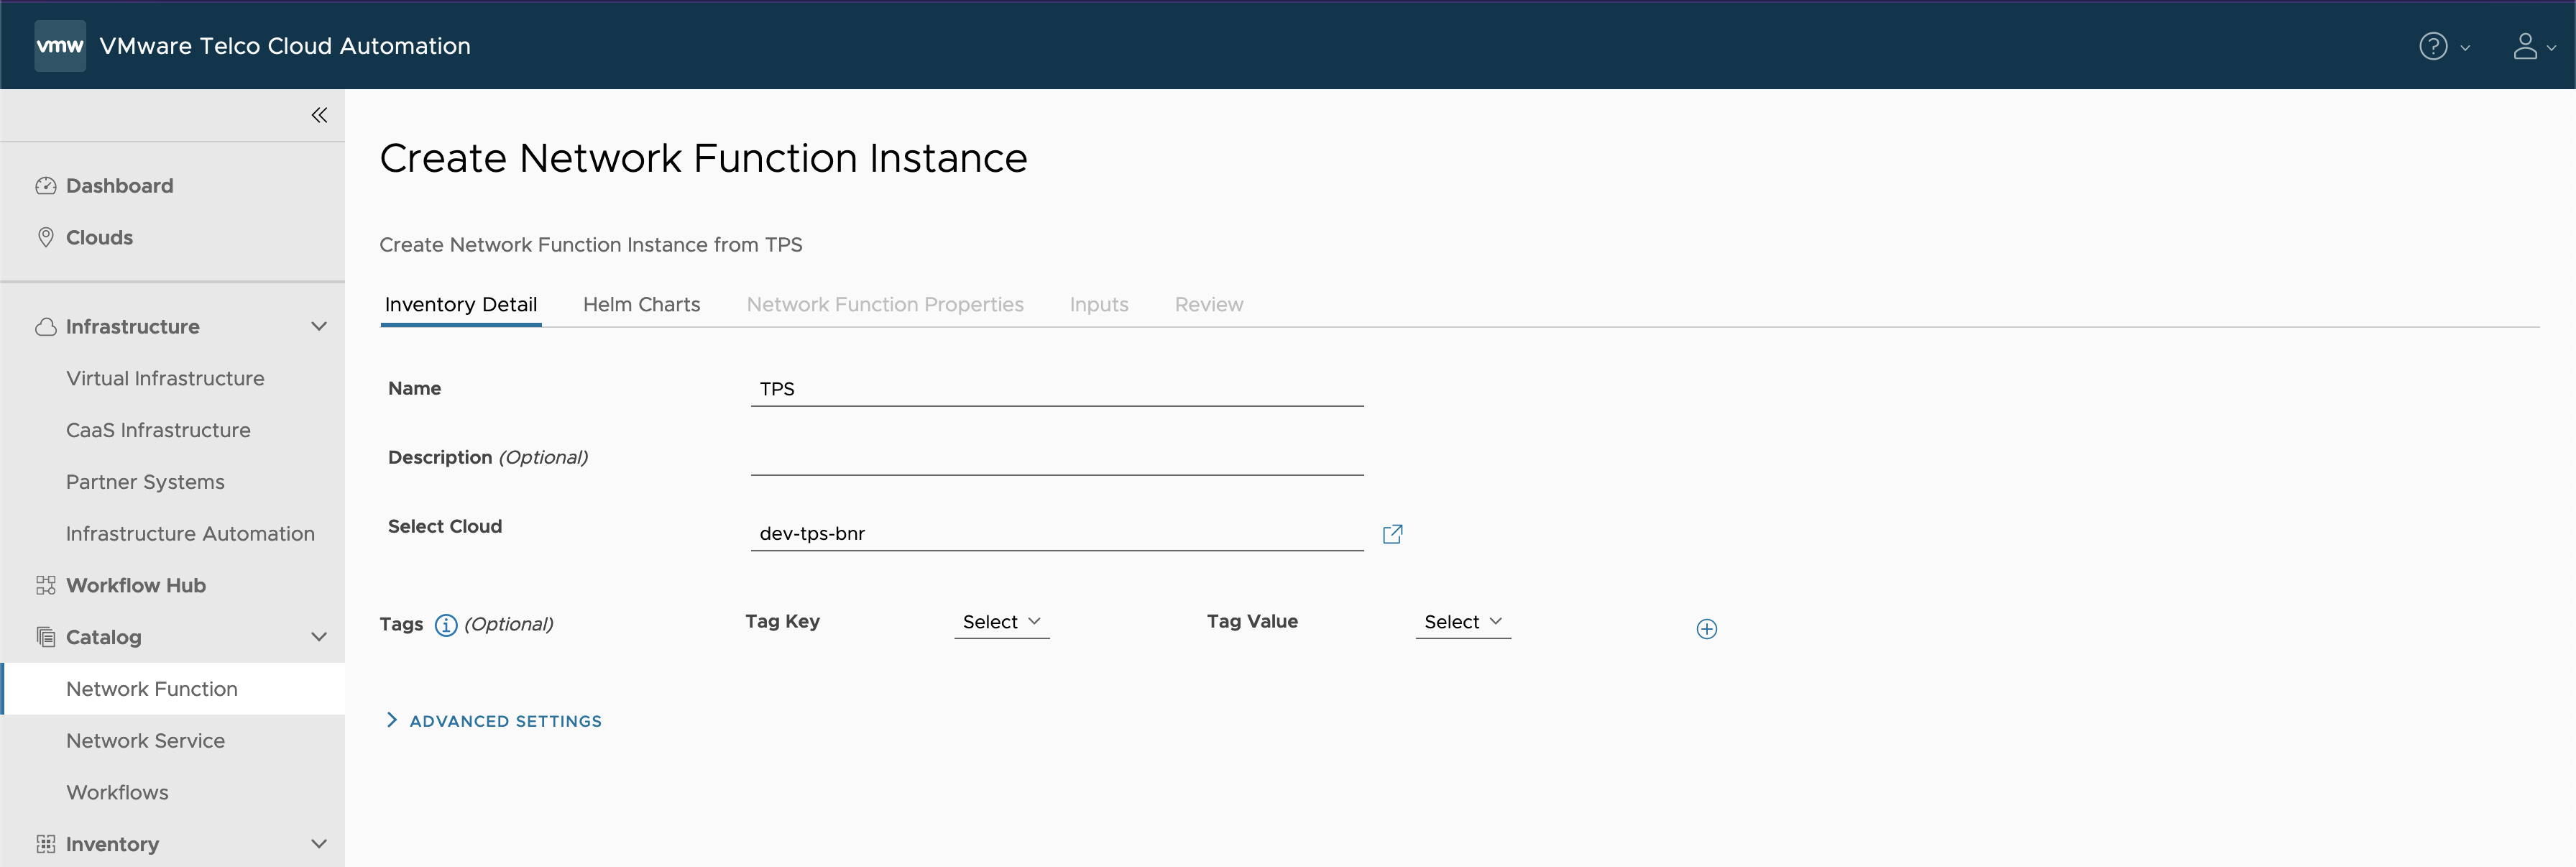
- Under Inventory Detail, enter Name and select the VMware Tanzu Kubernetes Grid workload cluster on which you want to deploy it.
- Under Helm Charts, enter the Namespace as tps-system and select Repository URL as
<oci://<registryRootUrl>>.Note: Use the same registryRootUrl as specified during the push artifacts to registry step.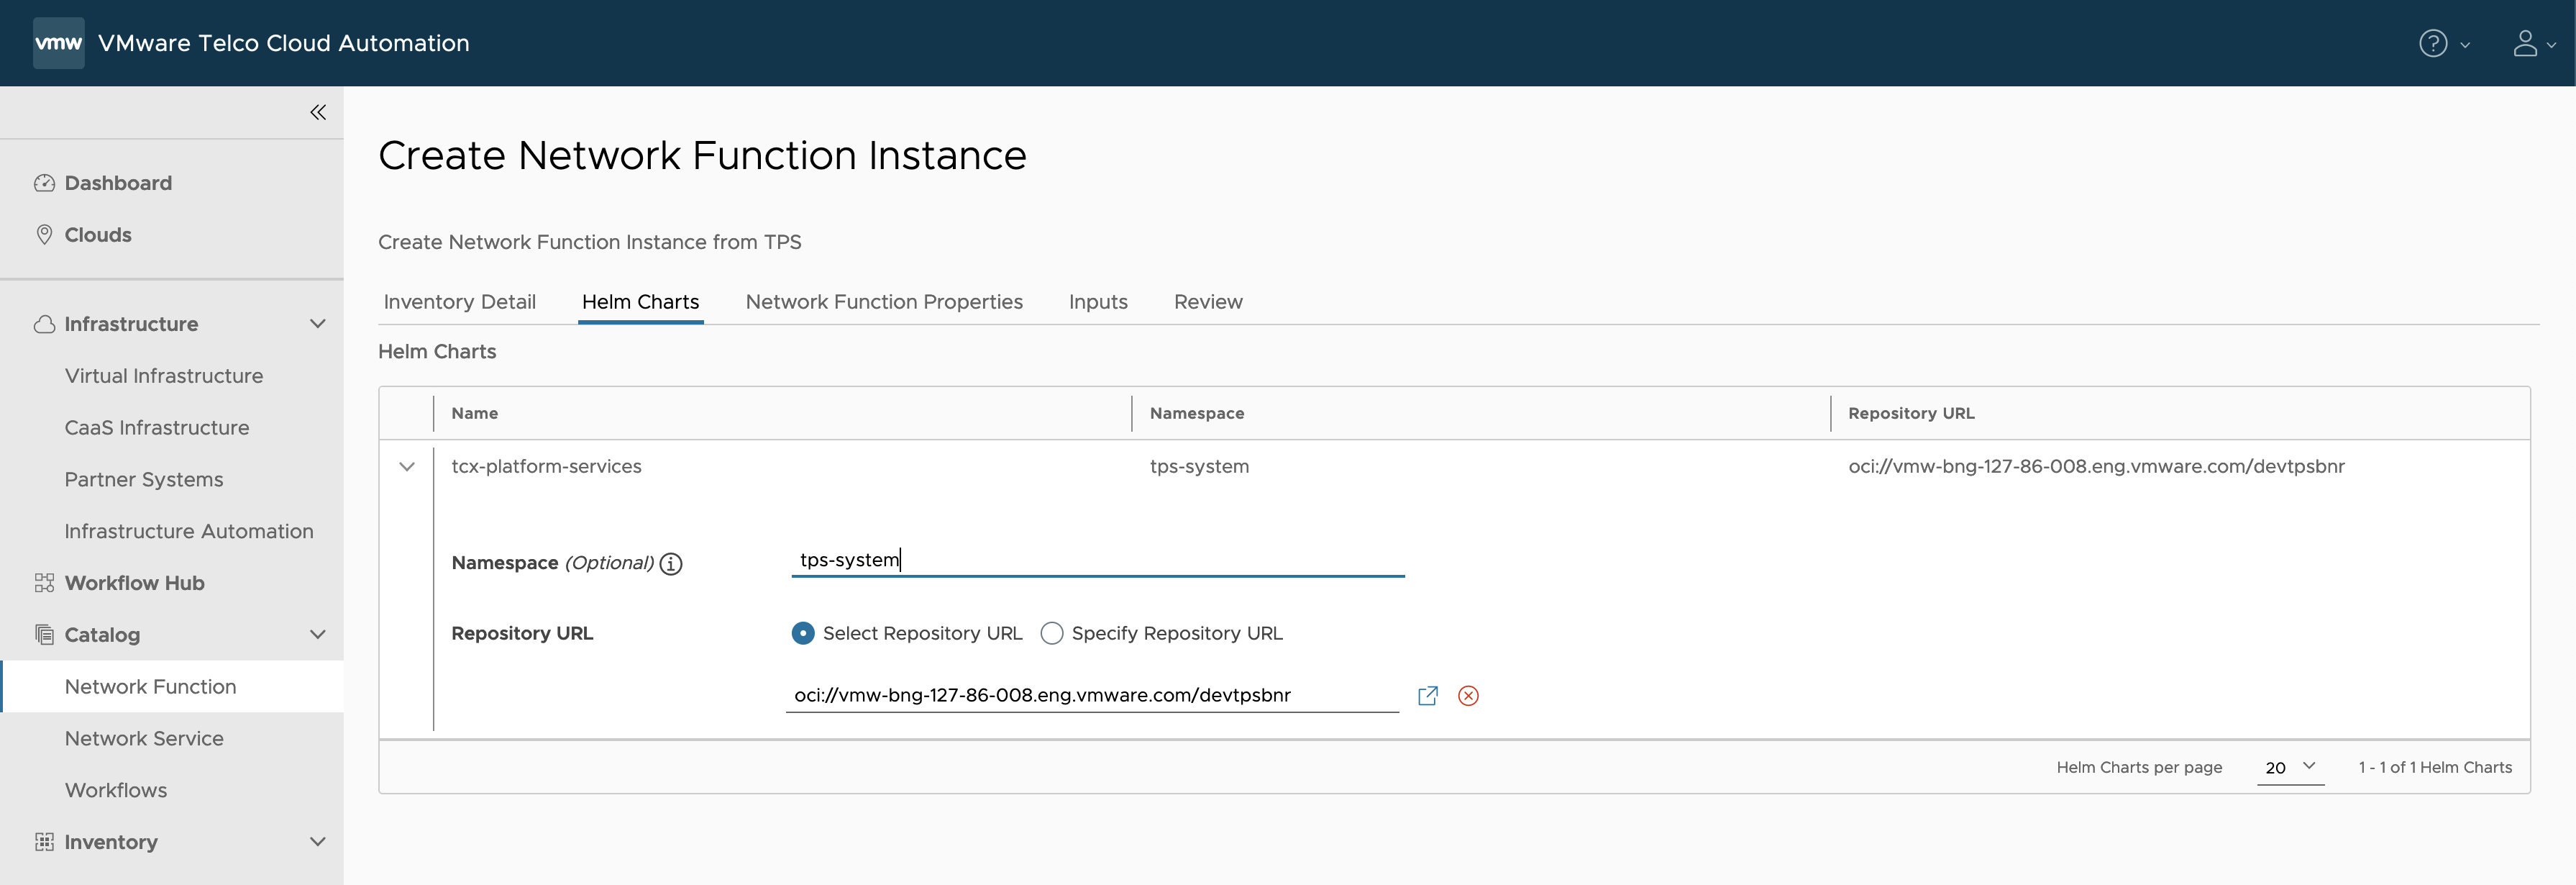
- Click Next.
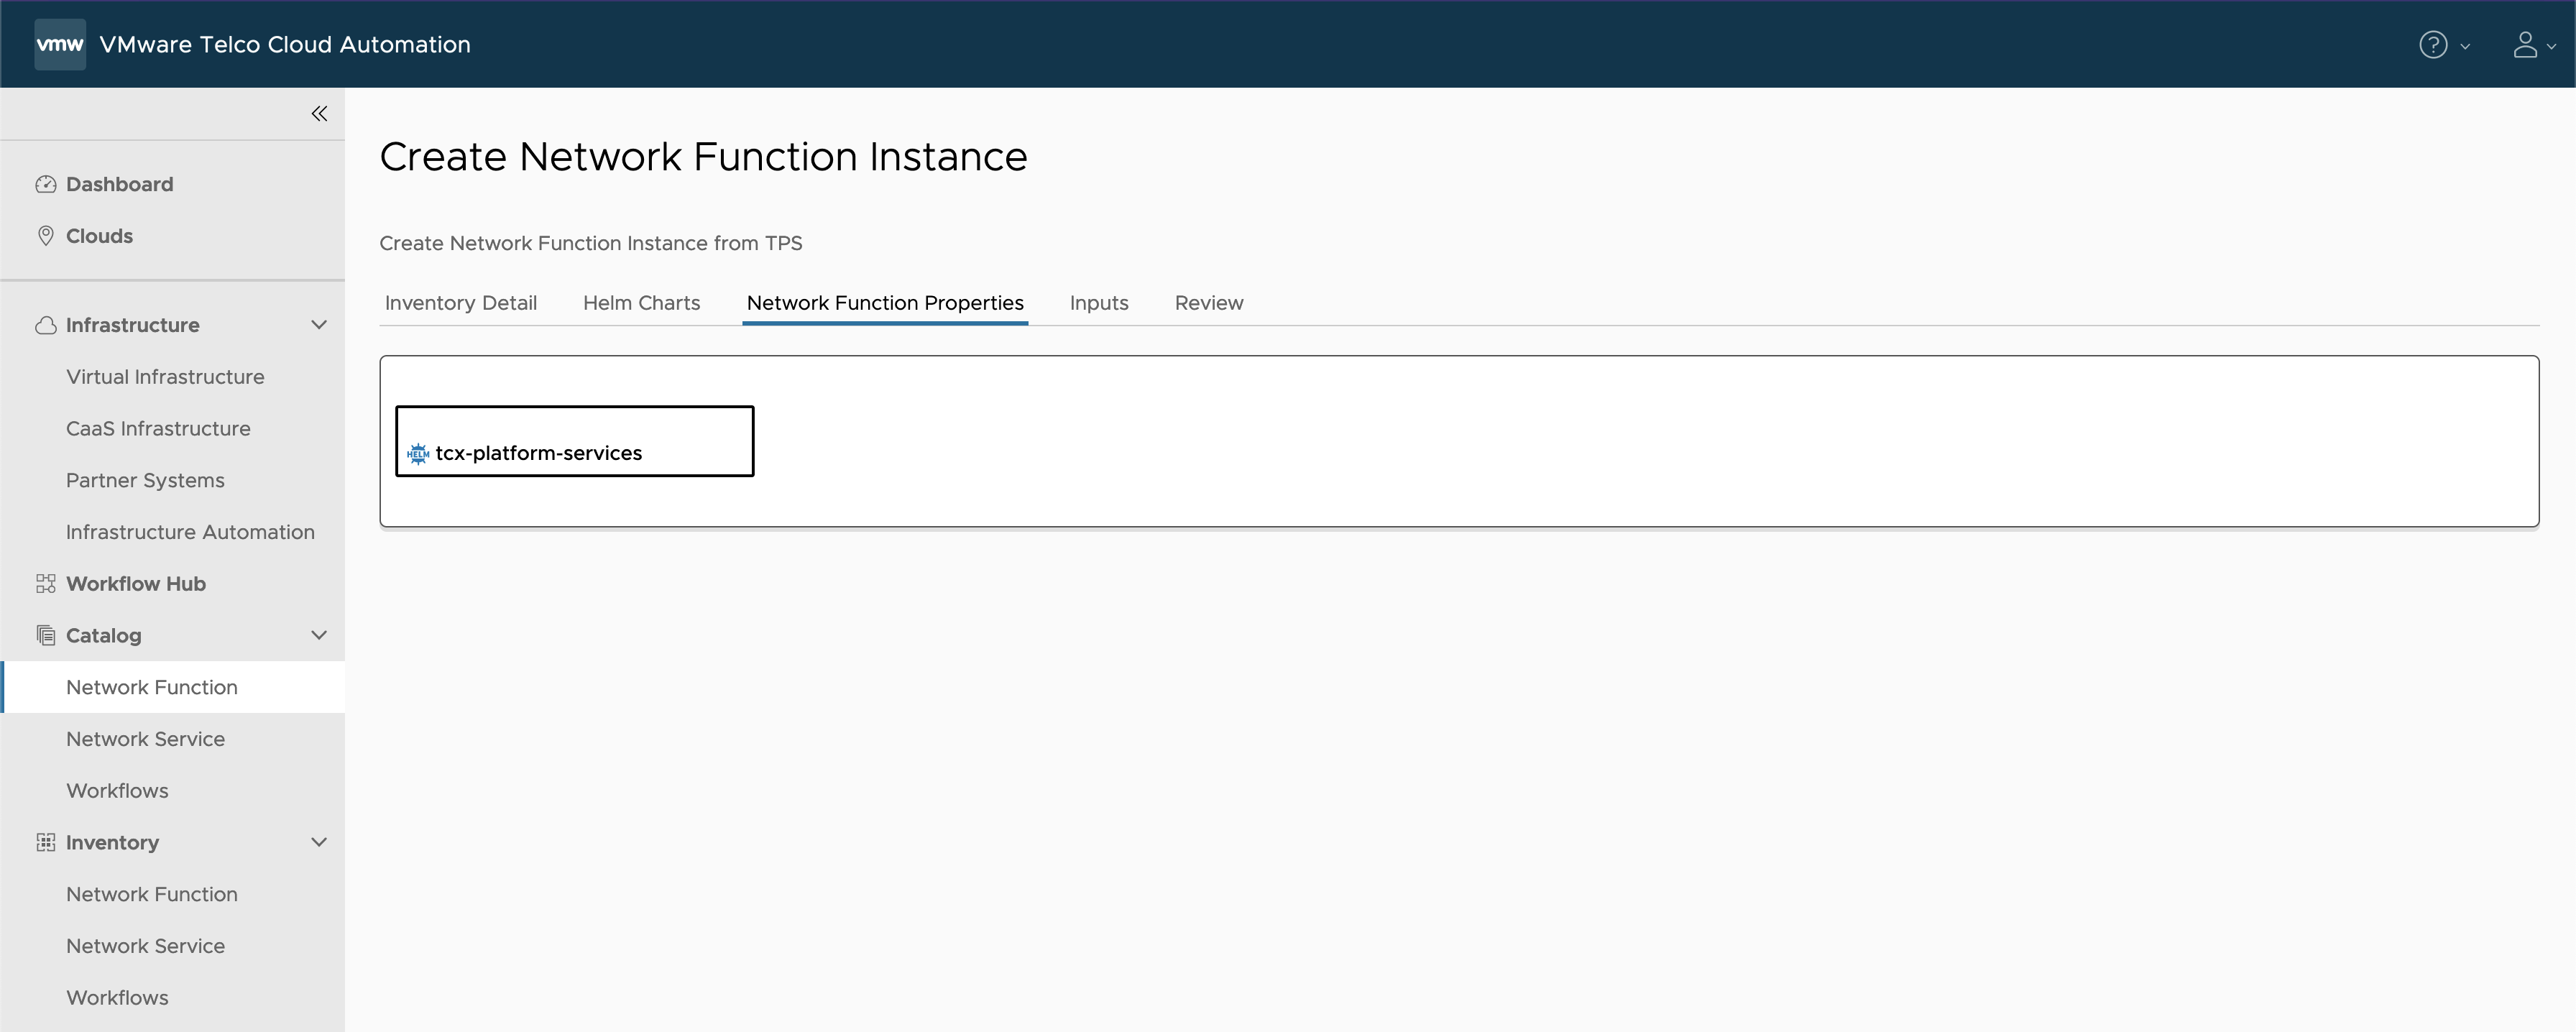
- Under Network Function Properties, click Next.
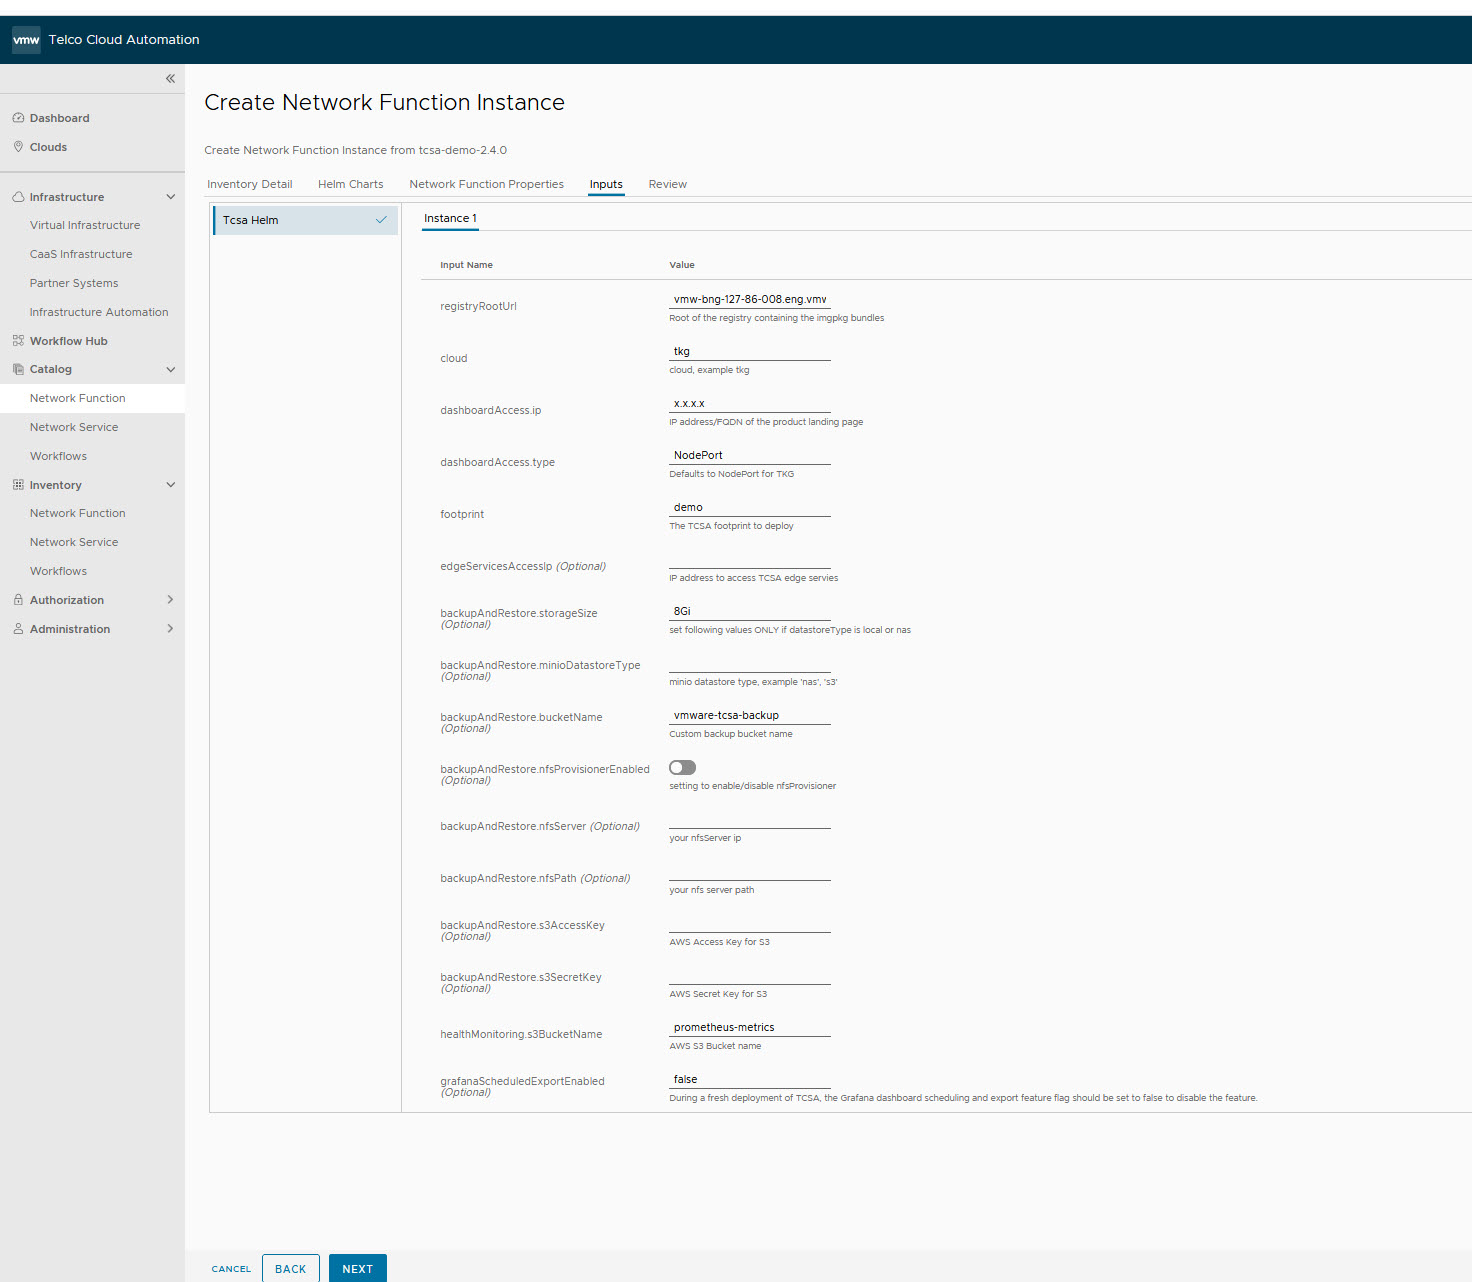
- In the Inputs section, update the following parameters:
- Set registryRootUrl to the same value as the
--registry-urlparameter of the installer script in the Push Artifacts to Registry topic. - For the imagePullSecret (Optional) field, do not change the default value.
- Set cloud as
tkg. - You need not update the following optional parameters:
- domainName (Optional)
- clusterName (Optional)
- storageClass (Optional)
- Set product as
tcsa. - Generate the
values-merged.yamlfile by performing the following steps.- Configure the
values-user-overrides.yamlfile for the production footprint. For more information, see Configuration Production Footprint for TCA. - Generate the
values-merged.yamlfile by running the command mentioned in the Run tcxctl merge Command section. - Copy the
values-merged.yamlfile that is generated in the previous step to your local machine used to access VMware Telco Cloud Automation. - Update the
postgres.helmOverrides.updateNamespace.enabledto true in thevalues-merged.yamlfile downloaded to your local machine.Note: The following example is a code snippet from thevalues-merged.yamlfile.postgres: enabled: true helmOverrides: updateNamespace: enabled: true (set namespace to true before upgrade) oldNamespace: default
- Configure the
- Upload the
values-merged.yamlfile generated to VMware Telco Cloud Automation by using the Browse option in the Input tab of the Instantiation wizard.Note:
- Set registryRootUrl to the same value as the
- Under Review, click Next.
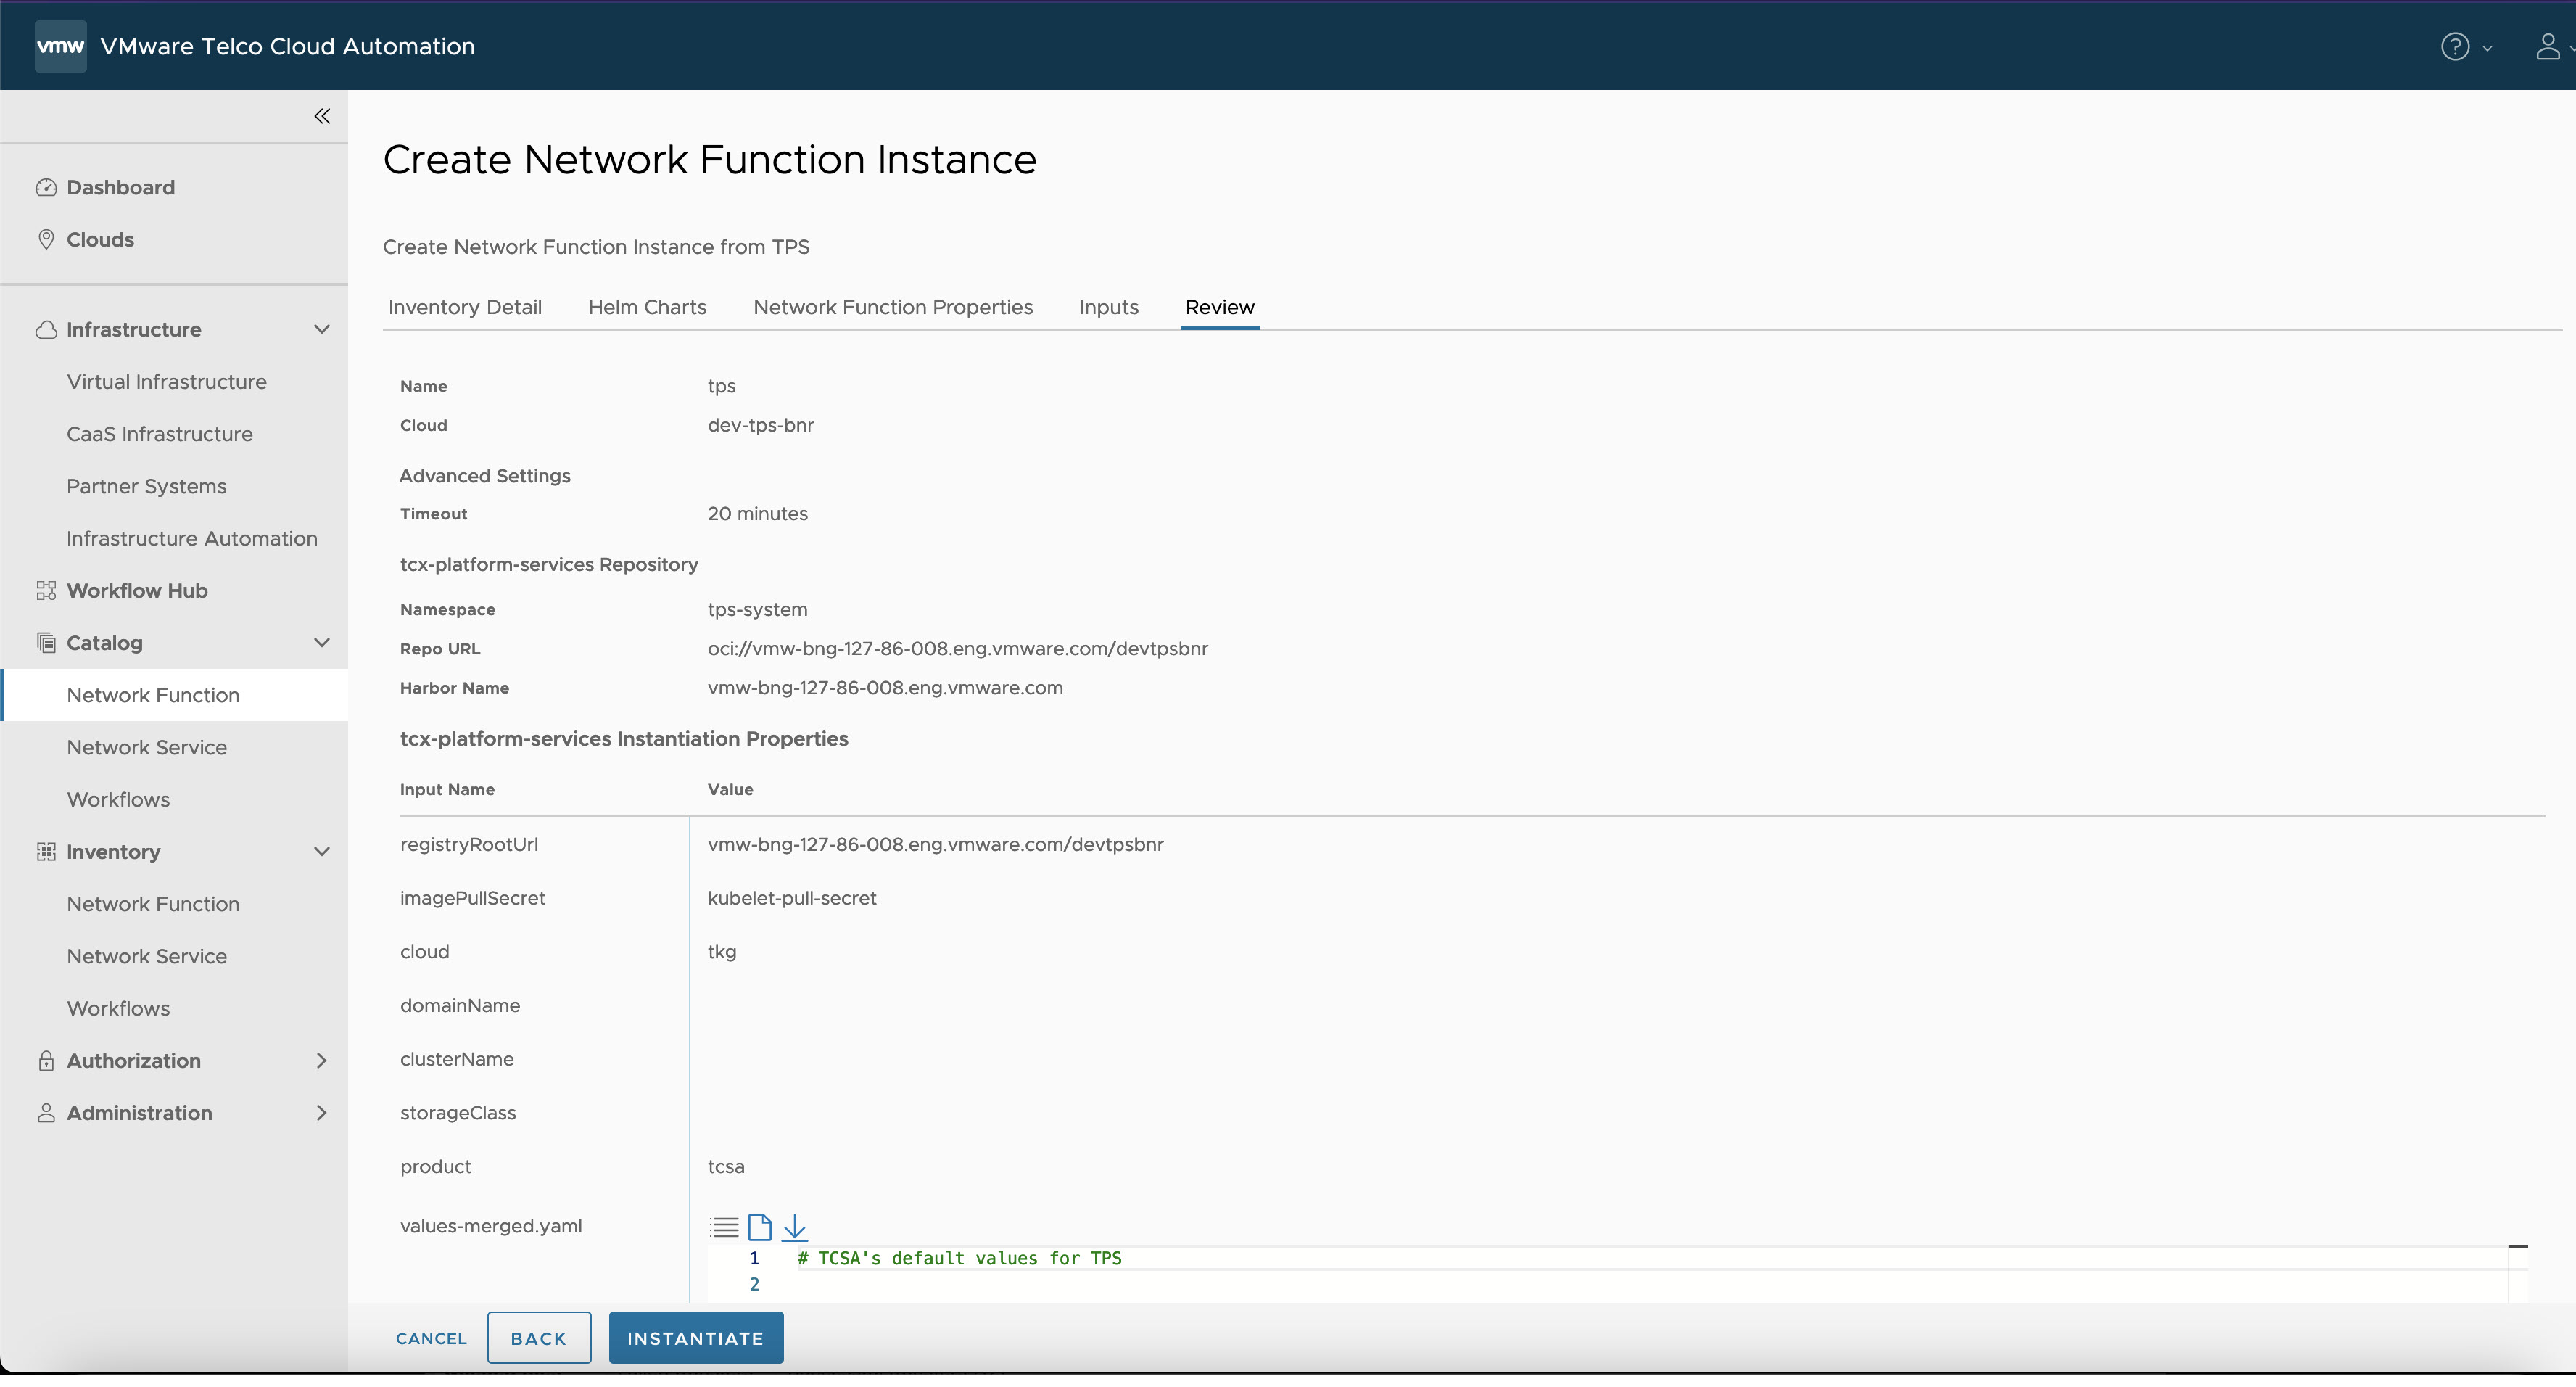
- Click Instantiate.
- Once the Instantiation is successful, check the VMware TCx platform services (TPS) status by running the following command from deployment VM:
root [ ~/upgrade/tcx-deployer/scripts ]# kubectl get tcxproduct -A
ORroot [ ~/upgrade/tcx-deployer/scripts ]# kubectl get apps -A
For all the apps, the reconciliation status must be successful.root [ ~/upgrade/tcx-deployer/scripts ]# kubectl get tcxproduct -A NAMESPACE NAME STATUS READY MESSAGE AGE tps-system tcx-platfor-9dfce-goibb-tcx-platform-services updateCompleted True All App CRs reconciled successfully 34h
Note: After successful deployment, you can launch the VMware Telco Cloud Service Assurance UI. For more information, see Accessing UI topic.