Run the VMware Identity Manager installer on a Windows server that meets all the system configuration requirements listed.
Prerequisites
Procedure
- The VMware Identity Manager prerequisites are listed. The installer checks for the required modules. You are prompted to install any missing modules.
Figure 1. Confirming Prerequisites Installed 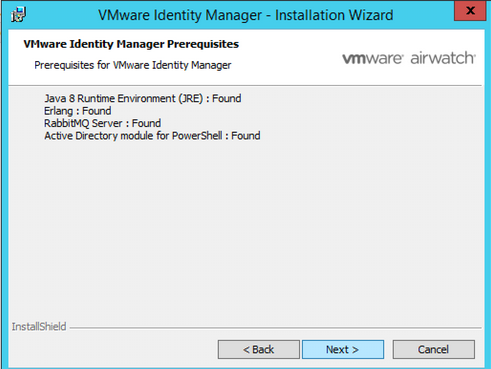
- In the Database Server dialog box, select the VMware Identity Manager database server instance to connect to and the authentication mode.
Option Description VMware Identity Manager Database Server Enter the database FQDN, or click Browse to select the database server URL from the list. Example of the database FQDN, enter http://MyDBServer. Application Connects using You can select either Windows Authentication mode or SQL Server Authentication mode. For SQL Server Authentication, enter the local user name and password. VMware Identity Manager Database Name Enter the database name you created when you set up the MySQL database or browse the SQL server to select the name from a list, if you renamed the database. SQL AlwaysON? Enabling SQL AlwaysON to set MultiSubNetFailovertoTruein the SQL server to enable faster failover on the SQL server.The SQL Server AlwaysOn capability is a combination of failover clustering and database mirroring/log shipping. It allows for multiple read copies of your database and a single copy for read-write operations. If your network has the bandwidth to support the traffic generated, the Identity Manager database supports AlwaysOn.
Figure 2. Database Configuration with SQL AlwayOn Option 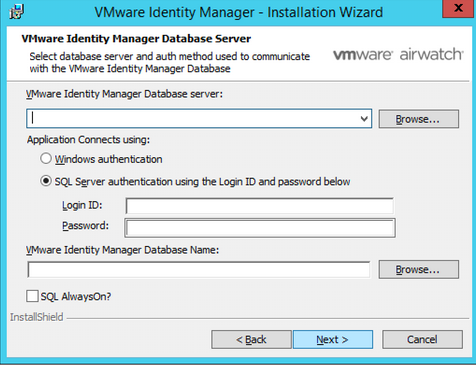 Click Next.The installer validates that the database is configured correctly. If the configuration is not correct, error messages are displayed and the installation cannot continue. Correct the problems described in the error messages. See Confirm Microsoft SQL Database Is Correctly Configured.
 - In the VMware Identity Manager Service Account dialog box, select the check box if you want to run the service as a Windows domain user.
Run the service as a domain user in the following cases.
- If you plan to connect to Active Directory (Integrated Windows Authentication).
- If you plan to use Kerberos authentication.
- If you plan to integrate Horizon View with VMware Identity Manager and want to use the Perform Directory Sync or Configuring 5.x Connection Server options.
If you do not use a domain user account, the service is run as a local system.Figure 3. Domain User Account Configuration 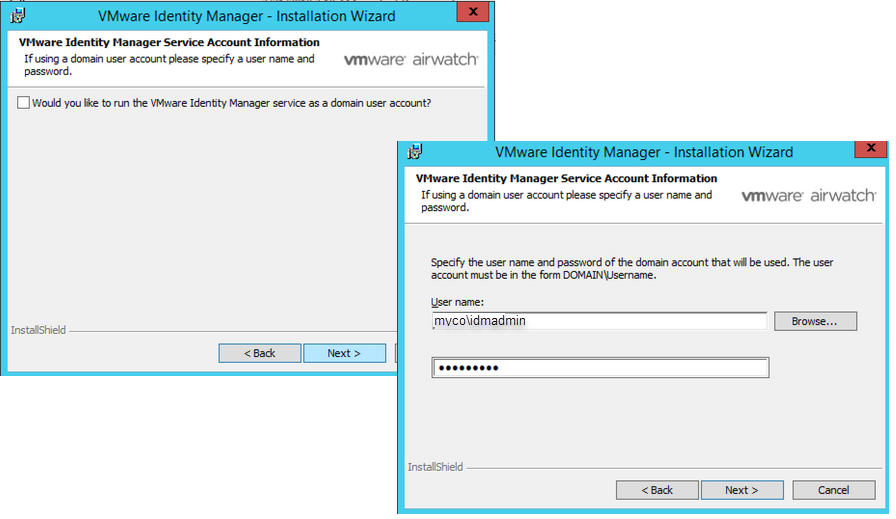
- Click Finish.
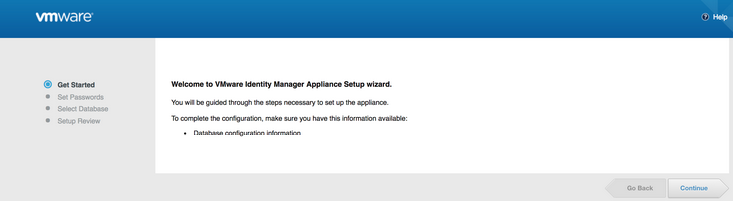
The VMware Identity Server is initialized and the VMware Identity Manager URL to log in to the VMware Identity Manager console to finish the setup is displayed. To finish the setup now, click Yes. Otherwise, note the URL to log in later.
Figure 4. Information About Logging in to Identity Manager Console 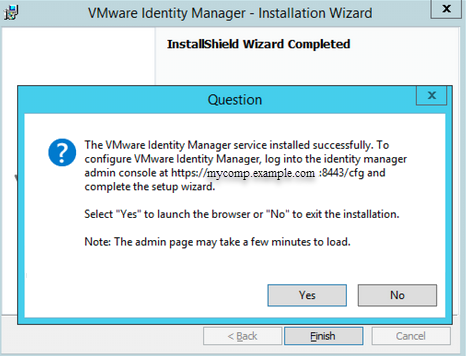
What to do next
Run the VMware Identity Manager Setup wizard to finish the service configuration.