


To enroll devices in Workspace ONE Express and Workspace ONE UEM, you must create and integrate user accounts. Likewise, you must also create administrator accounts so admins can easily manage users and devices.
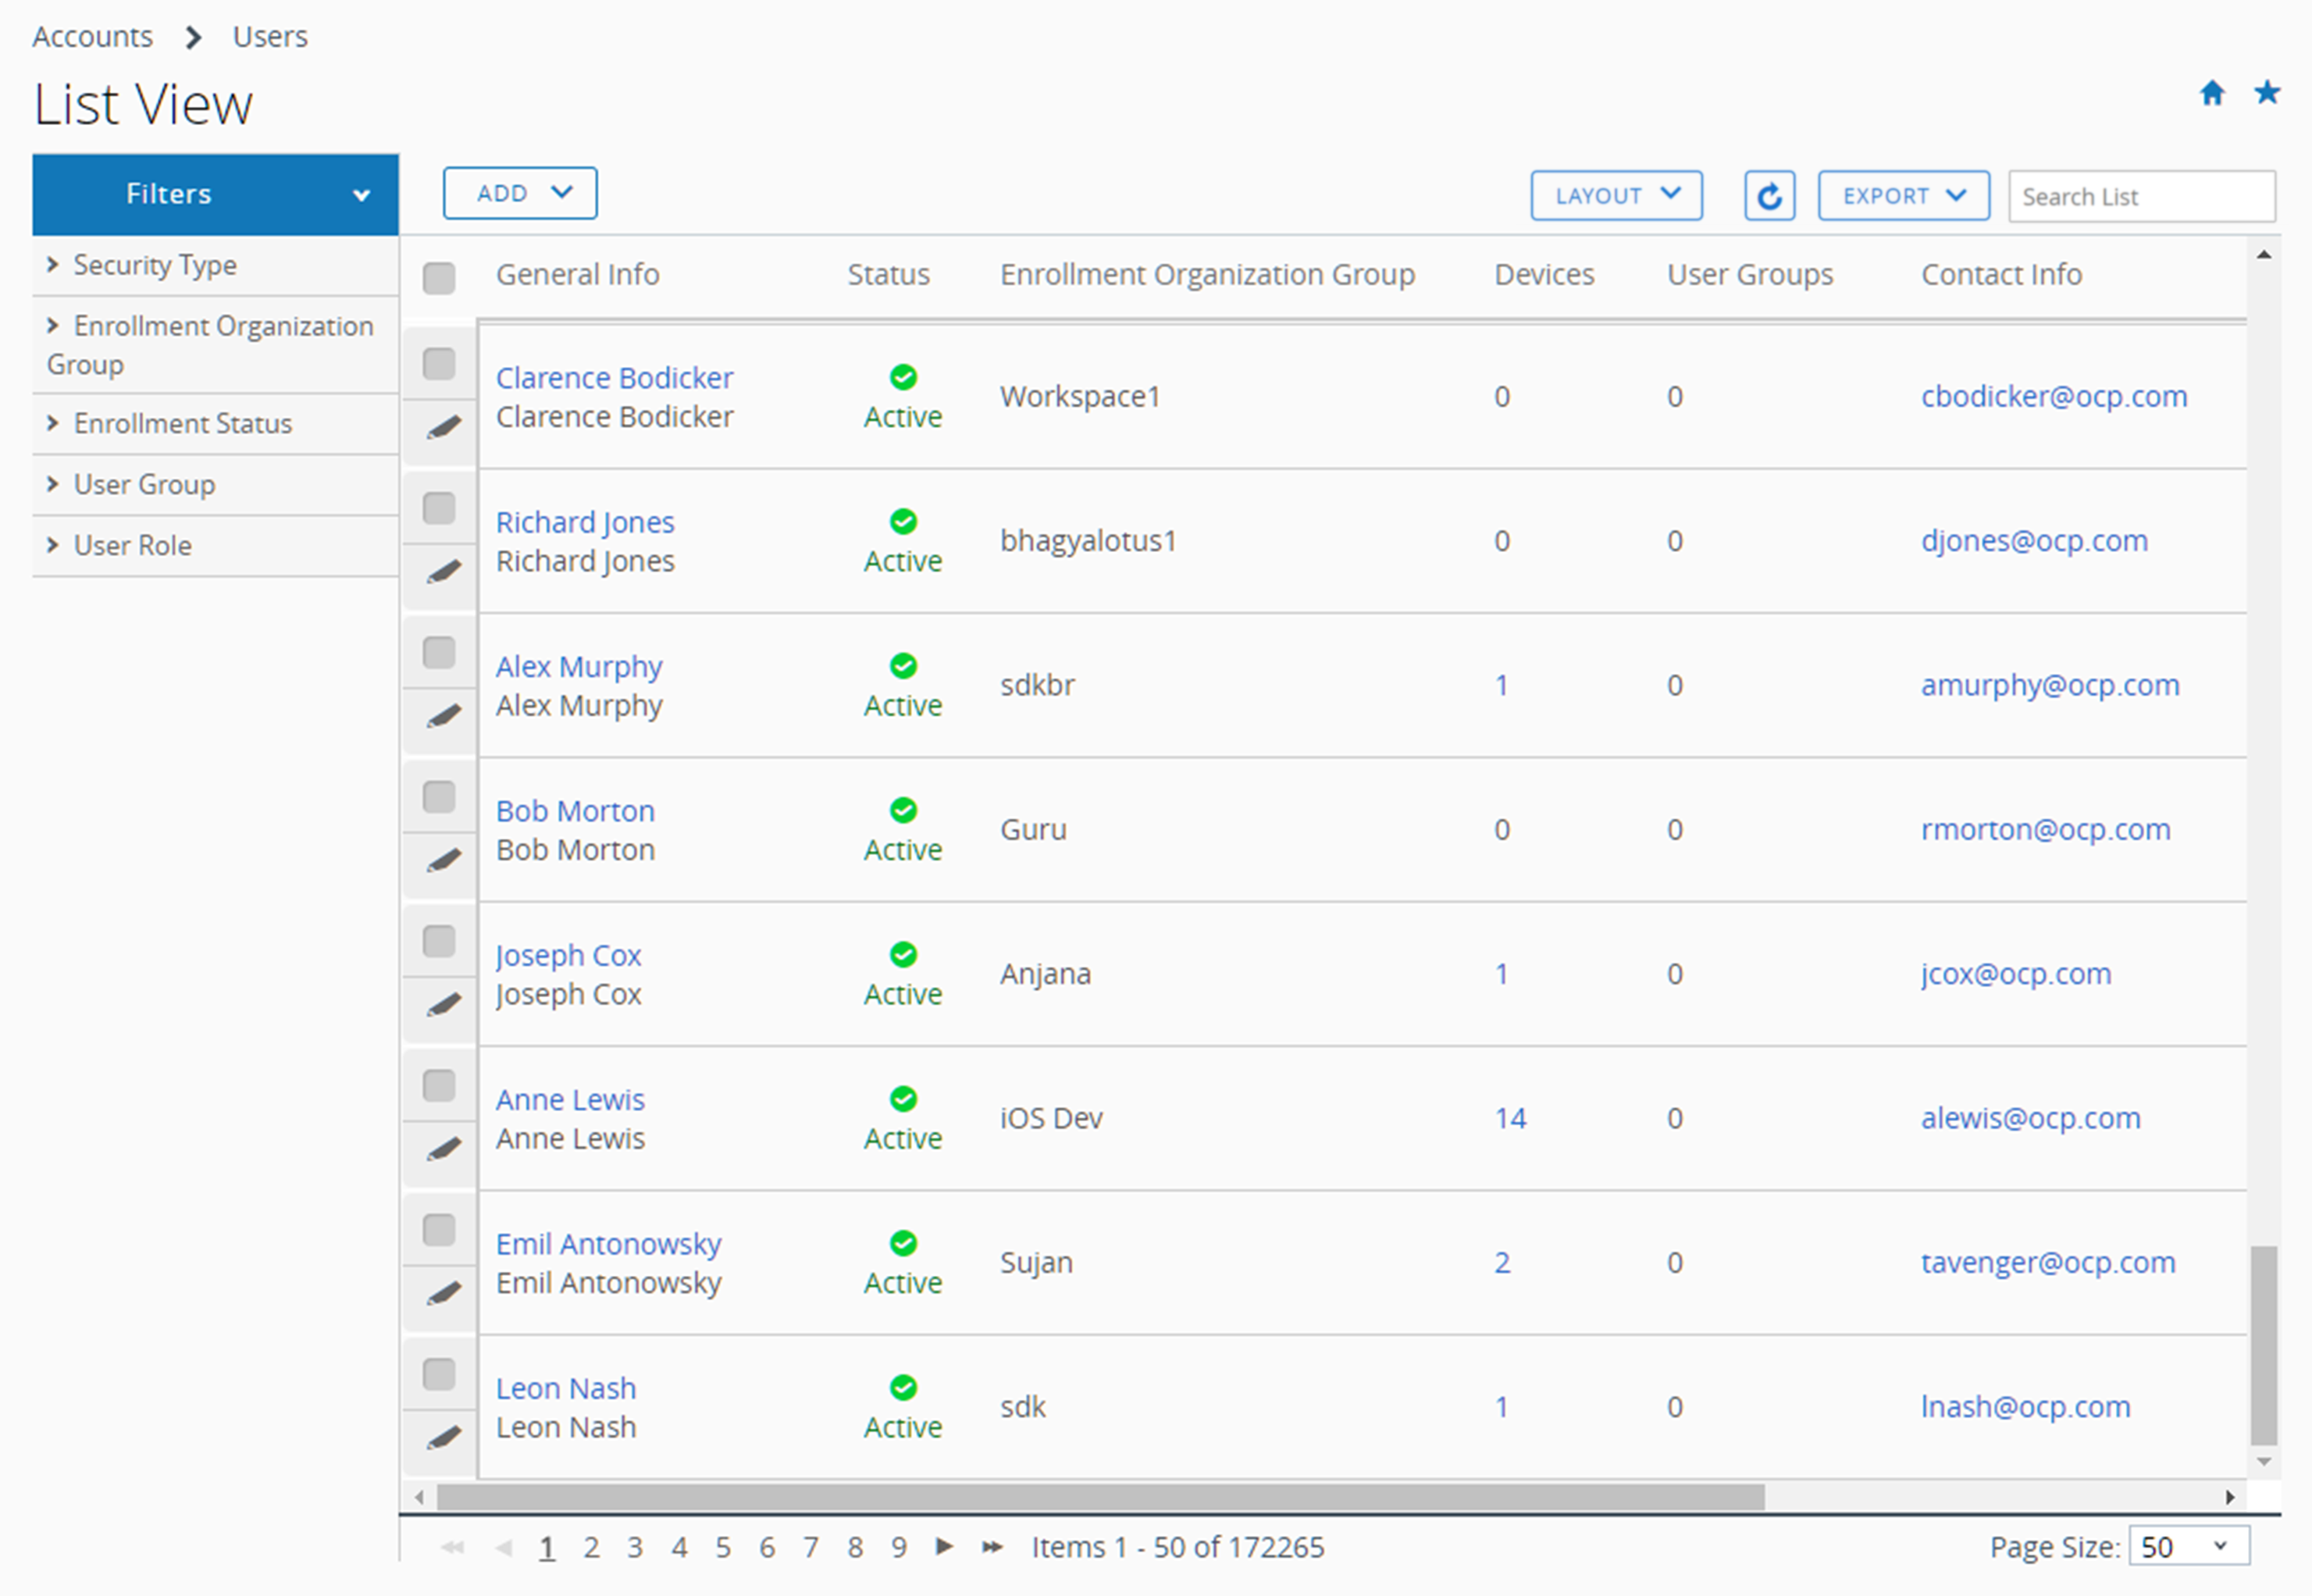
User Account List View
The console allows you to establish a complete user and admin infrastructure. It provides configuration options for authentication, enterprise integration, and ongoing maintenance.
The List View page, which you can find by navigating to , provides useful tools for common user account maintenance and upkeep within Workspace ONE UEM.
Customize List View
You can use the User Accounts List View to create customized lists of users immediately. You can also customize the screen layout based on criteria that is most important to you. You can export this customized list for a later analysis and add new users individually or in bulk.
| Action | Description |
|---|---|
| Filters | View only the desired users by using the following filters.
|
| Add button |
|
| Layout button | Enables you to customize the column layout.
|
| Sorting | Most columns in the List View (in both Summary and Custom Layout) are sortable including Devices, User Groups, and Enrollment Organization Group. |
| Export button | You can save an XLSX or CSV (comma-separated values) file of the entire User List View that you view and analyze with MS Excel. If you have a filter applied to the User List View, the exported listing reflects the filtered results. Select the Export button, select the format (XLSX or CSV), then navigate to Monitor > Reports & Analytics > Exports to view and download the resulting report. |
Interact with User Accounts
The list view also features a check box to the left of each user account. View user details by selecting the hypertext user name in the General Info column.
The Edit icon ![]() enables you to make basic changes to the user account. Selecting a single check box causes three action buttons to appear, Send Message, Add Device, and More Actions.
enables you to make basic changes to the user account. Selecting a single check box causes three action buttons to appear, Send Message, Add Device, and More Actions.
You can select multiple user accounts using the check box, which, in turn, modifies the available actions.
| Action | Description |
|---|---|
| Send Message. | Provide immediate support to a single user or group of users. Send a User Activation (user template) email to a user notifying them of their enrollment credentials. |
| Add Device. | Add a device for the selected user. Only available for single user selections. |
| More Actions | Display the following options. |
| Add to User Group. |
Add selected users to new or existing user group for simplified user management. For more information, see User Groups List View and Edit Your User Group Permissions. |
| Remove from User Group. |
Remove selected users from the existing user group. |
| Change Organization Group |
Manually move the user to a different organization group. Update the available content, permissions, and restrictions of a user if they change positions, get a promotion, or change office locations. |
| Delete |
If a member of your organization permanently ends employment, you can quickly delete a user account. Deleting account information is the equivalent of the account never having existed in the first place. A deleted account cannot be reactivated. If a deleted account owner returns, a new account must be created for them. |
| Activate |
Activate a previously deactivated account if a user returns to an organization or must be reinstated in the company. |
| Deactivate |
Deactivation is a security measure. Deactivate is used when a user is missing in action, their device is out-of-compliance, or their device is lost or stolen. Workspace ONE UEM retains all the information about a deactivated account such as name, email address, password, enrollment organization group, and so forth. A deactivated account means no one with deactivated account credentials can log in. Once the security issue is resolved (user is located, device becomes compliant, the device is recovered) then you can Activate the account. |
