Device Assignments
You can move devices across organization groups (OG) and user names based on the network Internet protocol (IP) address range or custom attributes using Device Assignments. It is an alternative to organizing content by user groups in Workspace ONE UEM.
Instead of manually moving devices between OGs, you can direct the console to move devices automatically when it connects to Wi-Fi that you define. You can also move devices based on custom attribute rules that you define.
A typical use case for device assignments is a user who regularly changes roles and requires specialized profiles and applications for each role.
You must select between implementing User Groups and Device Assignments to move devices since Workspace ONE UEM does not support both functions on the same device.
- NOTE: Windows devices do not support defining IP address ranges. Therefore, Windows devices must use custom attributes instead of IP address ranges or they must use user groups instead of device assignments for moving devices across OGs automatically.
Enable Device Assignments
Before you can move devices across organization groups (OG) and user names based on an Internet protocol (IP) or custom attribute, you must enable device assignments in Workspace ONE UEM. Device assignments can only be configured at a child organization group.
-
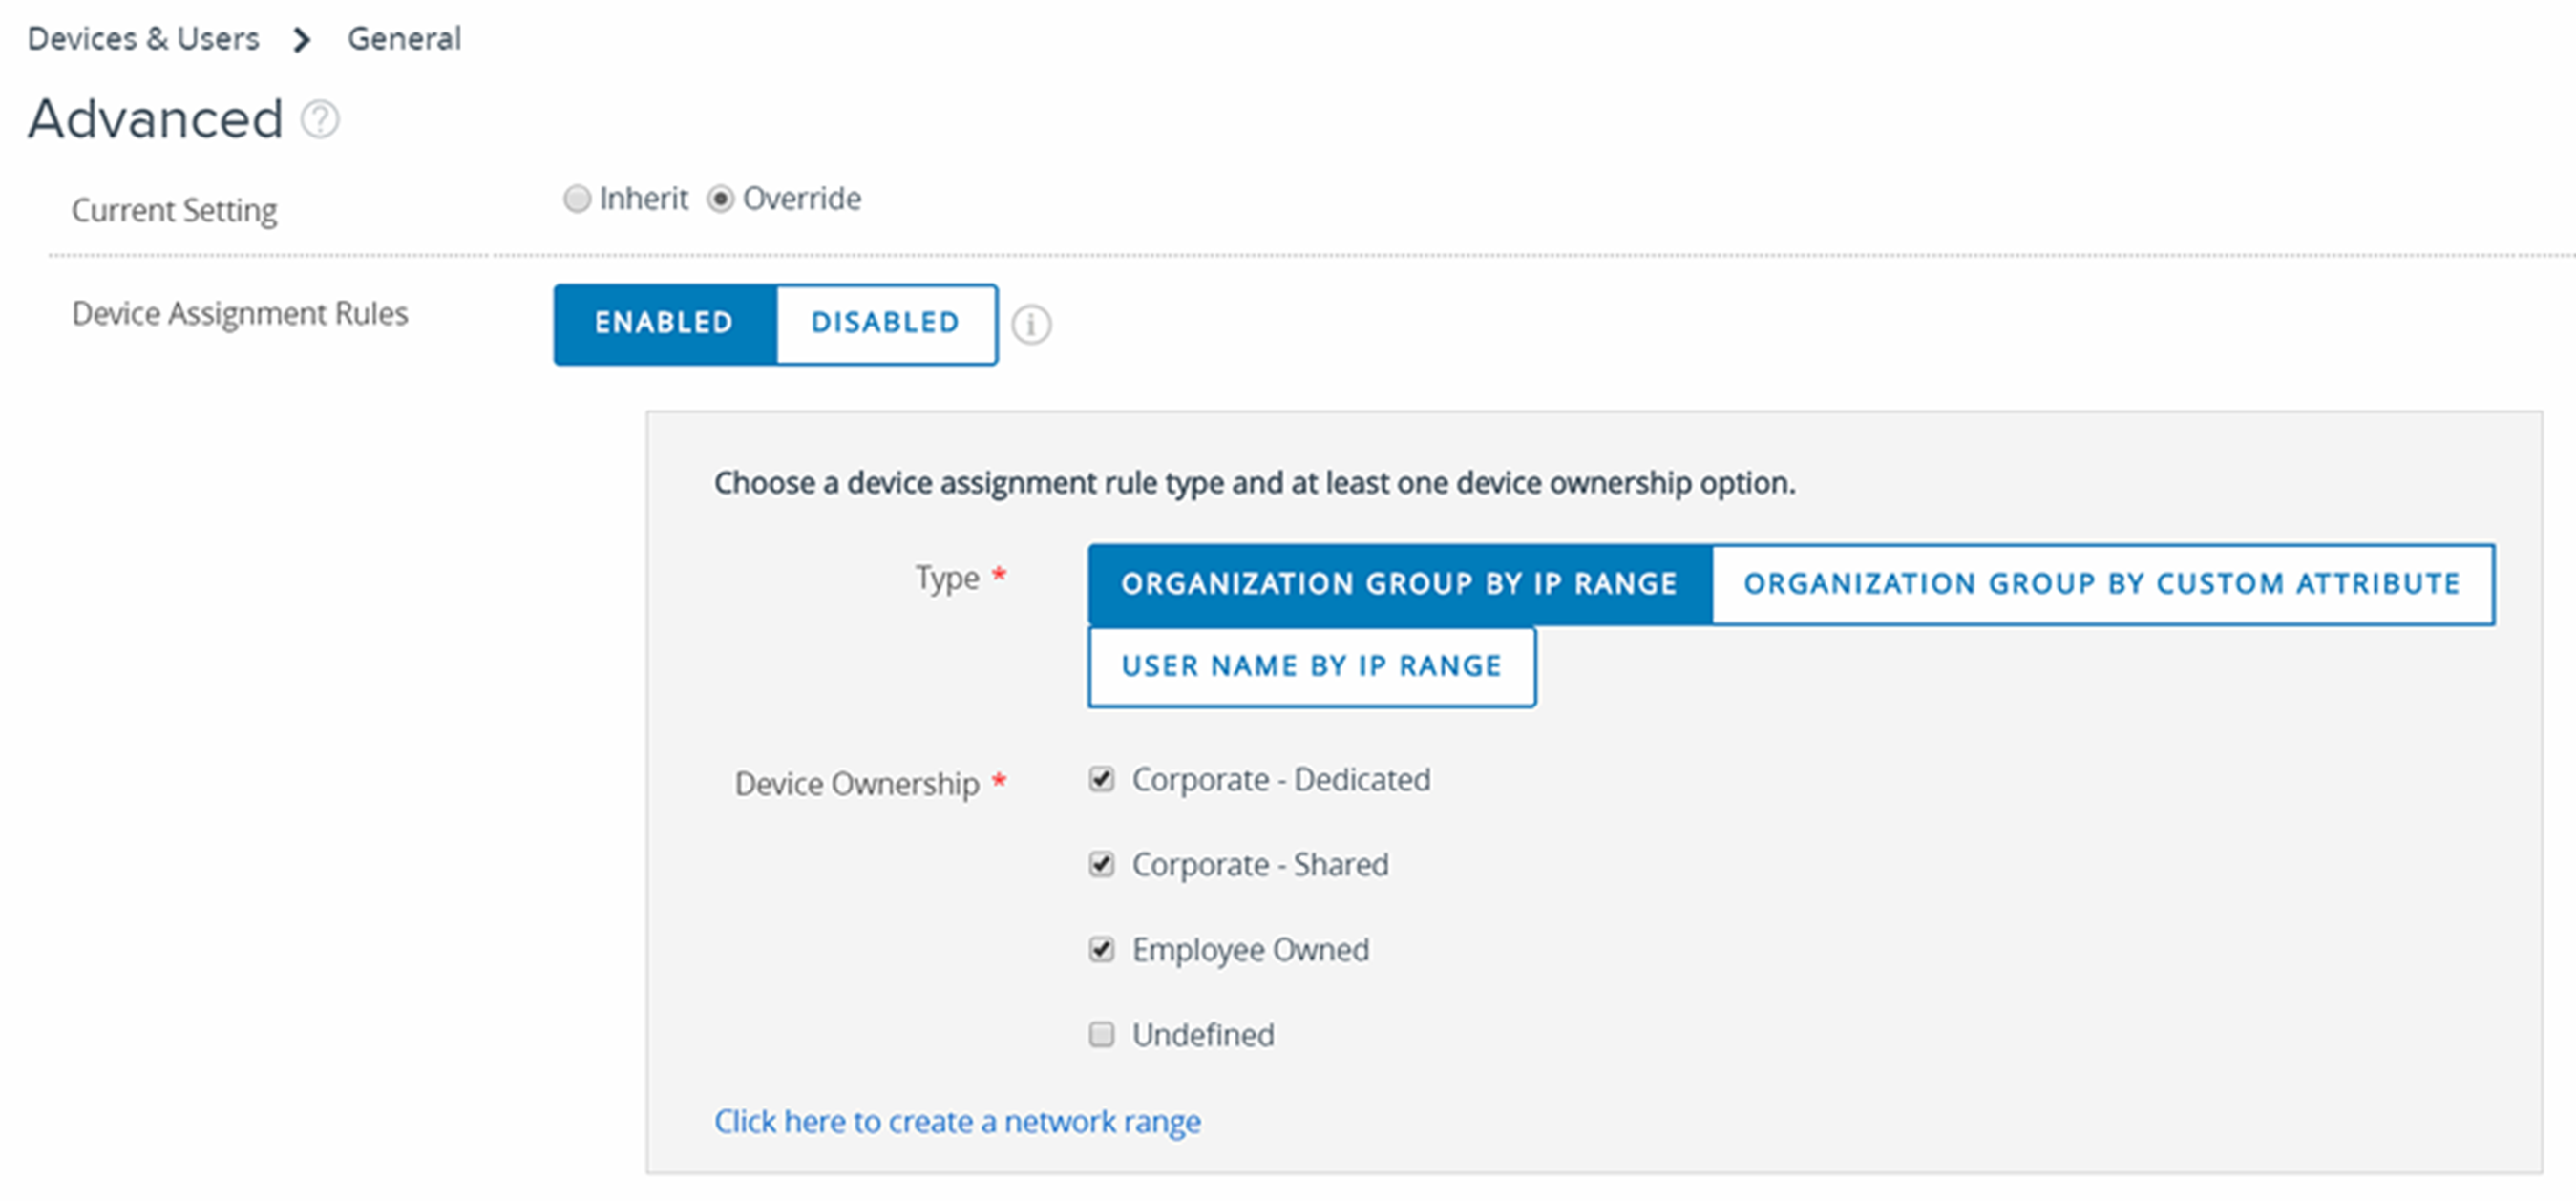
Navigate to Groups & Settings > All Settings > Devices & Users > General > Advanced and select Override or Inherit for the Current Setting according to your needs.
-
Select Enabled in the Device Assignment Rules setting.
-
Select the management Type from the following.
- Organization Group By IP Range – Moves the device to a specified OG when the device leaves one Wi-Fi network range and enters another. This move triggers the automatic push of profiles, apps, policies, and products.
-
Organization Group By Custom Attribute – Moves the device to an organization group based on custom attributes.
Custom attributes enable administrators to extract specific values from a managed device and return it to the Workspace ONE UEM console. You can also assign the attribute value to devices for use in product provisioning or device lookup values.
- When Organization Group By Custom Attribute is enabled, a link appears entitled Click Here To Create Custom Attribute Based Assignment Rule. When selected, this link opens another tab in your browser. This tab displays the Custom Attribute Assignment Rules page, enabling you to create your own attribute assignment rules.
-
User name By IP Range – When a device exits one network and enters another, the device changes user names instead of moving to another OG. This user name change triggers the same push of profiles, apps, policies, and products as an OG change does. This option is for customers with a limited ability to create organization groups, providing an alternate way to take advantage of the device assignment feature.
Important: If you want to change the assignment Type on an existing assignment configuration, you must delete all existing defined ranges. Remove IP Range assignments by navigating to Groups & Settings > Groups > Organization Groups > Network Ranges. Remove custom attribute assignments by navigating to Devices > Provisioning > Custom Attributes > Custom Attribute Assignment Rules.
-
Select the Device Ownership options. Only devices with the selected ownership types are assigned.
- Corporate – Dedicated
- Corporate – Shared
- Employee Owned
- Undefined
-
You can add a network range by selecting the link, Click here to create a network range.
You can alternatively visit this page by navigating to Groups & Settings > Groups > Organization Groups > Network Ranges. The Network Ranges settings selection is only visible if Device Assignments is enabled for the Organization Group you are in when you visit this location.
When selected, the Network Ranges page is displayed.
-
Select Save once all the options are set.
Define Device Assignment Rule or Network Range
When your device connects to Wi-Fi while managed by Workspace ONE UEM, the device authenticates and automatically installs profiles, apps, policies, and product provisions specific to the OG that you select.
You can also define rules based on custom attributes. When a device enrolls with an assigned attribute, the rule assigns the device to the configured organization group. The device can also be assigned in the case where the device receives a product provision containing a qualifying custom attribute.
Device assignments can only be configured at a child organization group.
-
Navigate to Groups & Settings > Groups > Organization Groups > Network Ranges.
The Network Ranges option is not visible until you enable device assignments. So if you cannot find ‘Network Ranges’ in the Organization Groups navigation path, see the section above entitled Enable Device Assignments.
-
To add a single Internet protocol (IP) address range, select Add Network Range. In the Add/Edit Network Range page, complete the following settings and then select Save.
Setting Description Start IP Address Enter the top end of the network range. End IP Address Enter the bottom end of the network range. Organization Group Name Enter the OG name to which devices move when the network range is entered. This setting is only visible if the network assignment Type is ‘Organization Group By IP Range.’ User name Enter the user name to whom devices register when the network range is entered. This setting is only visible if the network assignment Type is ‘User name by IP Range.’ Description Optionally, add a helpful description of the network range. Overlapping network ranges results in the message, “Save Failed, Network Range exists.”
-
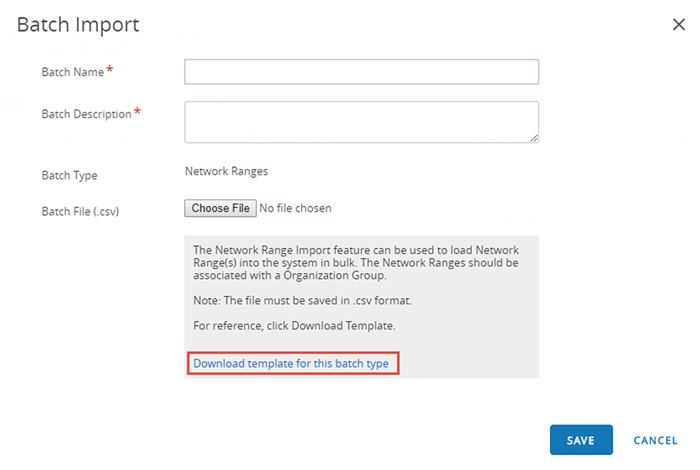
If you have several network ranges to add, you can optionally select Batch Import to save time.
- On the Batch Import page, select the Download template for this batch type link to view and download the bulk import template in CSV format.
-
Open the CSV file. The CSV file features several columns corresponding to the options on the Add Network Range screen. Enter the organization Group ID in the “OrganisationGroup” column instead of organization group name.
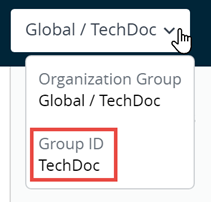
Note: You can identify the Group ID of any organization group by 1) moving to the OG you want to identify and 2) hovering your pointer over the OG label which displays a popup that contains the Group ID.
Note: A CSV file (comma-separated values) is simply a text file whose extension is changed from “TXT” to “CSV”. It stores tabular data (text and numbers) in plain text. Each line or row of the file is a data record. Each record consists of one or more fields, separated by commas. It can be opened and edited with any text editor. It can also be opened and edited with Microsoft Excel.
-
When you open the CSV template, notice that sample data has been added to each column in the template. The sample data is presented to inform you what kind of data is required and what format it must be in. Do not stray from the format presented by the sample data. Complete this template by filling in each of the required columns for each network range you want to add.
- Import the completed template using the Batch Import page.
- Select Save.