


Migrating SEG from the Classic platform to the V2 platform is simple, as the existing SEG continues to function without interruption to the end-user experience.
You must first update the Mobile Email Management (MEM) configuration in the console in order to support the V2 platform. You can update the MEM configuration in one of two ways:
- Create a new MEM configuration - If you use the same external URL there can be some delay in the policy updates. This delay is reconciled as part of the regular SEG policy refresh as configured in the advanced settings. After configuring the V2 platform, you can deactivate or remove the existing configuration.
- Upgrade an existing configuration - You can edit the existing SEG configurations and upgrade it to include the necessary settings for the V2 platform. This migration maintains the existing Classic configuration settings and does not affect the existing SEG servers.
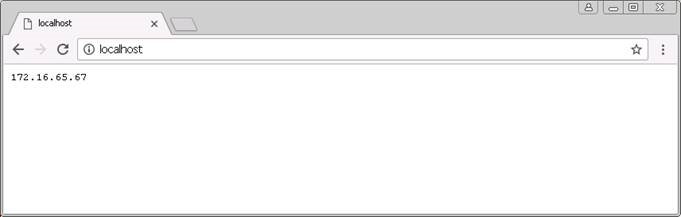
You can upgrade your existing SEG software to the V2 platform without interrupting the current SEG functionality. To upgrade, run the installer for the SEG V2 platform on the existing SEG server. After completing the installation, deactivate the World Wide Publishing service and restart the SEG service. This action transfers the device connections, refreshes the 443 listener from IIS, and allows the new SEG service to claim it. You can also run the V2 platform on a distinct port and connections transferred over at the network layer. To verify that the SEG has properly restarted, check whether the localhost returns your IP address on the correct port. Attempt to access the Classic platform (IIS) displays the following screenshot:

The V2 platform displays the following screenshot:
Migrate from the Secure Email Gateway Classic to Secure Email Gateway V2
You can upgrade from SEG Classic to SEG V2.
Before you begin:
- You must have an older version of SEG already installed on the host machine.
- Ensure that the installer for latest version of SEG V2 is available on the host machine.
- MEM configuration for SEG V2 is available
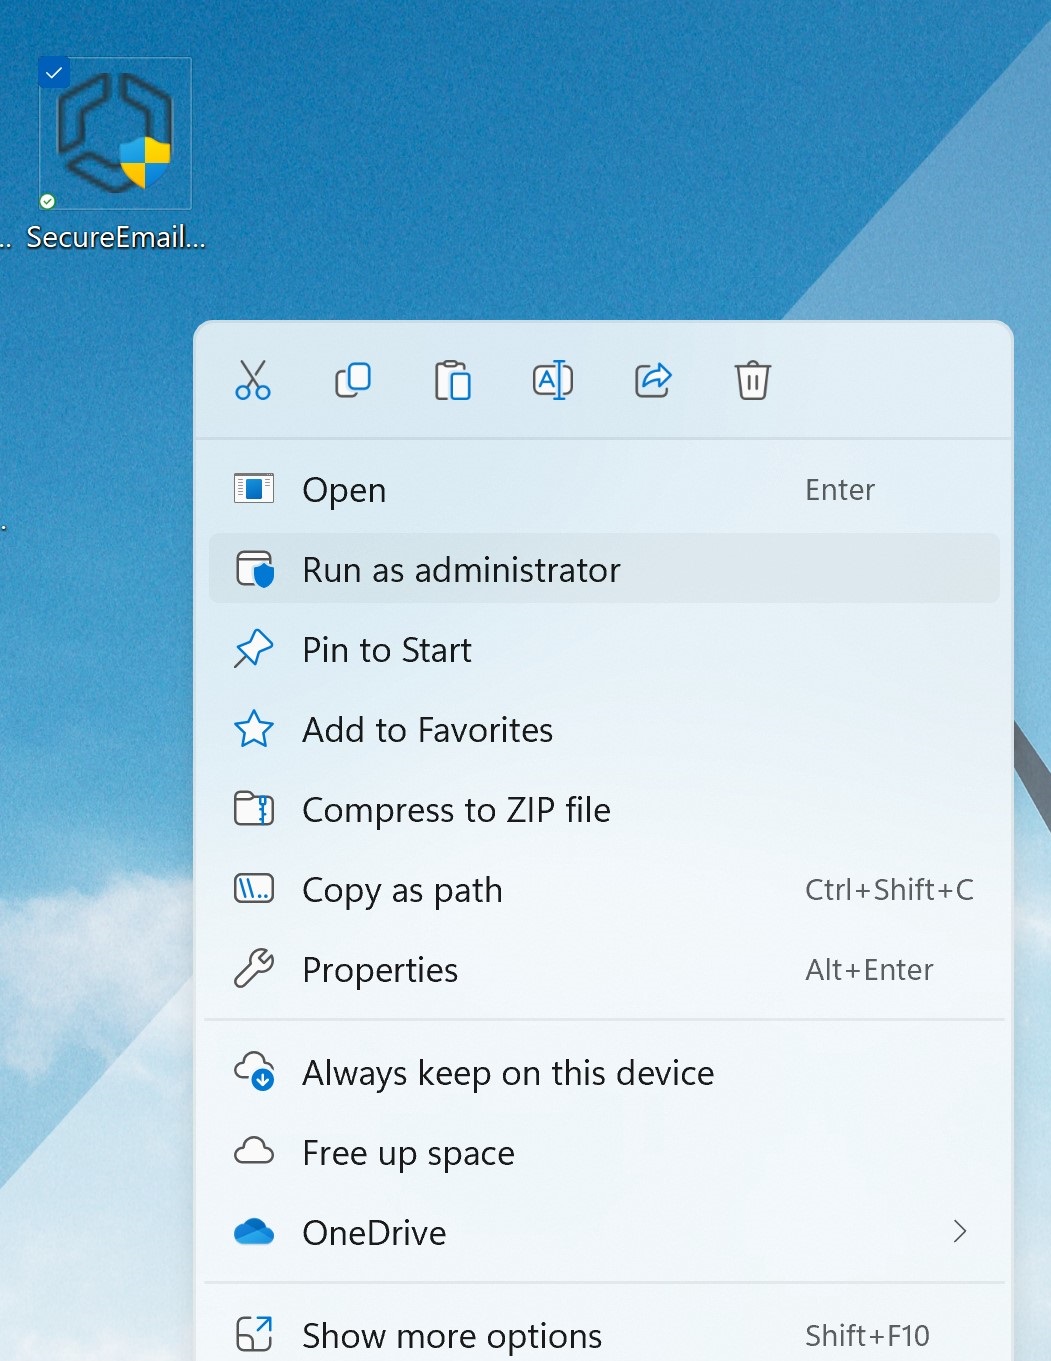
- Run the VMware AirWatch Secure Email Gateway installer as an administrator.
The install wizard verifies the existing installation and displays a popup notifying the user about the upgrade.
- Follow the instructions on the install wizard and accept the End User Licence Agreement and click Next.
- You may be prompted to upgrade to a new version of JRE. Follow instructions to reboot immediately or to reboot manually later.
- Verify the Workspace ONE UEM API information.
Settings Description HTTPS Select the check box if the protocol Workspace ONE UEM API server is https. API Server Hostname The hostname of your Workspace ONE UEM API server. This is required to fetch the SEG configuration from the Workspace ONE UEM console. Admin Username The user name of a Workspace ONE UEM Admin user account, that was used during earlier installation. Admin Password Masked entry for password of Workspace ONE UEM Admin user account. MEM Config GUID The unique ID of your Mobile Email Management configuration. This is shown on the MEM configuration page on the Workspace ONE UEM console. - (Optional): If Outbound Proxy was selected, verify the related information.
HTTPS Check if the protocol proxy is HTTPS. Proxy Host Address of the proxy host. Proxy Port Proxy port number. Username Password User name and password for proxy authentication. Note: This option is displayed only if you had checked Does the proxy require authentication credentials? option. - If you had chosen to upload the SSL certificate locally when configuring the console MEM settings, upload the certificate and enter the certificate password.
- Click Install to begin the installation.
Migrate to the SEG V2 with Google
You can migrate from the Classic SEG that is integrated with Google to the SEG V2. SEG V2 does not support the credential impersonation that was available on Classic SEG. Instead, SEG V2 uses the IP restriction that is configured in the Google Admin console.
To support use-cases where users do not know their passwords, Workspace ONE can still provision passwords directly to devices. The information provided in this section helps you migrate from Classic SEG to SEG V2 with Google without service interruptions for your users.
Prerequisites
- Upgrade MEM configuration to SEG V2.
- Install SEG V2.
- Classic SEG services are not switched.
Configure IP Restriction on Google Admin Console
Configure Google Sync to accept traffic only from SEG. Restricting the communication to SEG ensures that the devices that attempt to bypass SEG are blocked.
- Log into the Google Admin console.

- Navigate to .
- Select the Google Sync IP Whitelist text box and enter the external SEG IPs that you want to allowlist.
- Select Save.
Configure Automatic Password Provision and Sync Passwords
When migrating from Classic SEG with Google to SEG V2 with Google, you are provided with an Automatic Password Provision feature. You can activate or deactivate the Password Provision as per your requirement.
- Navigate to and select Configure.
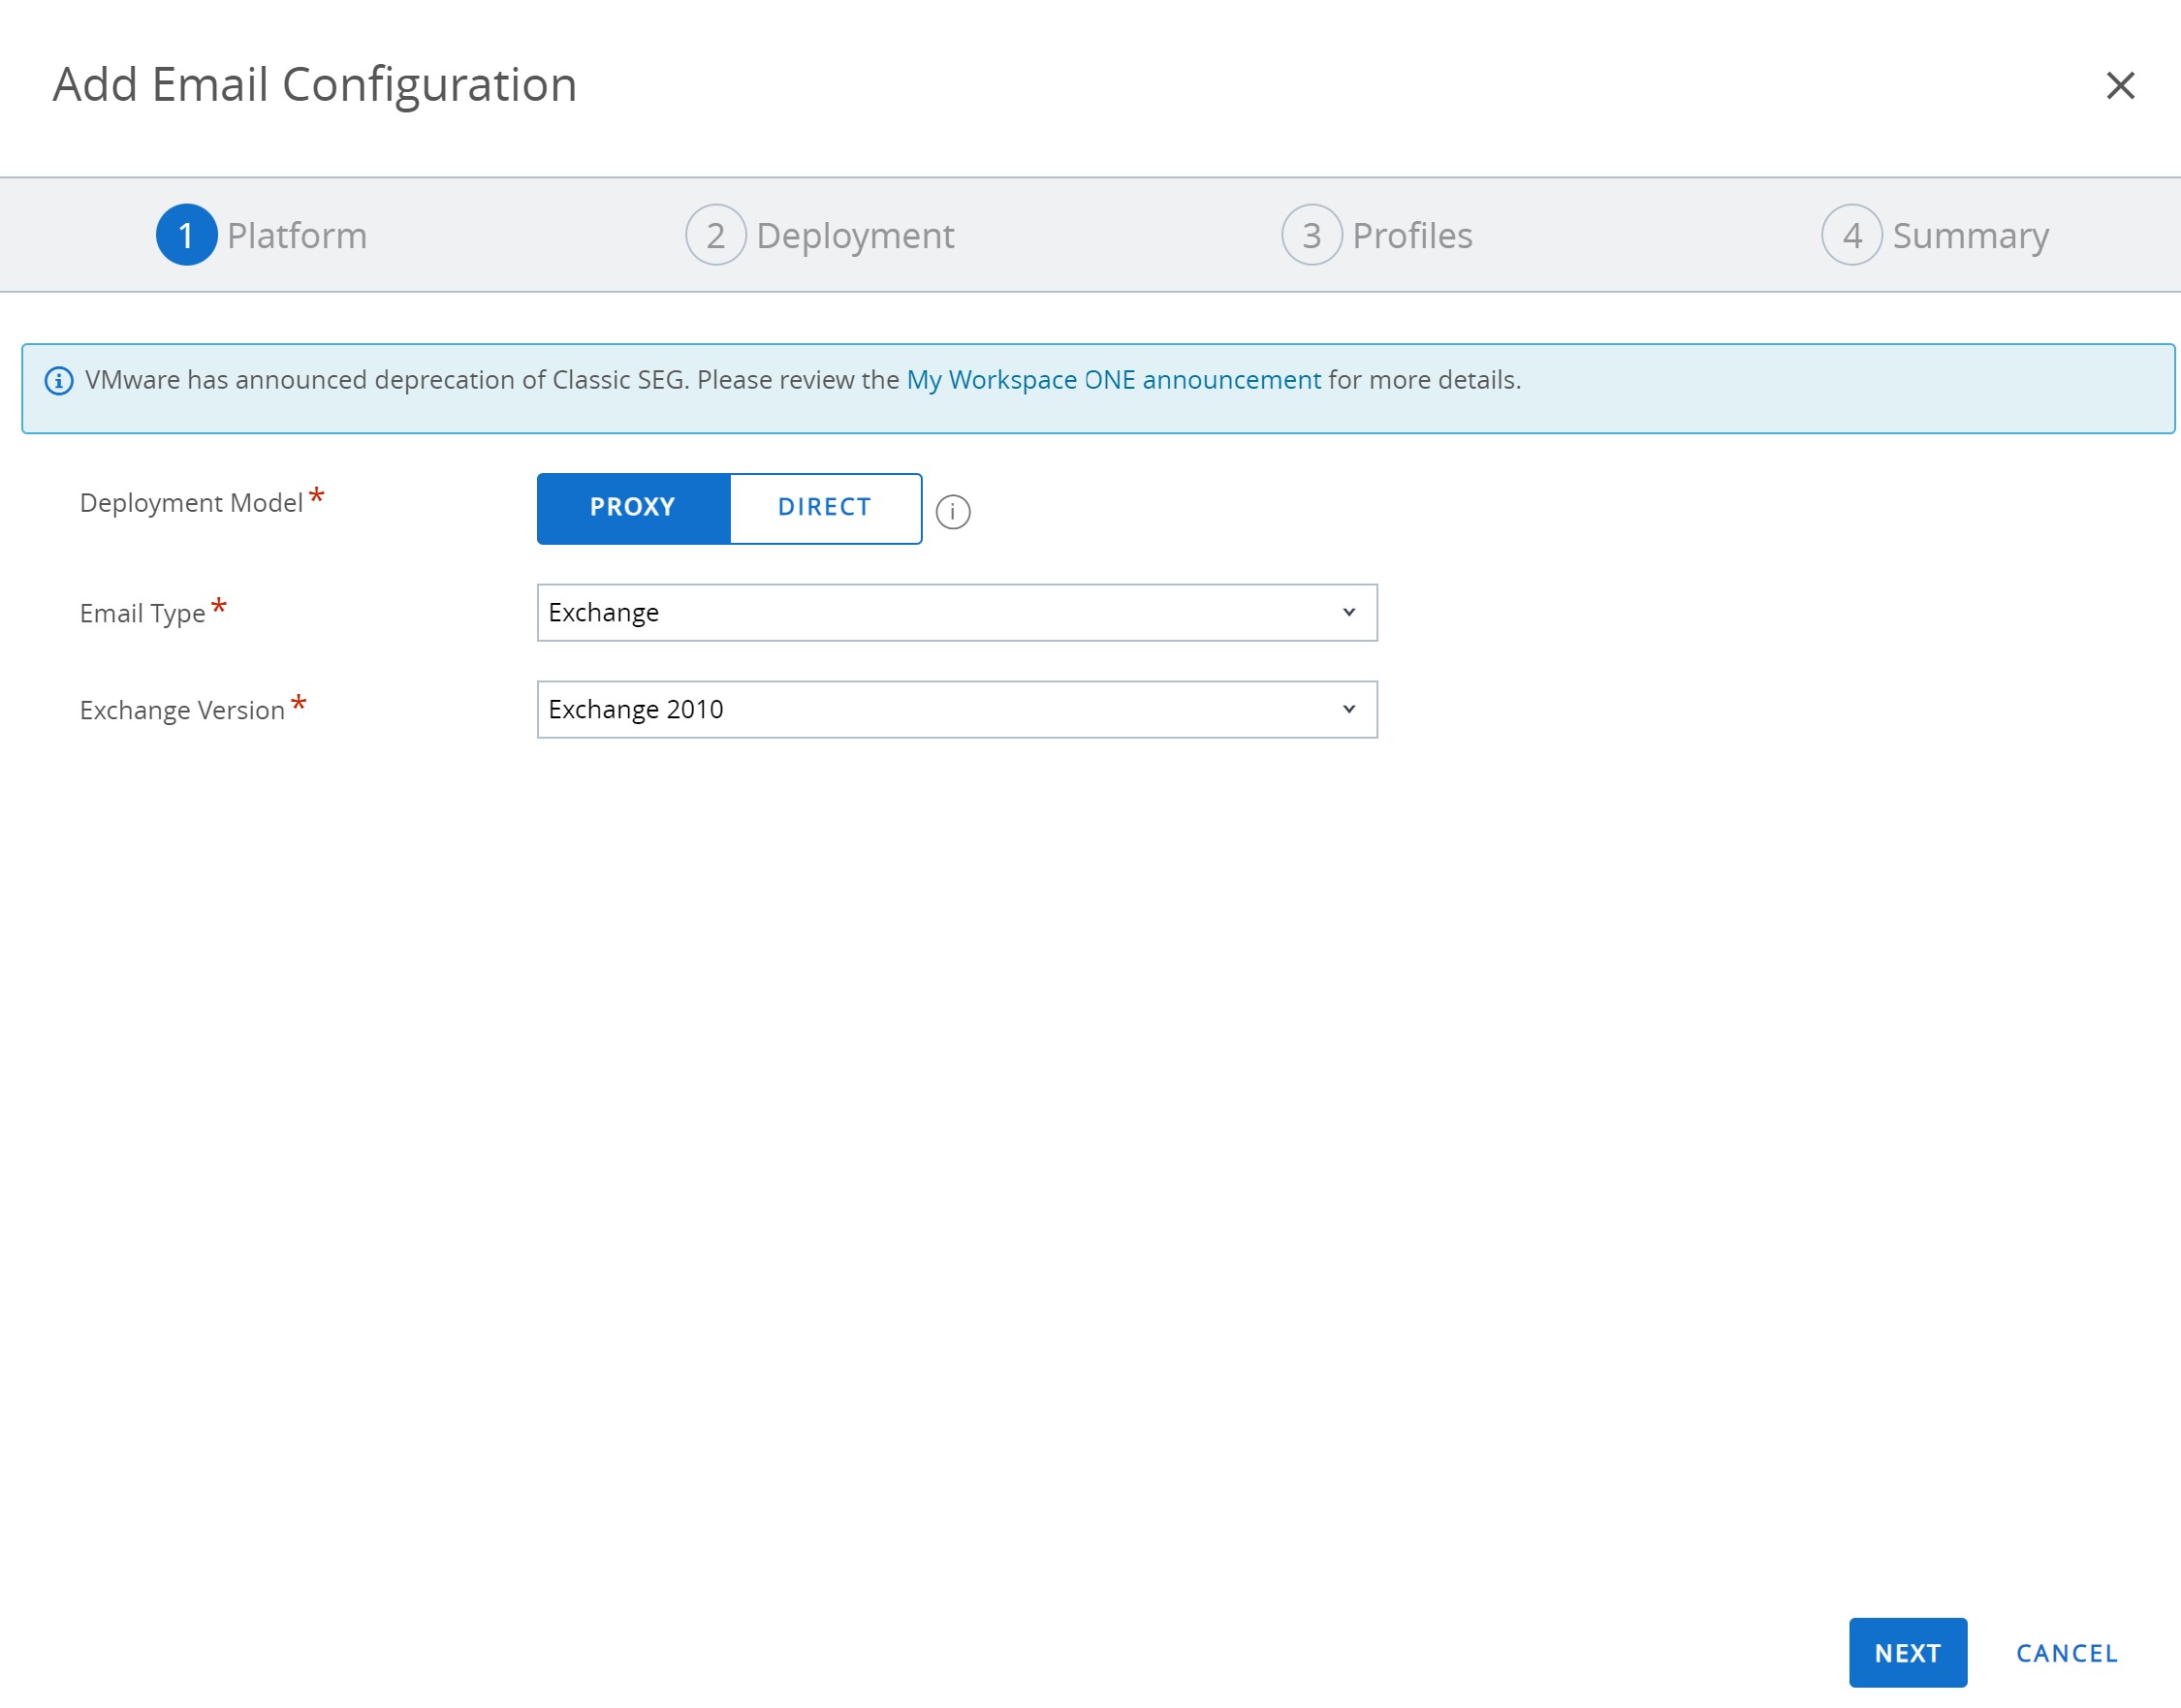
The Add Email Configuration wizard displays.
- Select Add.
The wizard displays Platform tab.
- From Deployment Model, select Proxy.
- From Email Type, select Google and select Next.
The Deployment tab opens and displays the basic settings.
- In the Google Apps Settings section, you can see that the Automatic Password Provision is in Enabled mode. This is because Classic SEG uses Automatic Password Provision when integrating with Google.
- If you are providing the SSO password and Google password to your device users, select Disable. The users must enter their credentials to access Google. When the automatic password management is deactivated, the Google Sync password is managed within your organization, which provides more flexibility and control over the devices accessing Google.
- If you want to use password provision using the UEM console, keep the Automatic Password Provision Enabled. The information you have entered when configuring Classic SEG with Google is used to provision the Google Sync Password. The password provisioning works without any interruptions to the user experience.
- After selecting the required Automatic Password Provision setting, select Next to navigate through the wizard and select Finish.
- If you have deactivated the Automatic Password Provision setting, navigate to the device List View and select Actions drop-down menu.
- Select Sync Passwords to synchronize the passwords on the device and Google Sync server. If you have kept the Automatic Password Provision enabled, the Sync Passwords function is not available from the Actions drop-down menu.
- Restart the SEG service.
