


The Minion Keys workspace is used to manage minion keys that allow encrypted communication between a Salt master and Salt minion.
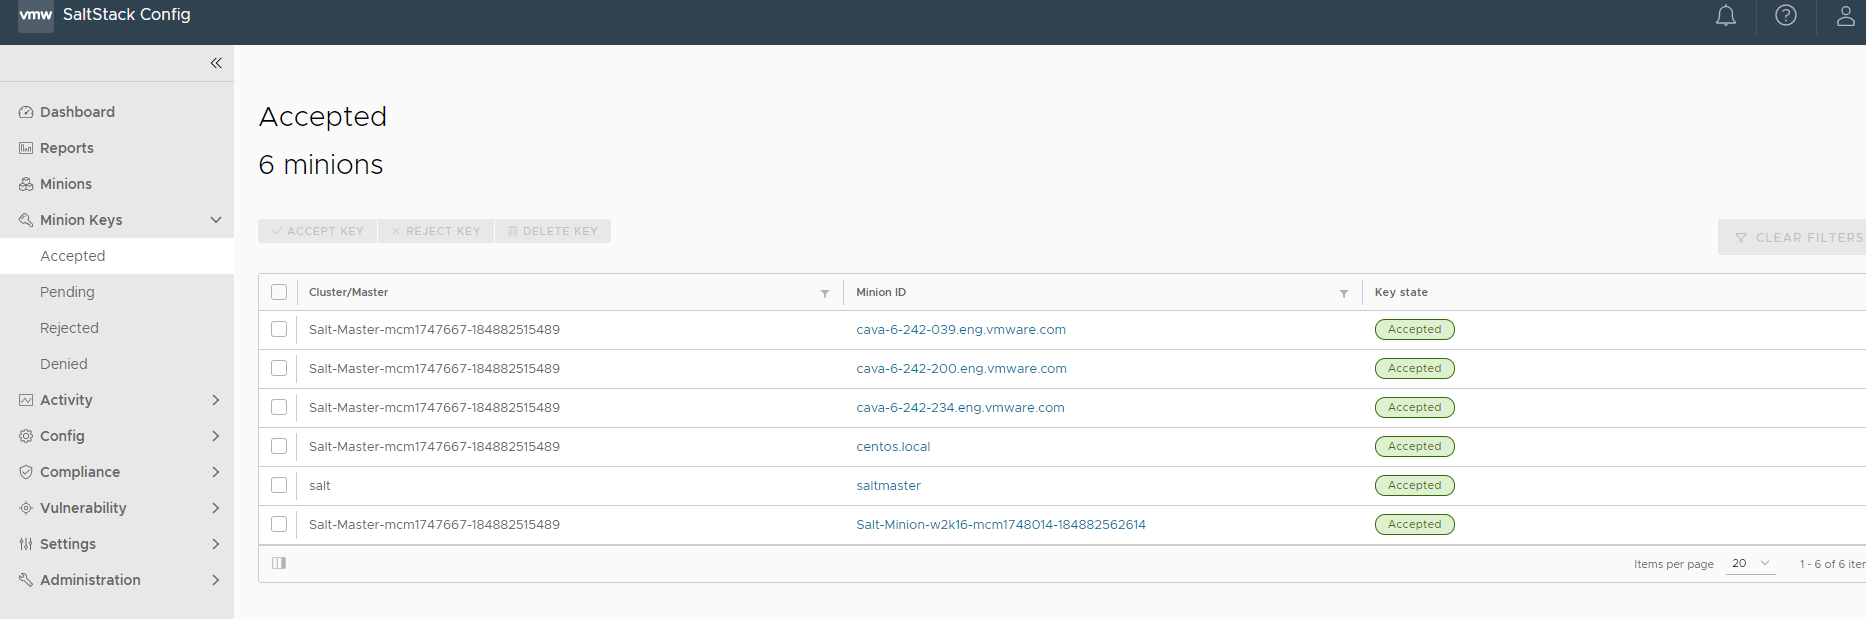
The workspace provides an overview of all minions filtered by their respective key states. On initial connection, a Salt minion sends its public key to the Salt master, which the Salt master can accept, reject, or deny.
SaltStack Config also provides the ability to manage Salt master keys.
On initial connection, a Salt minion sends its public key to the Salt master, which the Salt master can accept, reject, or deny. The minion keys workspace has three sections that sort and display keys by their current state:
| Status | Description |
|---|---|
| Accepted | Key was accepted and the minion can communicate with the Salt master. |
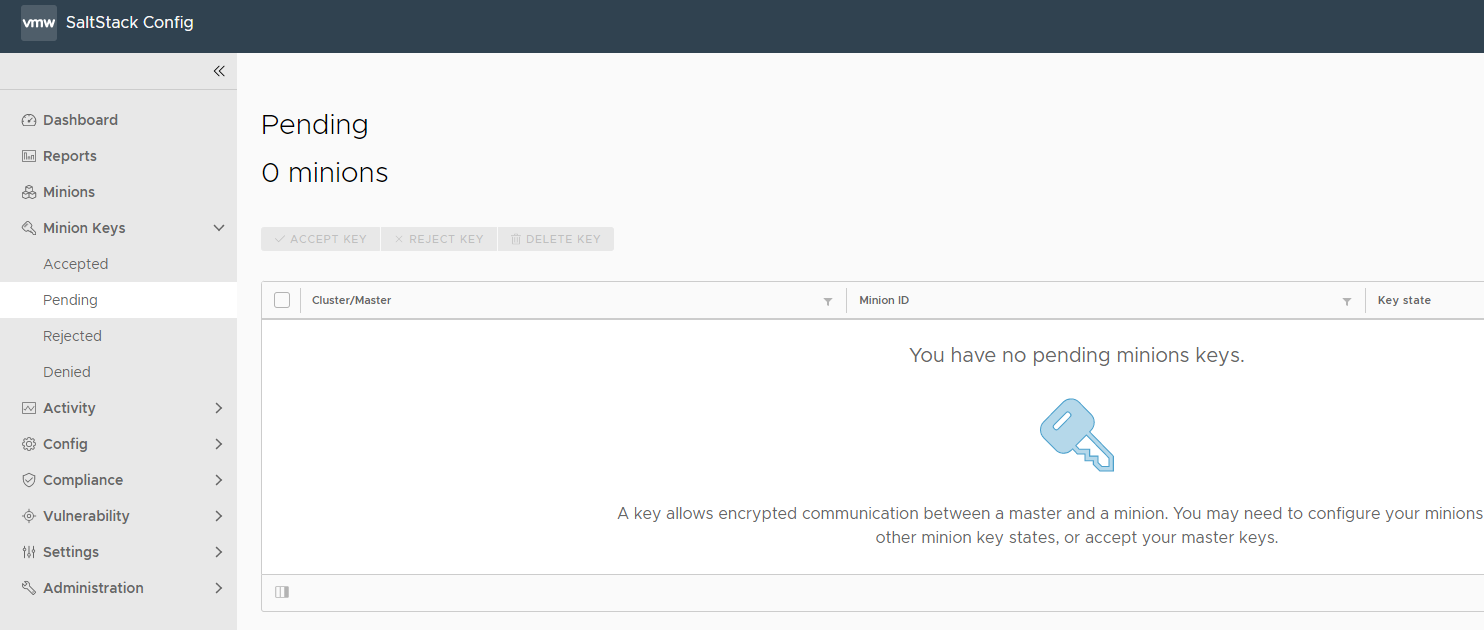
| Pending | Key is not accepted or denied. In this state, connections are not accepted from the minion and jobs are not executed. |
| Rejected | Key was explicitly rejected using the Reject Key command. In this state, connections are not accepted from the minion and jobs are not executed. |
| Denied | Key was rejected automatically by the Salt master. This occurs when a minion has a duplicate ID, or when a minion was rebuilt or had new keys generated and the previous key was not deleted from the Salt master. If this happens, delete the denied key to trigger key regeneration. In this state, connections are not accepted from the minion and jobs are not executed. |
In the Minion Keys workspace, you can accept, reject, or delete minion keys. SaltStack Config also provides the ability to manage Salt master keys.
Before accepting a new minion key, you must first install the minion service on the node and configure it to communicate with the Salt master.
Deleting a minion key is useful for resetting a minion’s connection. For example, you might delete a minion key and then re-accept it.
Prerequisites to accepting keys
Before you can accept a new minion key, you must first complete the following on the node:
- Install the minion service.
- Configure the minion to communicate with the Salt master.
For more on minion installation, see Salt Installation Reference and follow instructions specific to the minion service. For more on minion configuration, see Minion Configuration Reference.
Accepting a new minion key
Before you can accept a new minion key, you must first install the minion service on the new machine, and configure it to communicate with the Salt master.
To use the Minion Keys workspace, click Minion Keys in the side menu.
When a user logs in, the SaltStack Config user interface polls the server every 10 seconds for pending minion and Salt master keys. If a pending key is found, the Minions Key workspace displays the key as pending and alerts the user. These alerts are global, which means you are alerted as you are accessing any workspace in SaltStack Config, not just the Minions Key workspace.
Once a pending key is found, the user interface stops polling for that key type (minion or Salt master) for the duration of the user’s session.
To accept a new minion key:
- In the Minion Keys workspace, click Pending from the side panel.
- Check the box next to the minion key or keys you want to accept. Then, click Accept Key.
- Click Accept in the confirmation dialog.
The key is now accepted. After several seconds, the minion appears under the Accepted tab, and in the Minions Key workspace.
In a multi-Salt master scenario, you must accept keys on all Salt masters separately. For more on multi-Salt master configurations, see Multimaster Tutorial.
For more on configuring a multi-Salt master scenario with failover, see Multimaster Failover.
You can also reject a minion key by checking the box next to the key or keys you want to reject and clicking Reject Key.
