Follow these instructions to install the Harbor container registry on a TKG Service cluster that is running TKr for vSphere 8.x.
Prerequisites
Adhere to the following prerequisites.
Create Harbor Data Values
Prepare to install Harbor by creating the data values file.
- Get the latest Harbor package version for your repository.
tanzu package available get harbor.tanzu.vmware.com -n tkg-system
Or, using kubectl.
kubectl -n tkg-system get packages | grep harbor
Note: Typically you should use the latest version unless your requirements differ. - Generate the
harbor-data-values.yamlfile.tanzu package available get harbor.tanzu.vmware.com/2.9.1+vmware.1-tkg.1 --default-values-file-output harbor-data-values.yaml
Where:- 2.9.1+vmware.1-tkg.1 is the target package version
- harbor-data-values.yaml is the name and path of the data values file to generate
- Edit the
harbor-data-values.yamlfile and update the values for the following parameters.Configure additional parameters as needed. See Harbor Package Reference.
Field Description hostnameThe FQDN for accessing the Harbor admin console and Registry service. Replace "yourdomain.com" with a unique hostname. harborAdminPasswordChange the password to something strong and unique (can also be changed in the UI after install). persistence.persistentVolumeClaim.database.storageClass:Enter the name of the vSphere storage policy for the vSphere namespace. persistence.persistentVolumeClaim.jobservice.storageClass:Enter the name of the vSphere storage policy for the vSphere namespace. persistence.persistentVolumeClaim.redis.storageClass:Enter the name of the vSphere storage policy for the vSphere namespace. persistence.persistentVolumeClaim.registry.storageClass:Enter the name of the vSphere storage policy for the vSphere namespace. persistence.persistentVolumeClaim.trivy.storageClass:Enter the name of the vSphere storage policy for the vSphere namespace. tlsCertificate.tlsSecretLabels:{"managed-by": "vmware-vRegistry"}
Install Harbor
Complete the following steps to install Harbor Registry.
- Create the namespace for Harbor.
kubectl create ns tanzu-system-registry
- Install Harbor.
tanzu package install harbor --package harbor.tanzu.vmware.com --version 2.9.1+vmware.1-tkg.1 --values-file harbor-data-values.yaml --namespace tanzu-system-registry
- Verify Harbor installation.
tanzu package installed get harbor --namespace tanzu-system-registry
Configure DNS for Harbor Using an Envoy Service of Type LoadBalancer
If the prerequisite Contour with Envoy service is exposed via a LoadBalancer, obtain the external IP address of the load balancer and create DNS records for the Harbor FQDNs.
- Get the
External-IPaddress for the Envoy service of type LoadBalancer.kubectl get service envoy -n tanzu-system-ingress
You should see theExternal-IPaddress returned, for example:NAME TYPE CLUSTER-IP EXTERNAL-IP PORT(S) AGE envoy LoadBalancer 10.99.25.220 10.195.141.17 80:30437/TCP,443:30589/TCP 3h27m
Alternatively you can get theExternal-IPaddress using the following command.kubectl get svc envoy -n tanzu-system-ingress -o jsonpath='{.status.loadBalancer.ingress[0]}' - To verify the installation of the Harbor extension, update your local
/etc/hostsfile with the Harbor and Notary FQDNs mapped to theExternal-IPaddress of the load balancer, for example:127.0.0.1 localhost 127.0.1.1 ubuntu #TKG Harbor with Envoy Load Balancer IP 10.195.141.17 core.harbor.domain 10.195.141.17 core.notary.harbor.domain
- To verify the installation of the Harbor extension, log in to Harbor.
- Create two CNAME records on a DNS server that map the Envoy service Load Balancer
External-IPaddress to the Harbor FQDN and the Notary FQDN. - Install the External DNS extension.
Configure DNS for Harbor Using an Envoy Service of Type NodePort
If the prerequisite Contour > Envoy service is exposed via a NodePort, obtain the virtual machine IP address of a worker node and create DNS records for the Harbor FQDNs.
Note: To use NodePort, you must have specified the correct
port.https value in the
harbor-data-values.yaml file.
- Switch context to the vSphere Namespace where the cluster is provisioned.
kubectl config use-context VSPHERE-NAMESPACE
- List the nodes in the cluster.
kubectl get virtualmachines
- Pick one of the worker nodes and describe it using the following command.
kubectl describe virtualmachines tkg2-cluster-X-workers-9twdr-59bc54dc97-kt4cm
- Locate the IP address of the virtual machine, for example
Vm Ip: 10.115.22.43. - To verify the installation of the Harbor extension, update your local
/etc/hostsfile with the Harbor and Notary FQDNs mapped to the worker node IP address, for example:127.0.0.1 localhost 127.0.1.1 ubuntu #TKG Harbor with Envoy NodePort 10.115.22.43 core.harbor.domain 10.115.22.43 core.notary.harbor.domain
- To verify the installation of the Harbor extension, log in to Harbor.
- Create two CNAME records on a DNS server that map the worker node IP address to the Harbor FQDN and the Notary FQDN.
- Install the External DNS extension.
Log In to the Harbor Web Interface
Once Harbor is installed and configured, log in and start using it.
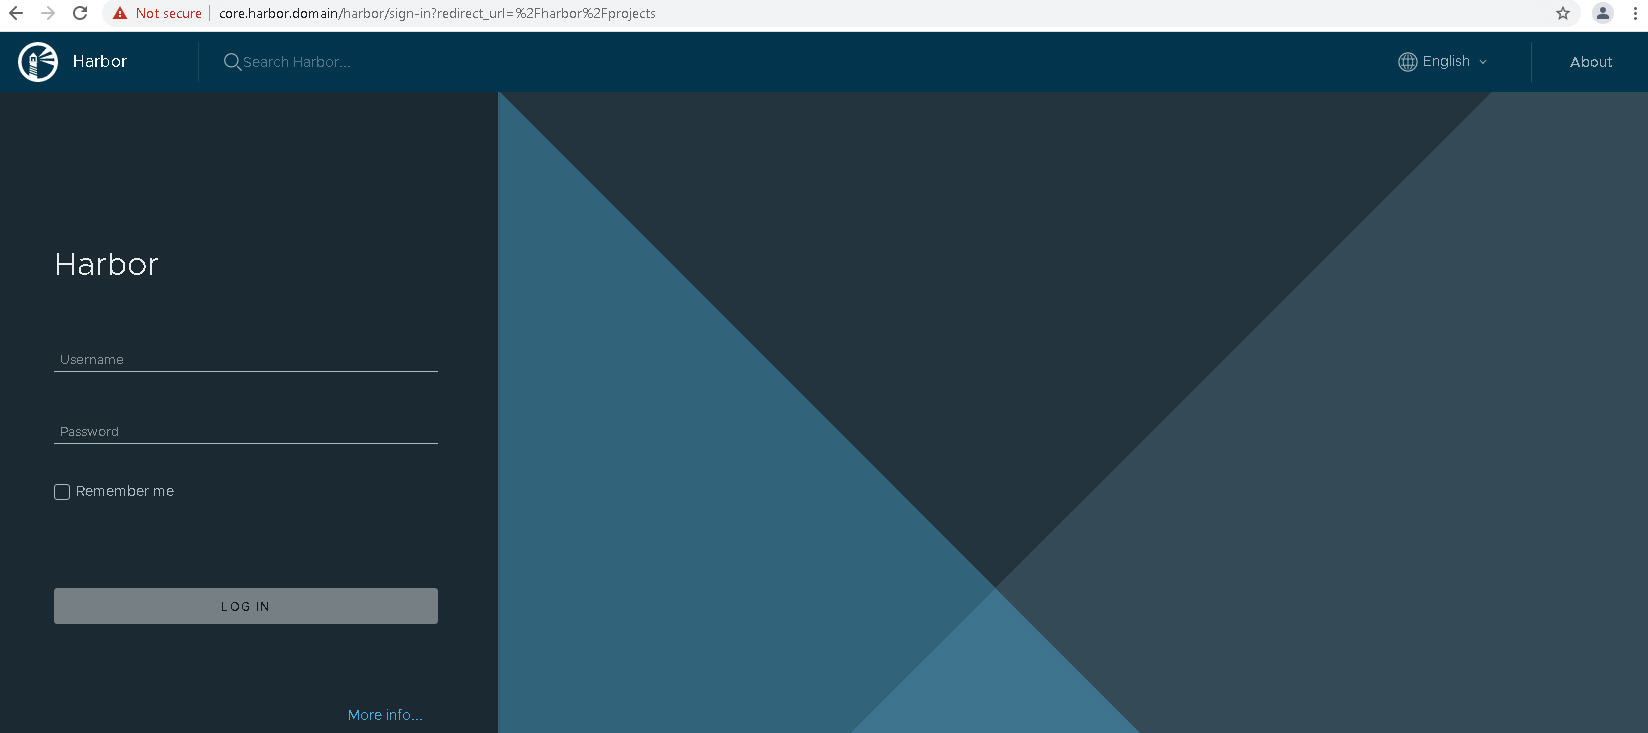
- Access the Harbor Registry web interface at
https://core.harbor.domain, or the hostname you used.
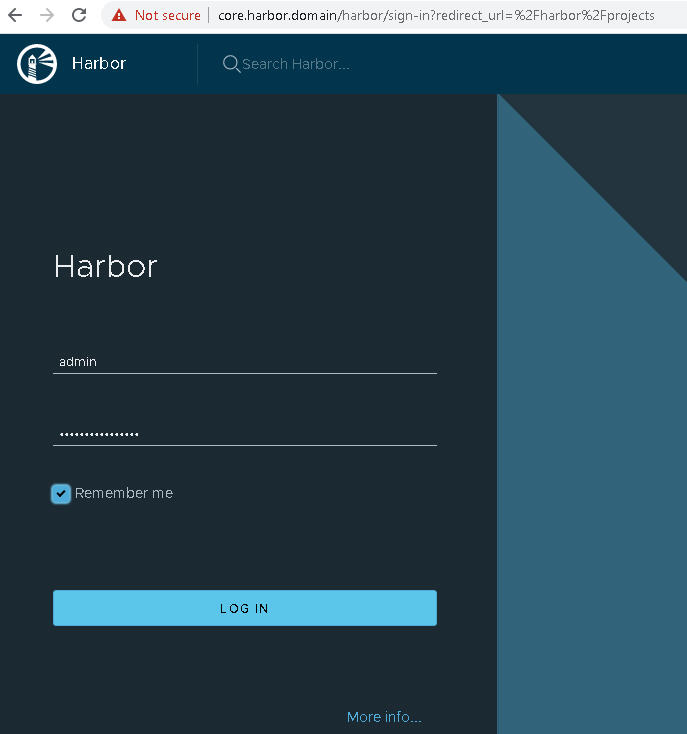
- Log in to Harbor with the username admin and the generated password that you put in the
harbor-data-values.yamlfile.
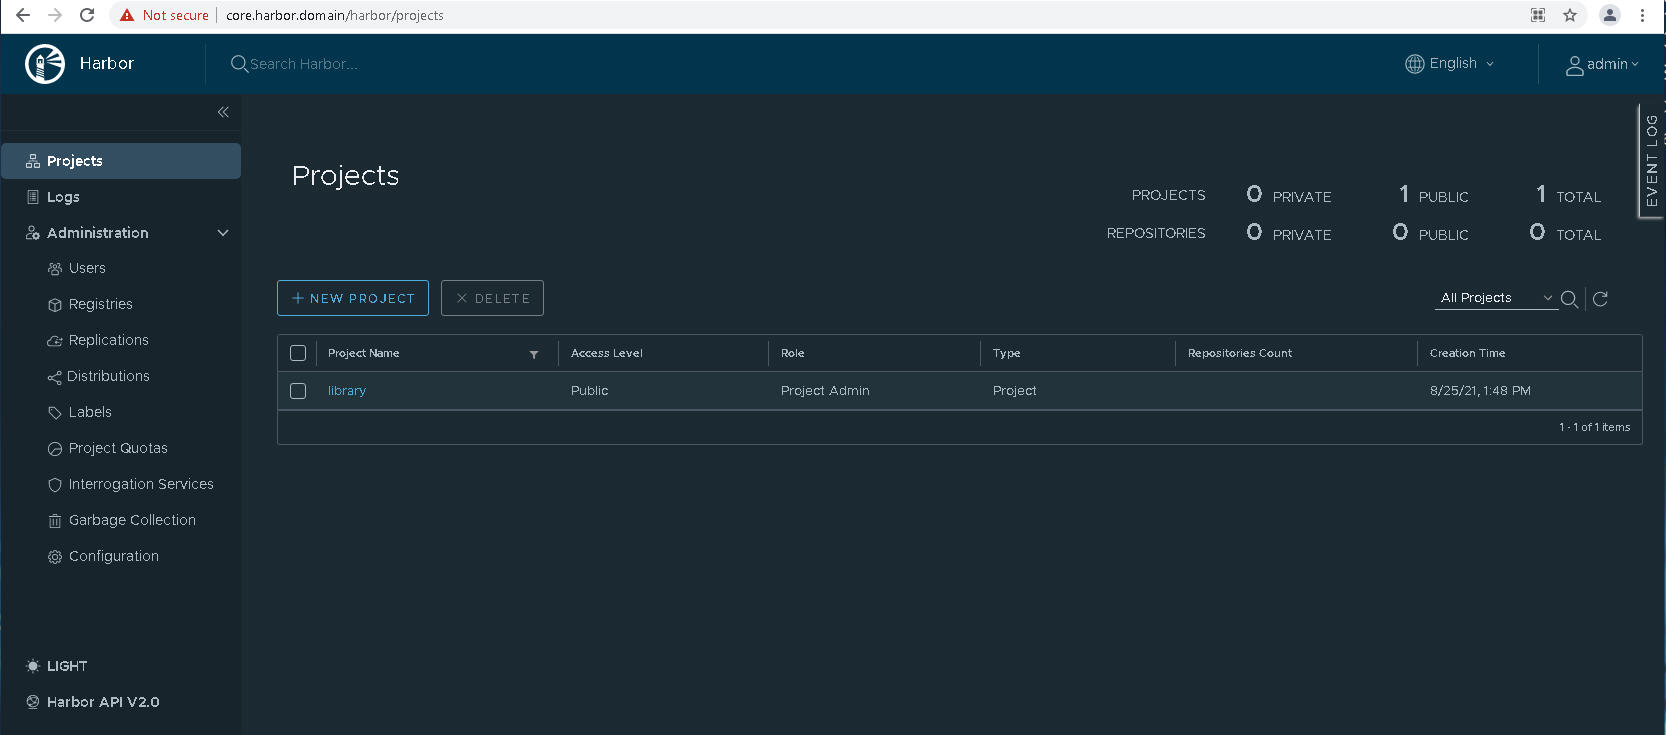
- Verify that you can access the Harbor user interface.

- Obtain the Harbor CA certificate.
In the Harbor interface, select , or create a New Project.
Click Registry Certificate and download the Harbor CA certificate (ca.crt).
- Add the Harbor CA certificate into the trust store of Docker client so you can push and pull container images to and from the Harbor Registry. See Using Private Registries with TKG Service Clusters.
- Refer to the Harbor documentation for details on using Harbor.