


As a vRealize Automation cloud administrator, you are responsible for managing the access and the budget for your infrastructure resources. You add yourself and two others as administrators. This small team can create the infrastructure and develop the cloud templates that match the business goals of the teams that consume the cloud templates. You and your small team of administrators then deploy the cloud templates for your non-administrator consumers. You don't allow non-administrators to access vRealize Automation.
In this use case, you are the organization owner and you have a small team where they all have the service administrator role.
The following procedure follows one user all the way through the process. You can do each step for multiple users.
Prerequisites
- Verify that you meet all the prerequisites stipulated in the use case introduction. See Use cases: How can user roles help me control access in vRealize Automation.
Procedure
- Assign organization roles. Click Identity and Access Management.
- Log in to the vRealize Automation console.
- Click Identity and Access Management.
- Select the user name and click Edit Roles.
- In the Assign Organization Roles drop-down menu, select Organization Member.
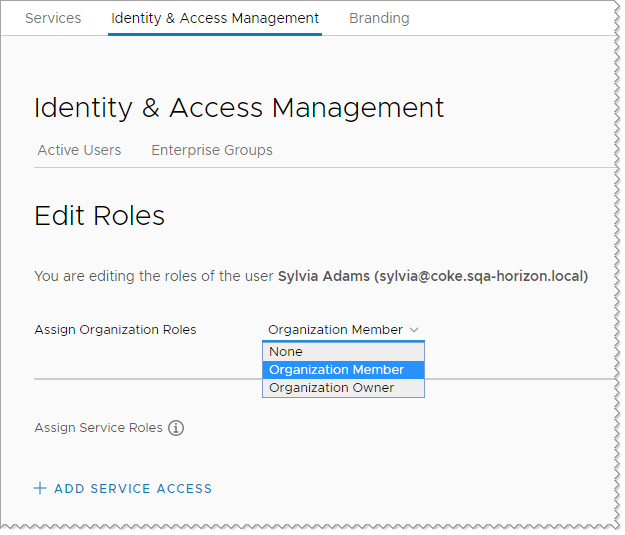
The organization member role ensures that the user can access the console and any services that you add them to. They cannot manage organization users.Leave the Edit Role page open for this user and continue to the next step.
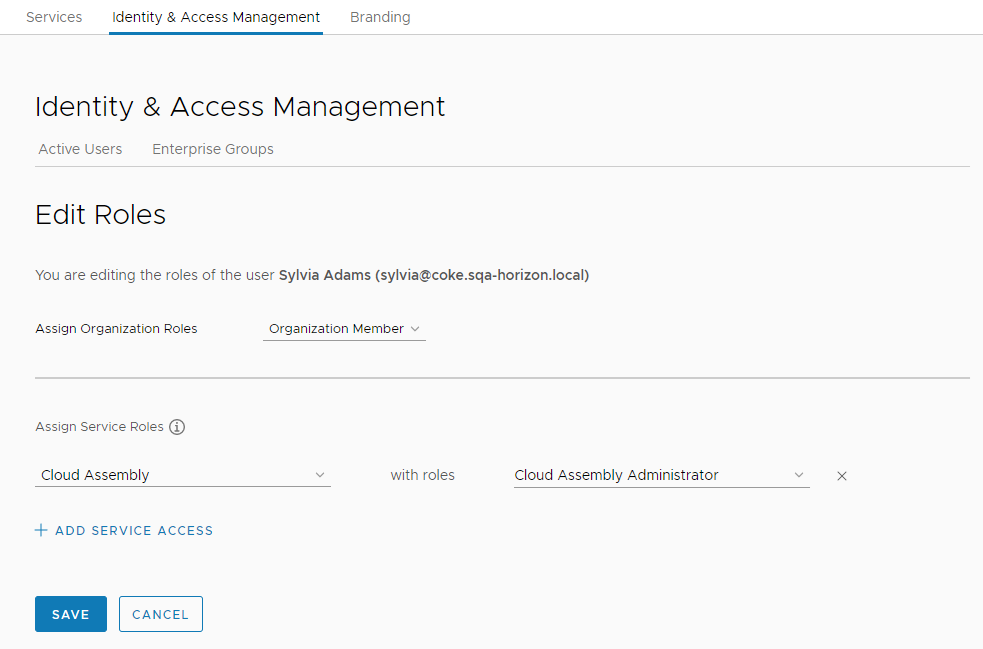
- Assign Cloud Assembly Administrator role to yourself and to the one or two other administrators in this scenario.
The service administrator role has full privileges to add, edit, and delete infrastructure, projects, cloud templates, and deployments. Defining an administrator role for one person and the user role for a different person is covered in Scenario 2. This example uses Sylvia.
- Click Add Service Access.
- Configure the user with the following value.
Service Role Cloud Assembly Cloud Assembly Administrator
- Develop a simple cloud template so that you can test the WebAppTeam project.
This cloud template section is abbreviated. The focus is users and user roles as defined by projects, not how to create a cloud template.
- Select .
- For the new cloud template name, enter WebApp.
- For Project, select WebAppTeam.
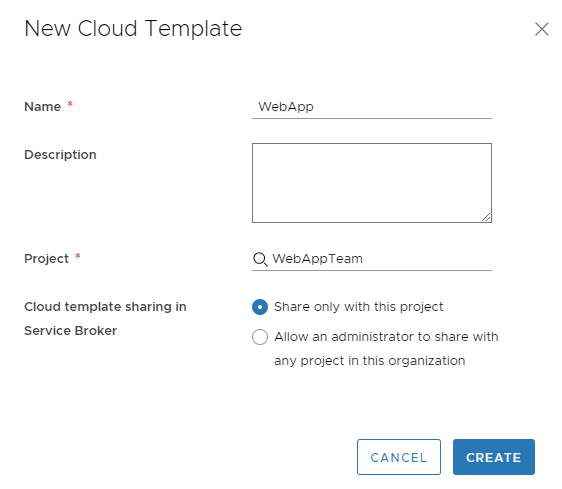
- Select Share only with the project.
This setting ensures that the cloud template is only available to project members. When you are ready to provide the cloud templates to other teams, you can select Allow an administrator to share with any project in this organization. Sharing the cloud template with other projects means that you do not have to maintain duplicate instances of the same base templates. You can move cloud templates from development projects to production projects so that catalog consumers can deploy to production infrastructure resources.
- Click Create.
- In the cloud template designer, drag the component to the canvas.
For more about configuring cloud templates, see Designing your deployments.
- Click Deploy.
- Continue iterating on the cloud template until you are ready to provide it to your consumers.
- Click Version and release and version the cloud template.
Results
In this use case, you made your two colleagues organization members. You then made Sylvia a Cloud Assembly administrator. You made Tony a WebApp project administrator. This user role configuration only works for small teams where you deliver deployed applications to your consumers rather than providing them with self-service access or a catalog.
