In Service Broker, you can customize the icon that represents the content in the catalog, limit the number of deployed instances for a catalog item, and customize the request form for imported templates. When customizing the request form, you can also design the input parameters that allow the user requesting a catalog item to provide the values. You can customize how the custom options are presented in the form.
The icon that you provide helps you and your catalog consumers use visual queues to identify specific items. You are not required to customize a form if all you want is a custom icon. Nor are you required to customize the icon when you create a custom form.
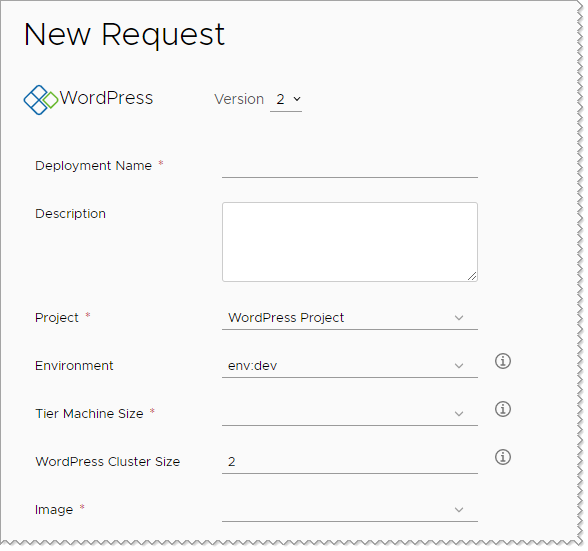
When creating the custom form, the WordPress cloud template is used as the example in this use case. If you don't customize the request form, it is a simple list of parameters. See the following example.

In this use case, you customize the following options:
- Reduce the maximum number of WordPress Cluster Size from 5 to 3.
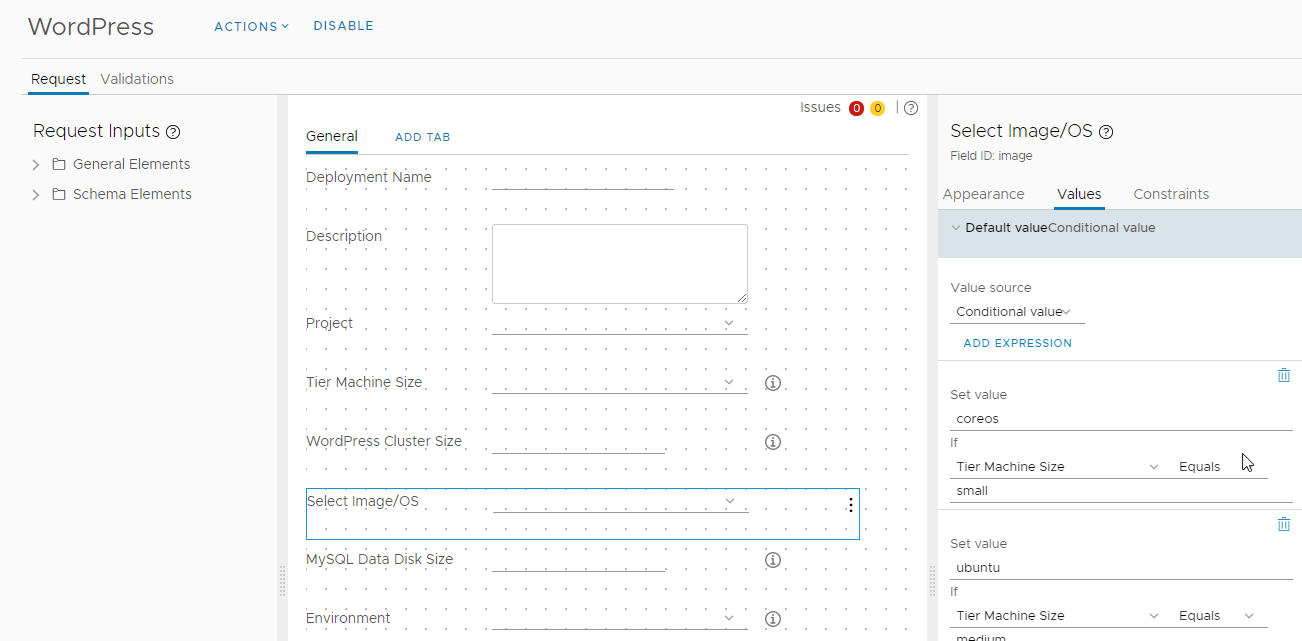
- Specify operating system based on Node Size. For example, if size is small, then the operating system is coreos. If it medium, then the operating system is ubuntu.
- Set the MySQL Data Disk Size value to 5 and hide the option from the requesting users.
Prerequisites
- To add an icon, verify that you have an image that does not exceed 100 KB. The optimal size is no larger than 100x100 pixels.
- This use case assumes that you imported the WordPress use case cloud template from Cloud Assembly, or that you have a cloud template or template that includes input parameters.
Procedure
Results
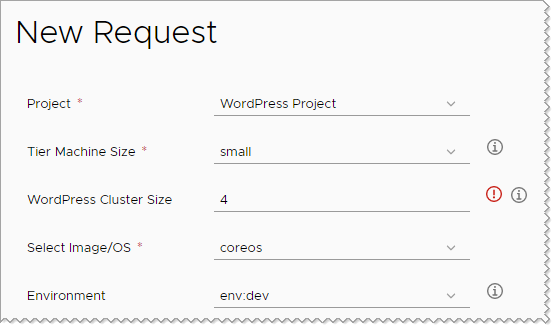
The request form is now similar to the following example.

Notice that the Wordpress Cluster Size field indicates an error. The limit is 3, but the user entered a value of 4.

