You must create an application profile to define the behavior of a particular type of network traffic.
After configuring a profile, you should associate the profile with a virtual server. The virtual server then processes traffic according to the values specified in the profile. Using profiles enhances your control over managing network traffic and makes traffic-management tasks easier and more efficient.
Procedure
- Log in to the vSphere Web Client.
- Click Networking & Security and then click NSX Edges.
- Double-click an NSX Edge.
- Click Manage and then click the Load Balancer tab.
- In the left navigation panel, click Application Profiles.
- Click the Add (
 ) icon.
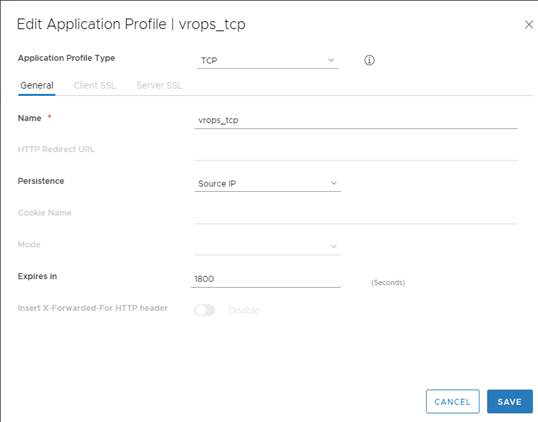
 - Enter a name for the profile and select the traffic type for which you are creating the profile. For example: vrops_https.
- Select the Type: TCP
- Select Persistence as Source IP.
- Enter 1800 for Expires in (seconds).
- Select Ignore for Client Authentication.
- Click OK to save the Profile
Results
When the encrypted traffic is balanced, the load balancer cannot differentiate between the traffic for vRealize Operations Manager analytics and EPOps.If you plan to use two load balancers, one for vRealize Operations Manager analytics and one for EPOps, you could use the same profile as both the profiles are identical. If you create two different profiles, only the name of the profiles is different, but the configurations for both the profiles are identical.
Example
Example: