You can reconfigure a replication to exclude some of the disks from the replication. You can also retain the replica disk when excluding a disk from the replication.
When you exclude a disk from a replication, you can retain the replica file on the target site and it is not deleted. If you want to include the disk to the replication again, you can use the retained disk as a seed disk.
Procedure
- Log in to the vSphere Client.
- On the home page, click Site Recovery and click Open Site Recovery.
- On the Site Recovery home page, select a site pair and click View Details.
- Click the Replications tab and select a replication from Outgoing or Incoming.
- Click the Reconfigure icon.
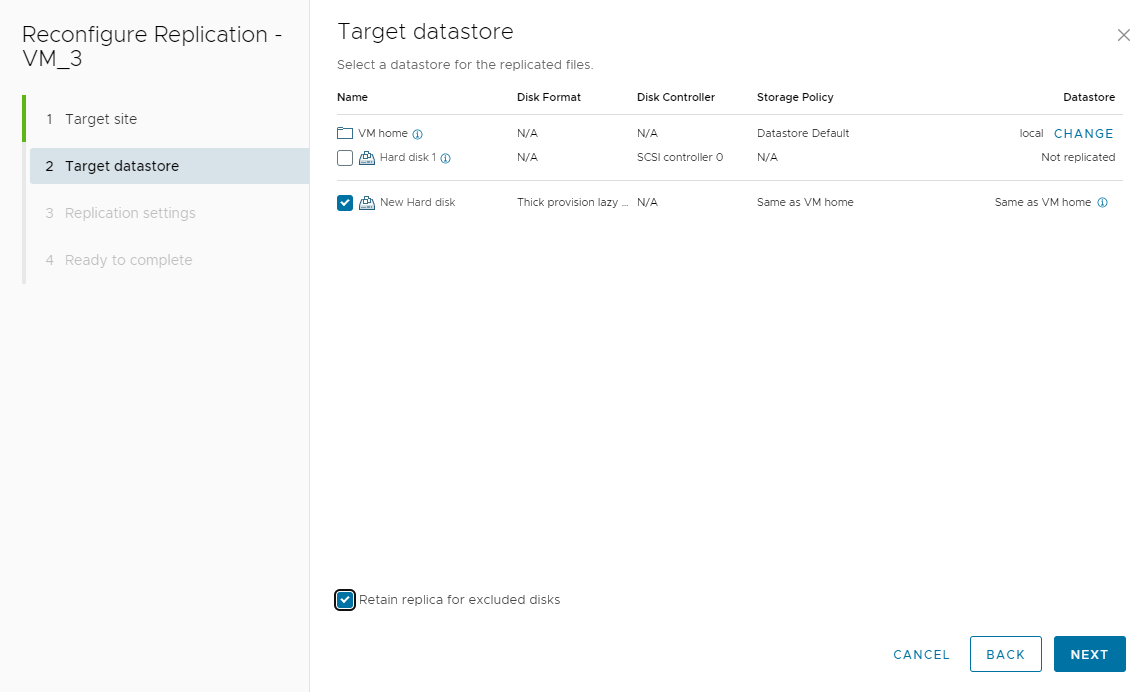
- Click Next to reach the Target datastore page of the Reconfigure Replication wizard.
- To exclude a disk, deselect it from the list.
The disk is marked as
Not replicated.
- (Optional) To retain the replica disks, select the Retain replica for excluded disks check box.
- Click Next until you reach the Ready to complete page and click Finish to save your settings.
Note: If you exclude a disk and then you want to include it back before the next recovery point objective (RPO), you have to sync the replication. The synchronization will only work if there is no multiple point in time (MPIT) enabled. If you enable the MPIT, the older points in time that contain the disk must expire before adding it again to the replication.