Before you install VMware Tanzu Scheduler v2.0, you must have one of the following:
-
A VMware Tanzu SQL with MySQL for VMs v3.0 or later tile configured to use MySQL 8.0. To download VMware Tanzu SQL with MySQL for VMs, see VMware Tanzu SQL with MySQL for VMs on VMware Tanzu Network. For information about installing VMware Tanzu SQL with MySQL for VMs, see Installing and configuring VMware Tanzu SQL with MySQL for VMs. For information about configuring TLS, see Configure security.
-
An external MySQL v8.0 or later database with TLS deactivated.
Note Scheduler is compatible with VMware Tanzu SQL with MySQL for VMs. Compatibility with MySQL alternatives such as MariaDB are not tested or guaranteed.
Download and install Scheduler
To download and install scheduler:
-
Download the product file from VMware Tanzu Network.
-
Navigate to the Ops Manager Installation Dashboard and click Import a Product to upload the product file.
-
Under the Import a Product button, click + next to the version number of Scheduler. This adds the tile to your staging area.
-
Click the newly added Scheduler tile.
Configure Scheduler
Configure the Scheduler tile by using the following steps:
Configure AZs and networks
Choose an Availability Zone (AZ) to run the Scheduler Service Broker and to select networks:
-
Click Assign AZs and Networks.
-
Configure the fields as follows:
Field Description Place singleton jobs in Select the AZ for executing the Scheduler Errands. All Scheduler components execute as apps and do not require VMs. Balance other jobs in Ignore this field. Network Select a subnet for the Scheduler Errands. Use the subnet that includes the VMware Tanzu Application Service for VMs (TAS for VMs) component VMs. Note The network selected is used only by Errand VMs and does not apply to the Scheduler runtime.
-
Click Save.
Configure Scheduler options
-
Click Scheduler Configuration.
- Enable outbound HTTP calls: This field is activated by default. Deactivate this feature to prevent users from scheduling outbound HTTP requests (calls) from the Scheduler service. This does not affect outbound connectivity from Diego tasks (jobs).
- Database Source > Service Broker:
- Name Enter the name of your MySQL service broker. For example,
p.mysql. - Plan Name Enter the name of your MySQL service plan, which is used to provision a database for persistent storage of Scheduler data, including jobs, calls, and history. For example,
db-small.
- Name Enter the name of your MySQL service broker. For example,
- Database Source > External: Enter a database URL. It must have a scheme, user, password, host, and port, for example
mysql://user:[email protected]:3306. Query parameters are ignored. For example, withmysql://user:[email protected]:3306/?useTLS=false, the query parameteruseTLSis not propagated to Scheduler.
-
Click Save.
Verify resource Config
-
Click Resource Config.
-
Verify the settings.
-
Click Save.
Verify stemcell version
To verify that you have the correct stemcell version for the Scheduler tile:
-
Click Stemcell.
-
Verify the settings.
-
Download the stemcell from VMware Tanzu Network.
-
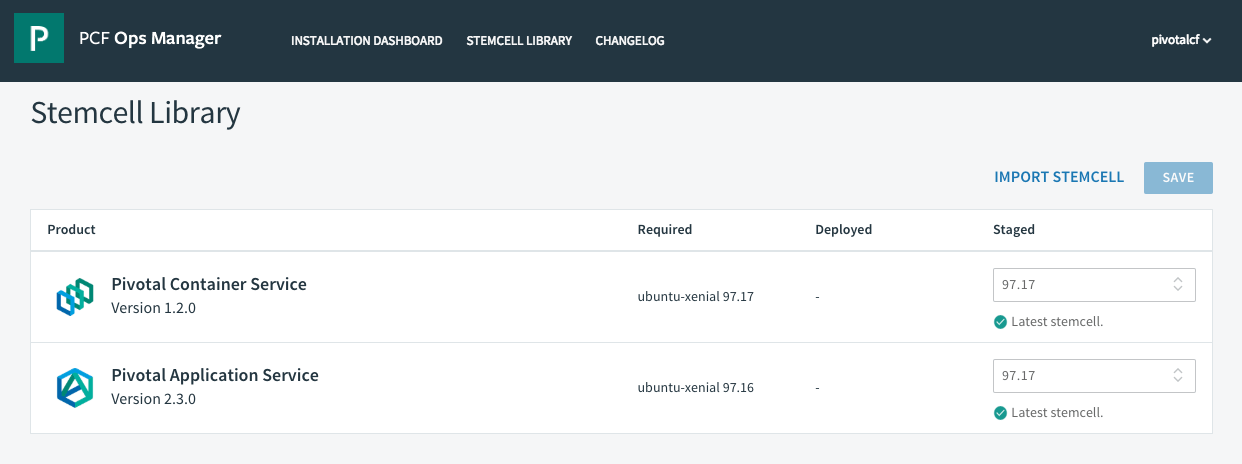
In the Tanzu Operations Manager, click Stemcell Library.

-
Click Import Stemcell, and then select the stemcell you downloaded from VMware Tanzu Network.
-
Click Save.
-
Return to the Tanzu Operations Manager Installation Dashboard.
-
Click Review Pending Changes. For more information about this Tanzu Operations Manager page, see Reviewing Pending Product Changes.
-
Click Apply Changes.