


This topic tells you how to set up Microsoft Entra ID as your identity provider by configuring SAML integration in both Single Sign‑On for VMware Tanzu Application Service and Microsoft Entra ID.
Overview
To set up Microsoft Entra ID as your identity provider through SAML integration:
Set up SAML in Single Sign‑On
To set up SAML in Single Sign‑On, follow the steps in Configure SAML Settings.
Set up SAML in Microsoft Entra ID
To set up SAML in Microsoft Entra ID:
-
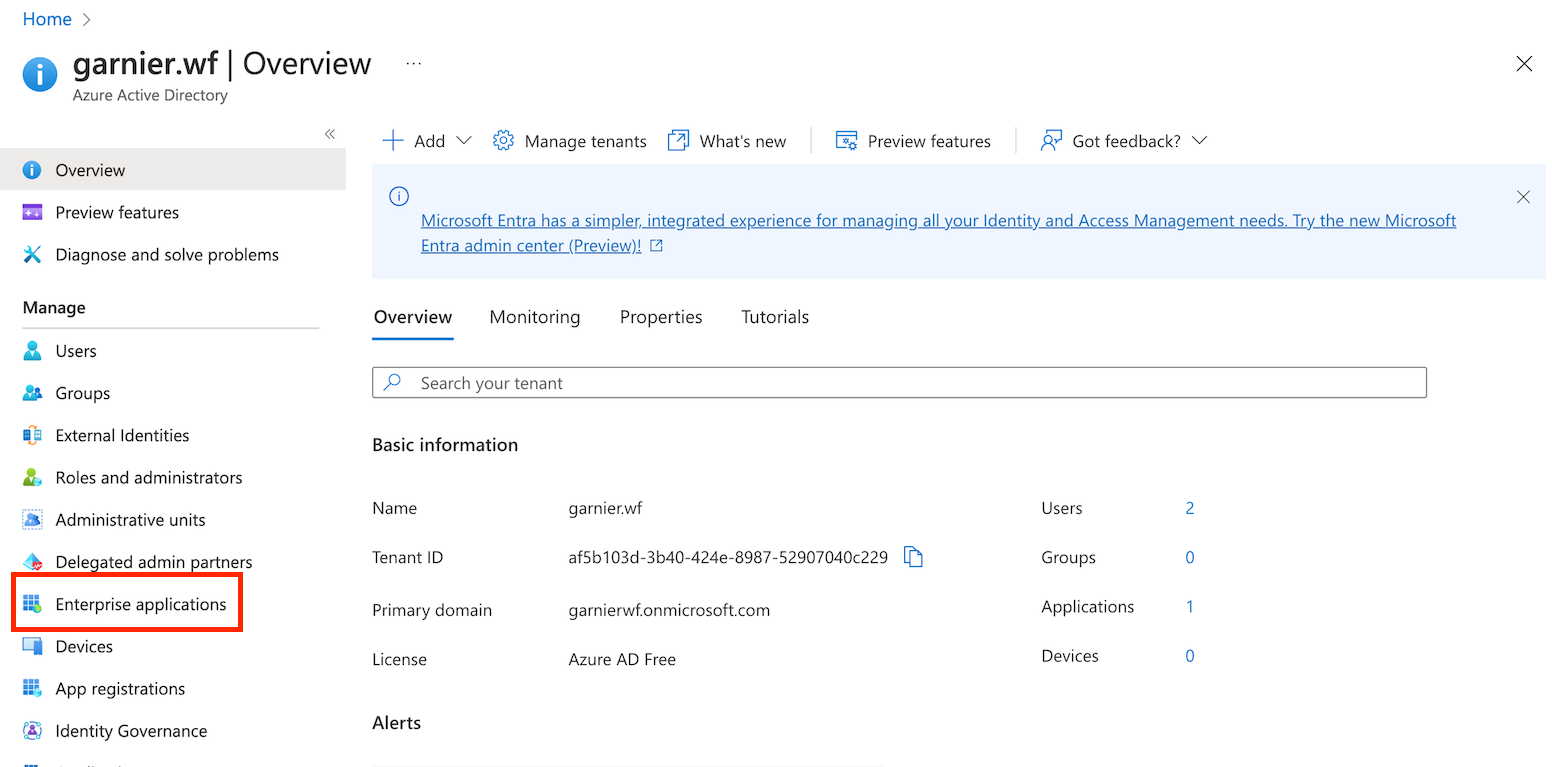
Log in to Microsoft Entra ID as a Global Admin in the Microsoft Azure portal.
-
Go to the Microsoft Entra ID tab > Enterprise application.
-
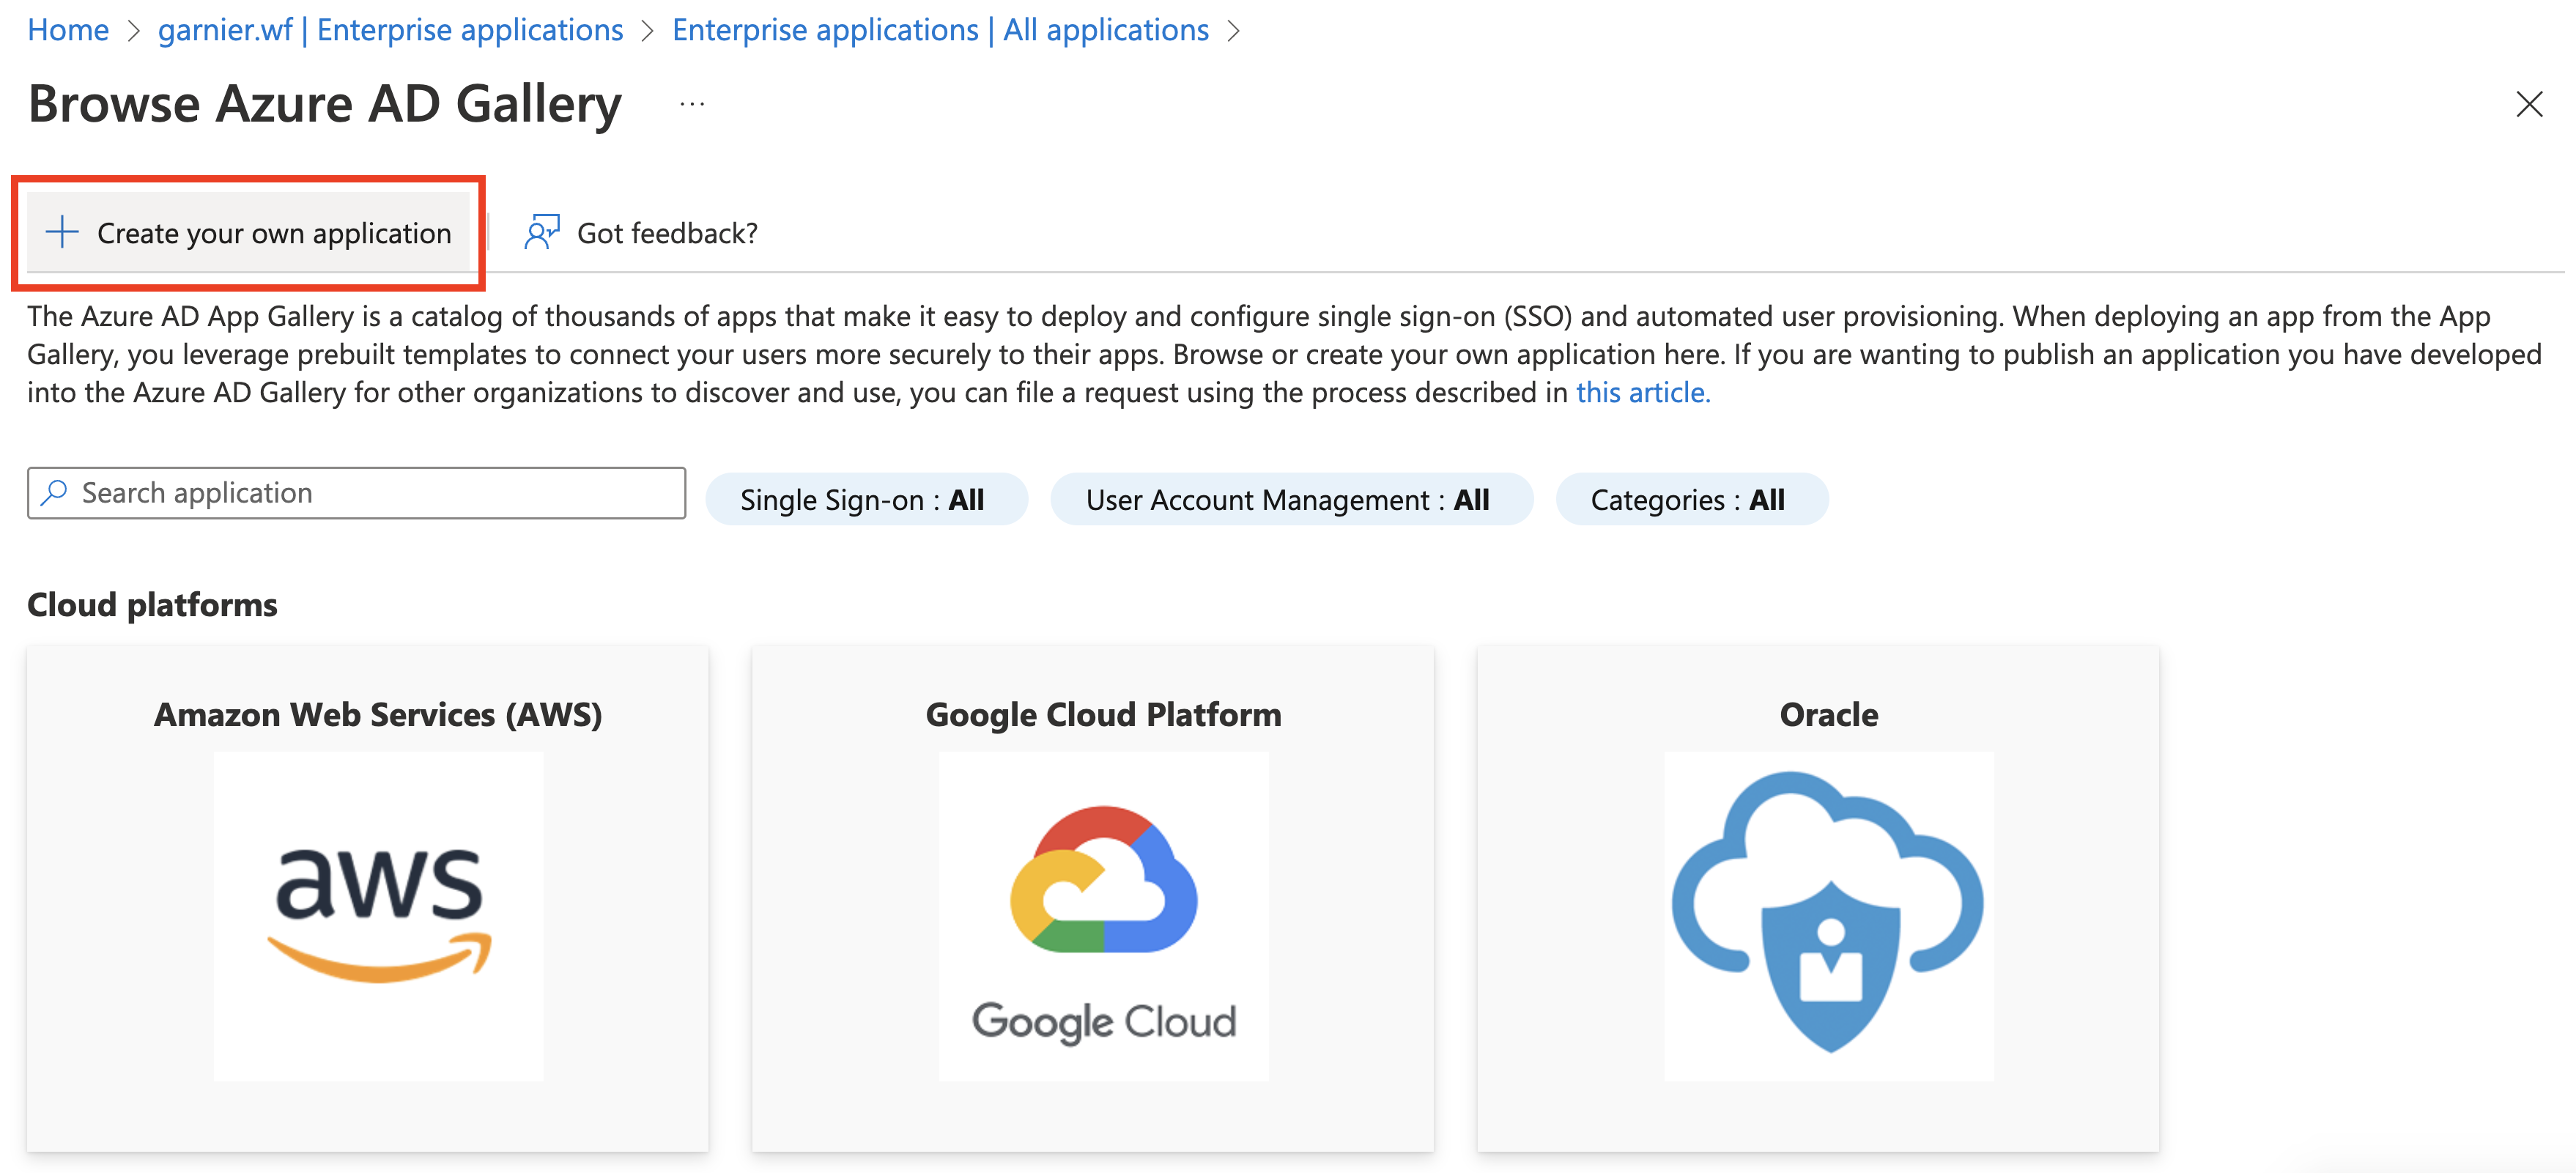
Click New application.

-
Click Create your own application.
-
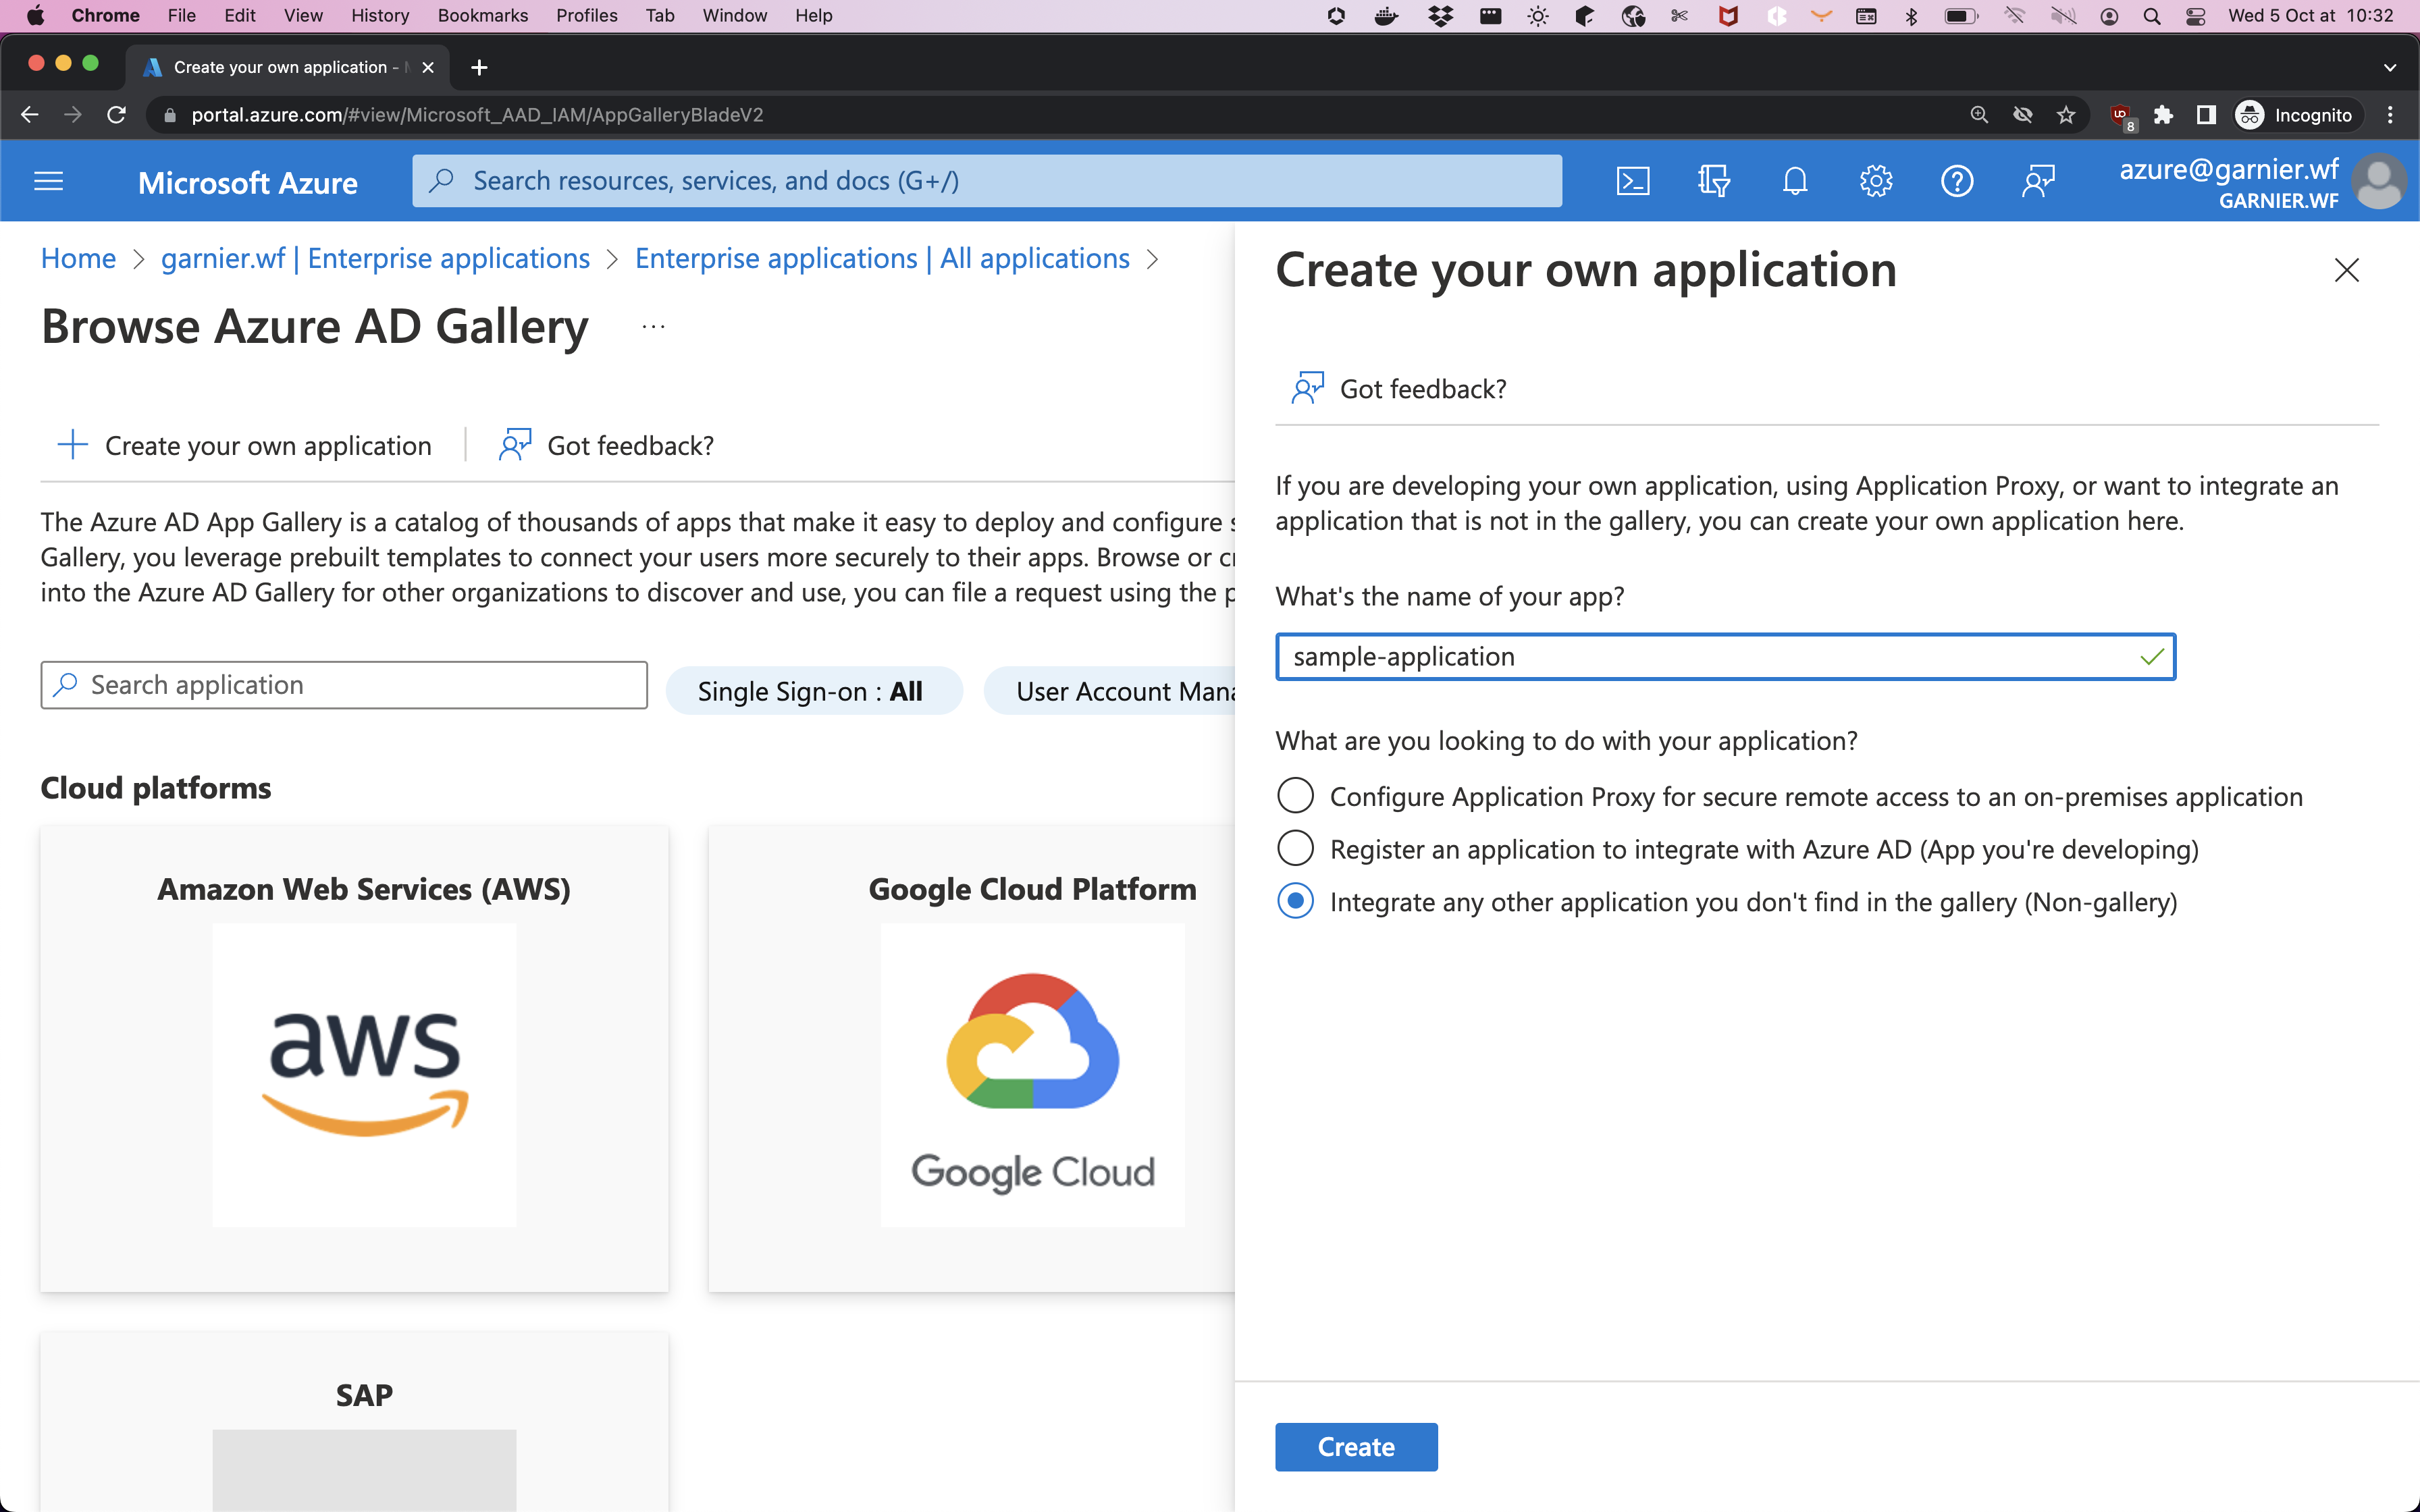
Enter a name and then click Integrate any other application you don’t find in the gallery (Non-gallery).
-
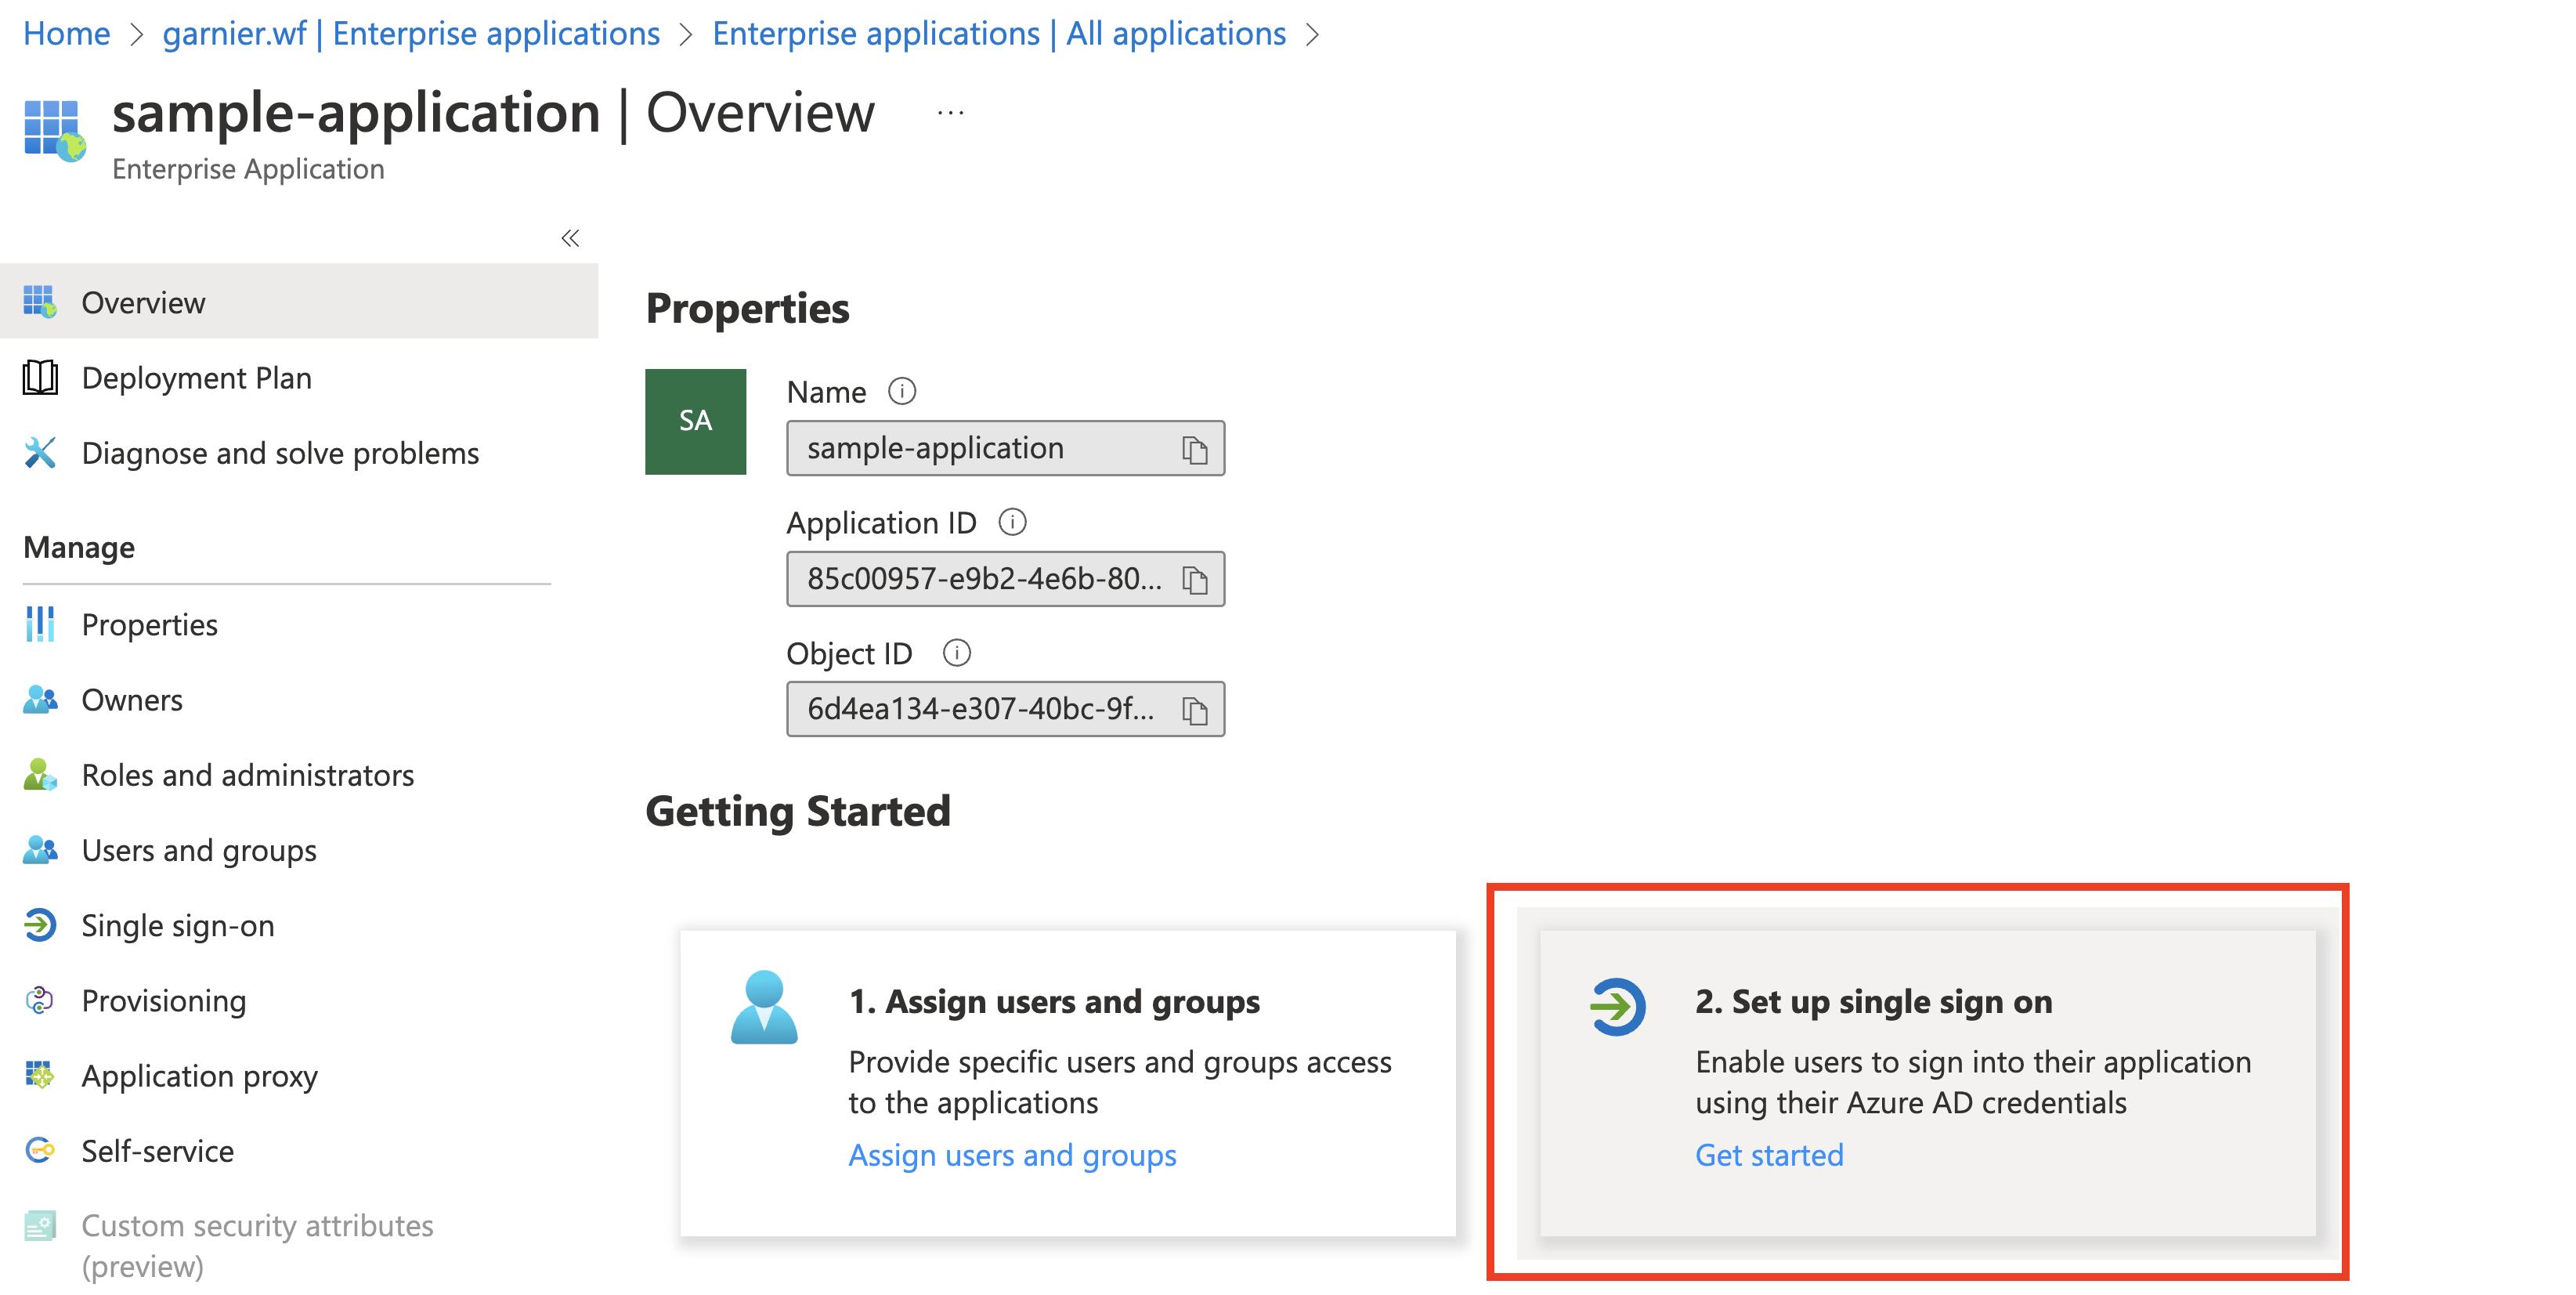
In the All applications tab of Enterprise applications, click your newly created application.
-
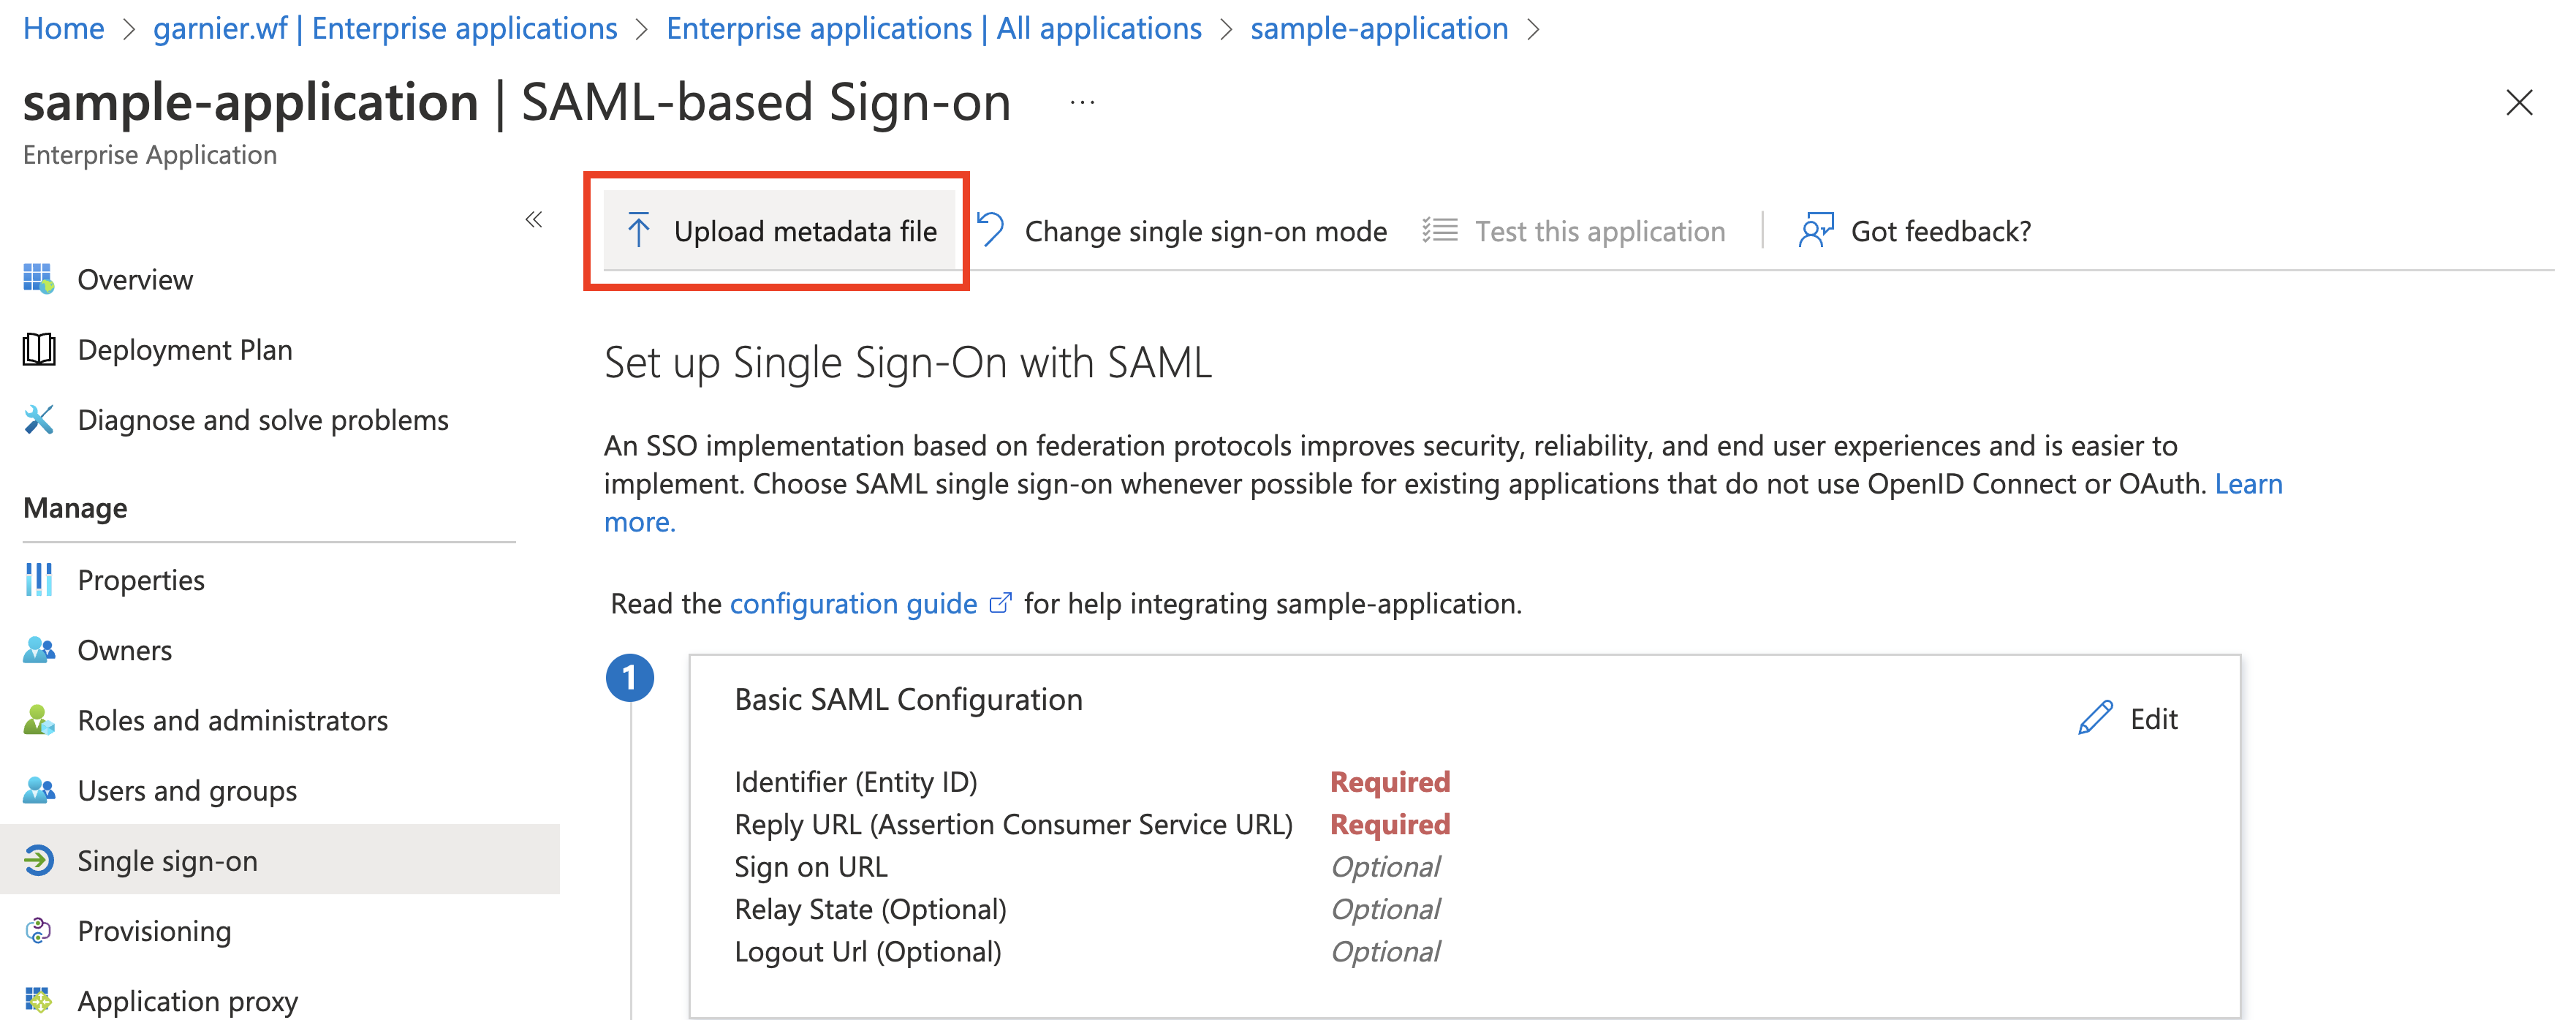
In the application overview, click Set up single sign on > SAML.
-
Click Upload metadata file to upload the metadata file you downloaded earlier in Set up SAML in Single Sign‑On. Save the configuration when prompted.
-
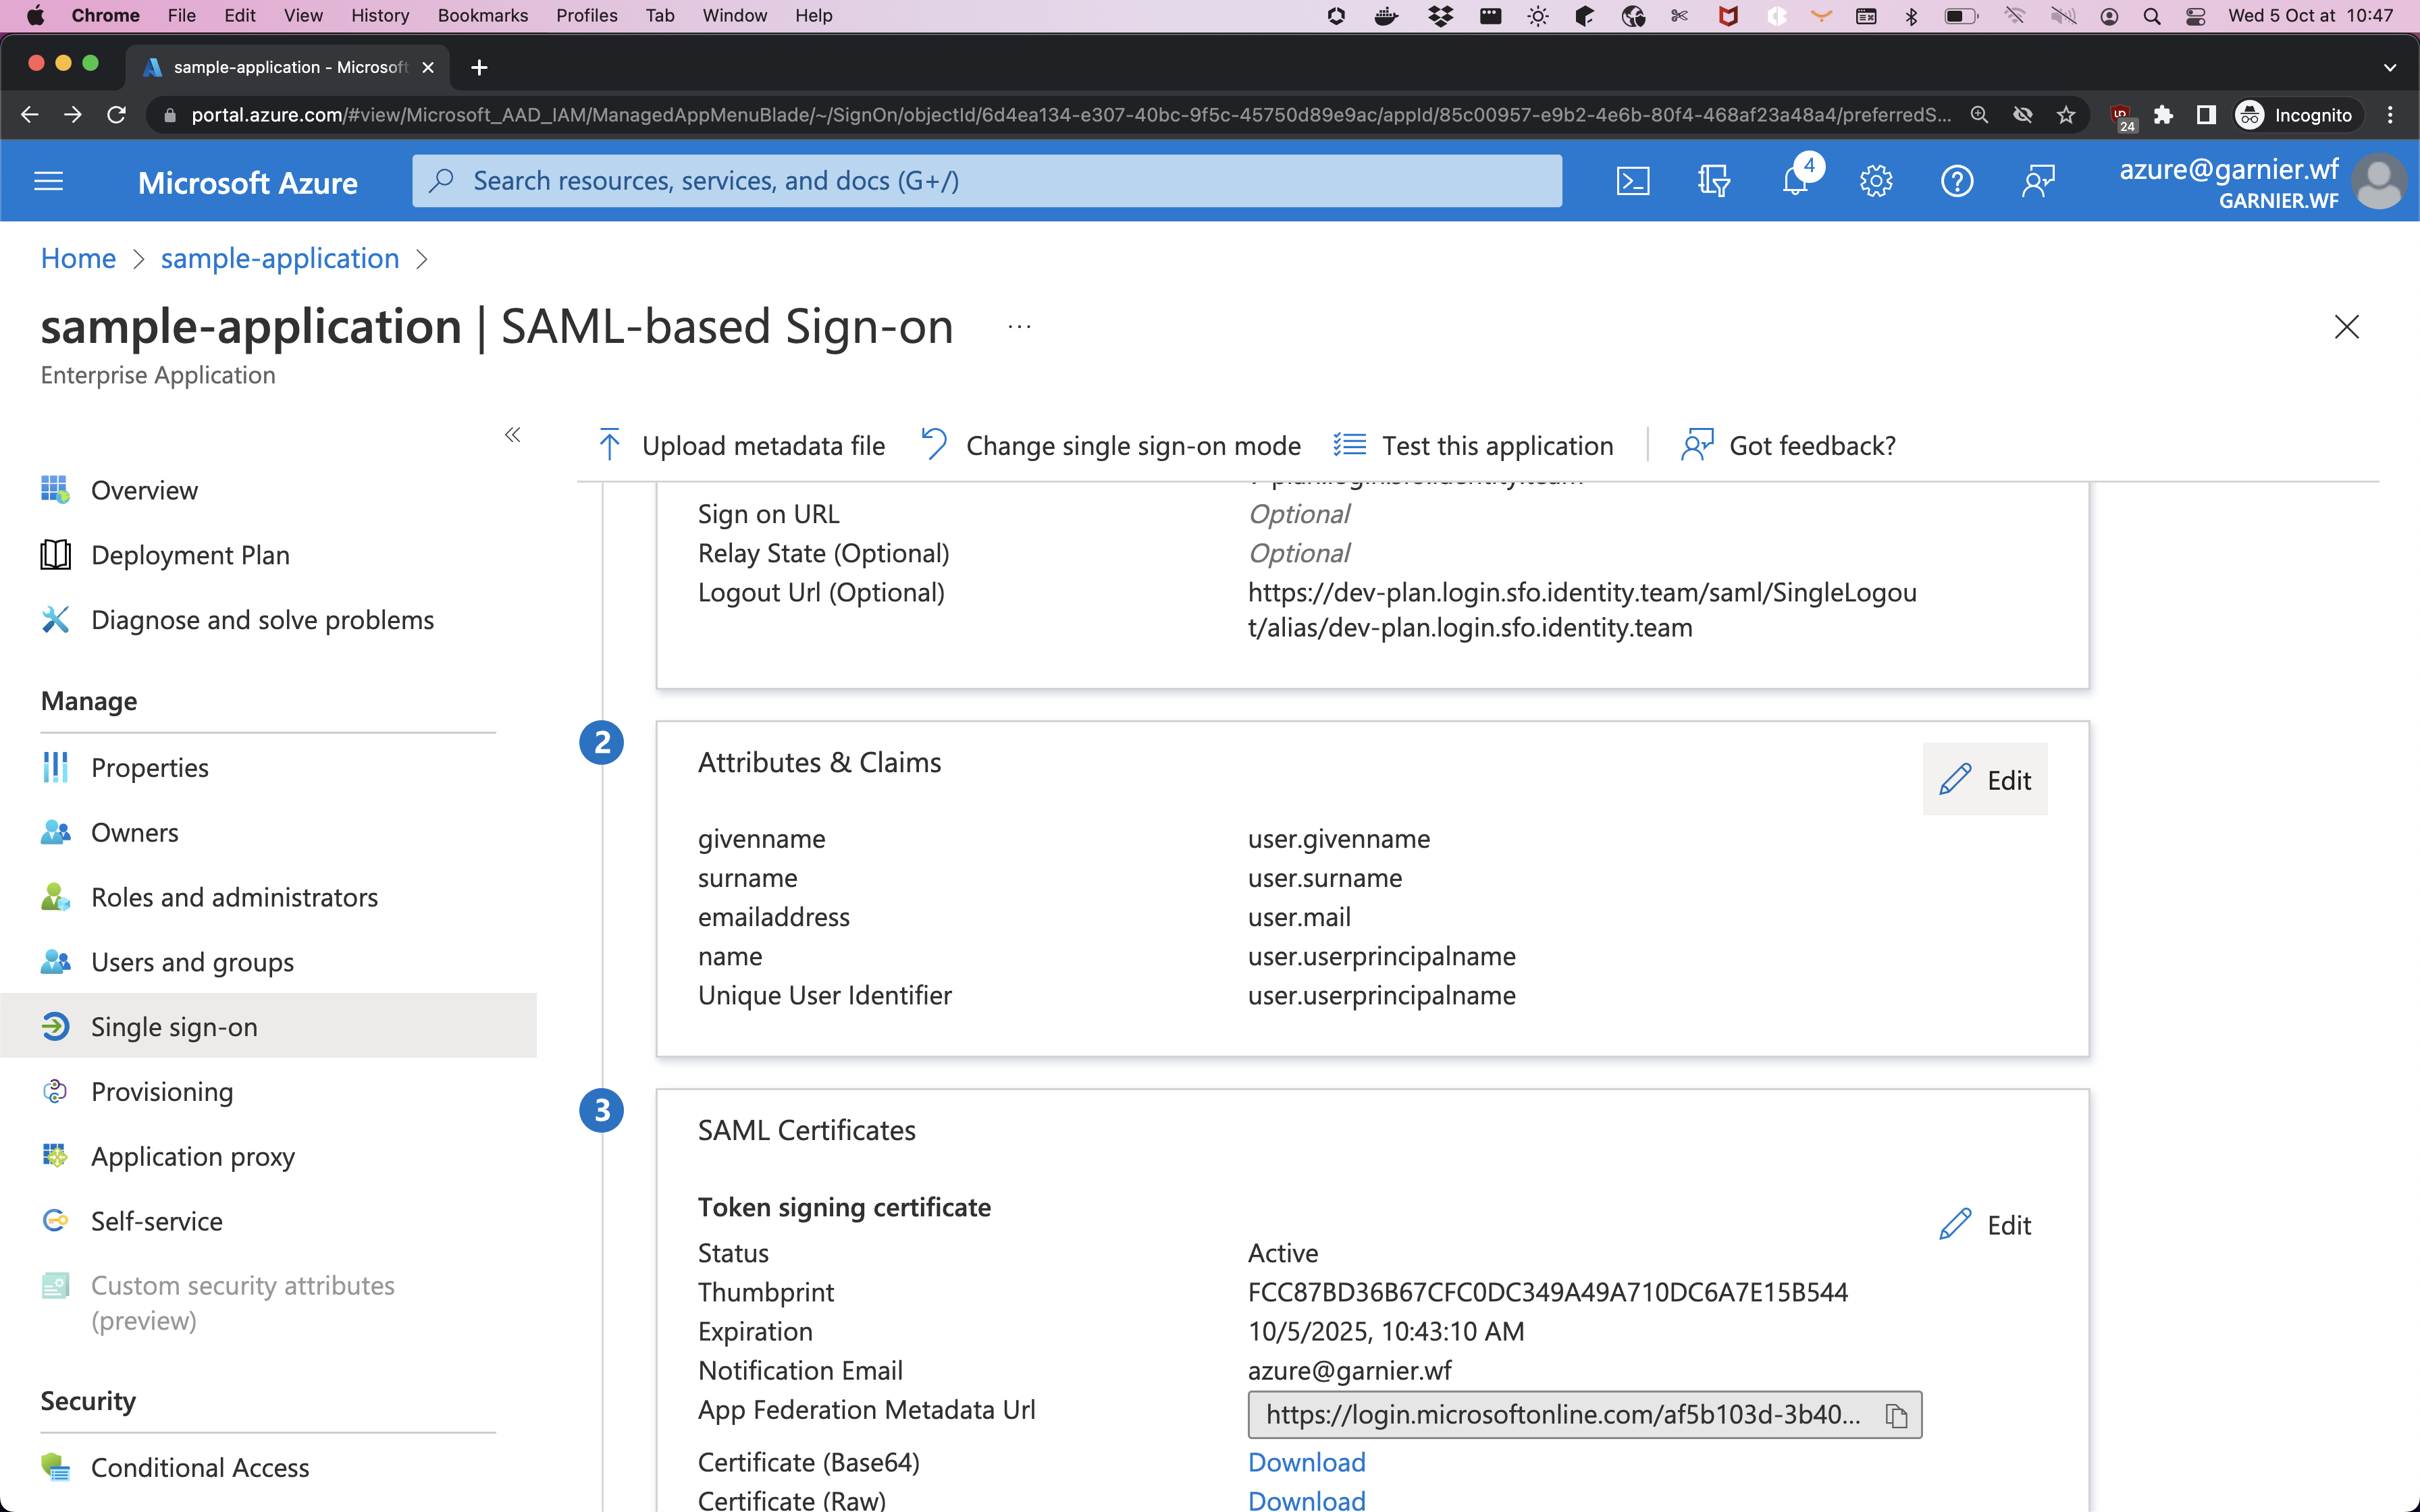
Record the App Federation Metadata Url. You need this for setting up the SSO identity provider configurations. For more information, see Setting up SAML.

-
Go to the Users and groups tab and then click Add User. Select users or group names from the search box. For example, you can add a group that includes all users who can log in to the Single Sign‑On plan.
Set up claims mapping
To set up claims mapping:
-
Go to Azure Active Directory (Microsoft Entra ID) > Enterprise Applications.
-
Click your app and then click Single sign-on.
Enable user attribute mappings
To enable user attribute mappings:
-
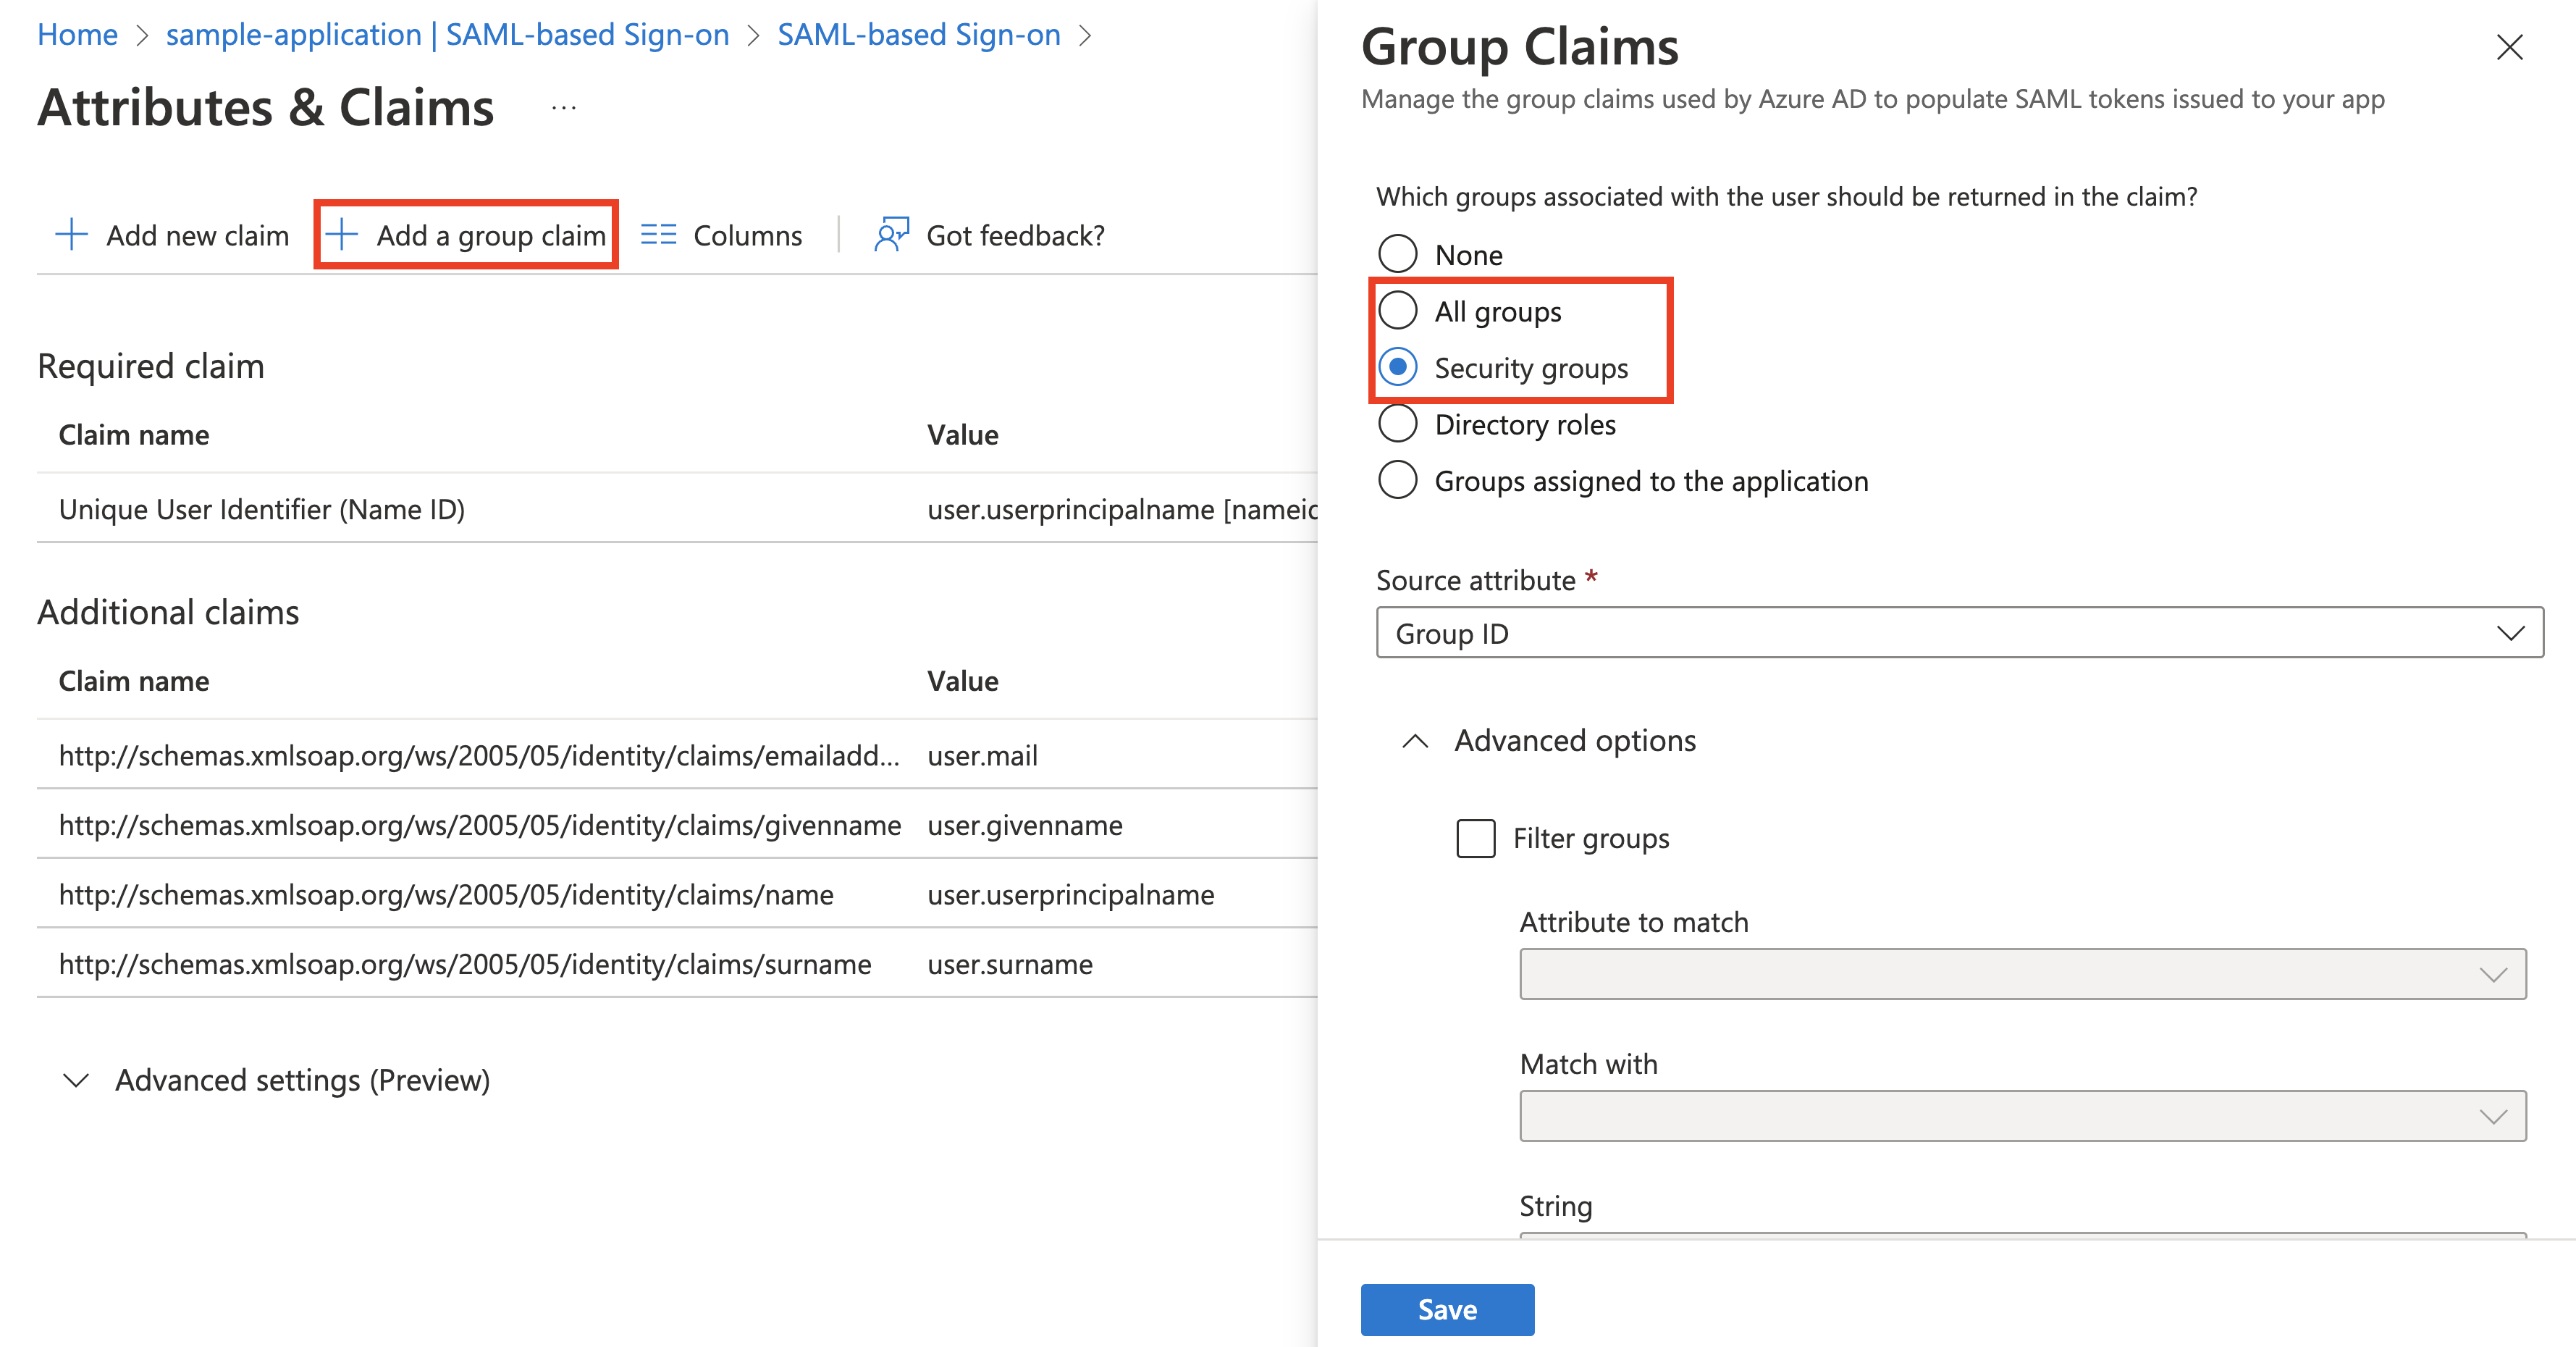
In the Attributes and Claims section, click Edit.
-
Edit the attributes.
-
Pass group membership claims to the app by clicking Add a group claim:
-
Select one of the following:
- SecurityGroup, which is a group claim containing identifiers of all security groups of which the user is a member.
- All, which is a group claim containing the identifiers of all security groups and distribution lists of which the user is a member.
-
Save the change.
-
For more information, see the Microsoft documentation.
