


This topic tells you how to install Single Sign‑On for VMware Tanzu Application Service.
Prerequisites
To install Single Sign‑On, you must have:
- Tanzu Operations Manager
- VMware Tanzu Application Service for VMs
- SSL certificates
- Application Security Groups (ASGs)
Install Single Sign‑On by using Tanzu Operations Manager
-
From Broadcom Support, select a Single Sign‑On tile version and download the product release file.
-
From the Tanzu Operations Manager Installation Dashboard, select the Import a Product button to upload the product file.
-
Click the + icon next to the uploaded product to add this product to your staging area.
-
Click the Single Sign‑On tile to enter any configurations.
The Single Sign‑On Identity Service Broker is deployed as an app from a BOSH errand, and has no associated BOSH VMs that require selecting a corresponding network. If you are forced to select a network during installation, select the Deployment network, also known as the VMware Tanzu Application Service for VMs network.
-
(Optional) Click Property Configurations to set which buildpack Single Sign‑On uses when it pushes its component apps. VMware recommends the default
java_buildpack_offlinebuildpack. Because the component apps are Java-based, you must specify a Java-compatible buildpack. -
(Optional) Click Property Configurations to expose the UAA issuer URI to applications as part of the
VCAP_SERVICESenvironment variable.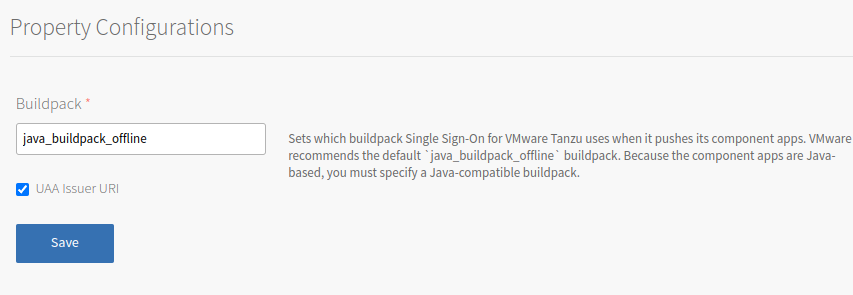
When Single Sign‑On has this option configured and selected, Single Sign‑On exposes the UAA Issuer URI in the
VCAP_SERVICESenvironment variable under thep-identity.credentials.issuer_urivalue. This is adjacent to thep-identity.credentials.client_idandp-identity.credentials.client_secretvalues.This option is beneficial when the UAA has a custom Issuer URI set. In this scenario, the Single Sign‑On portion of the
VCAP_SERVICESvariable might be similar to this:{ "p-identity": [ { "label": "p-identity", ... "credentials": { ... "auth_domain": "https://dev-plan.login.system-domain.com", "client_secret": "00cf5e1c-dea3-43af-9b2d-c0ad6319b206", "issuer_uri": "https://dev-plan.login.custom-domain.com/oauth/token", "client_id": "0402c634-67de-4c0b-bb7d-1be3f7310fab" }, ... }] } -
In the Tanzu Operations Manager Dashboard, do the following to complete the installation:
- If you are using Tanzu Operations Manager v2.3 or later, click Review Pending Changes. FoThen about this Tanzu Operations Manager page, see Reviewing Pending Product Changes.
- Click Apply Changes.
Update Stemcell
If required, do the following to update the stemcell for Single Sign‑On:
- Download the stemcell from Broadcom Support.
- In the Tanzu Operations Manager, click Stemcell Library.
- Click Import Stemcell, and then select the stemcell you downloaded from Broadcom Support.
- Click Save.
Update SSL and Load Balancer
You must update the SSL certificate for the domains listed below for each plan you create. Depending on your infrastructure and load balancer, you must also update your load balancer configuration for the following domains:
*.SYSTEM-DOMAIN*.APPS-DOMAIN*.login.SYSTEM-DOMAIN*.uaa.SYSTEM-DOMAIN
Configure Application Security Groups
Single Sign‑On requires the following network connections:
- TCP connection to load balancers on port 443
- TCP and UDP connection to Domain Name Servers on port 53
- (Optional) TCP connection to your external identity provider on port 80 or 443
To enable access to Single Sign‑On, ensure that your ASG allows access to the load balancers and domain name servers that provide access to Cloud Controller and UAA. Optionally, you can configure access to your external identity provider to receive SAML metadata. For how to set up ASGs, see Application Security Groups.
