If you run the VMware Aria Automation Quickstart, the wizard configures cloud accounts, some infrastructure, a project, and some cloud templates. It also deploys a cloud template. Follow the steps in this procedure to see what was added. You can also use this tour to learn about some of the Automation Assembler and Automation Service Broker features.
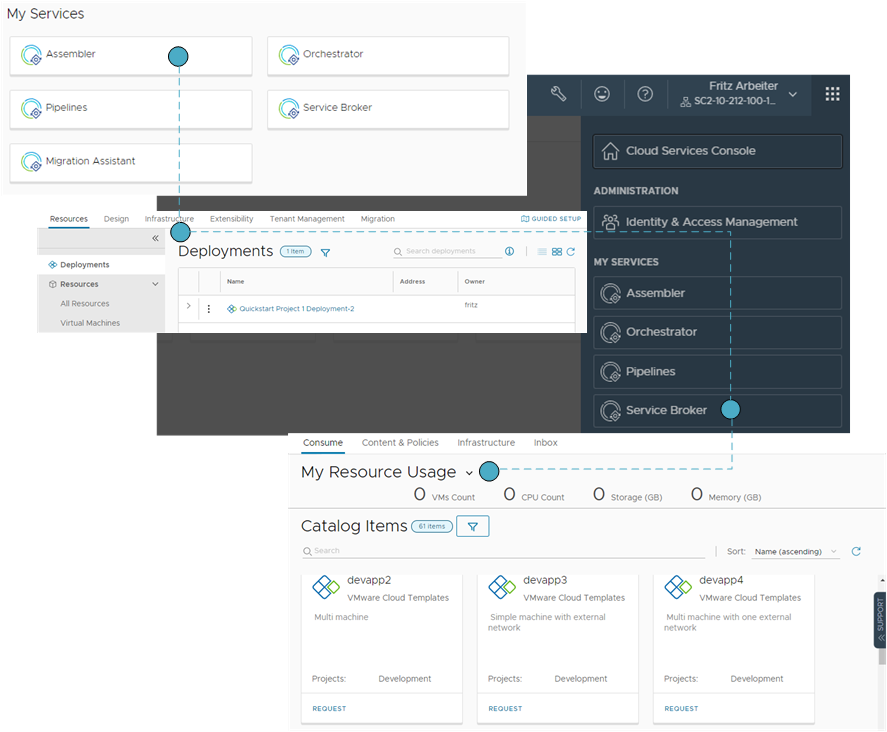
Sample screens from the tour

The information presented in this tour is based on the vCenter Server Quickstart, but the results are similar if you run the VMware Cloud Foundation Quickstart.

The tour follows the basic workflow that you use as you add new cloud accounts, develop your own cloud templates, and make them available to your consumers as a catalog. To expand your configured infrastructure to support a diverse range of development operation team projects, you must broaden your infrastructure so that you can create more refined cloud templates. This tour is only a starting point. It is intended to familiarize you with the user interface and how to use it.

You begin with the console, then Automation Assembler, where cloud administrators and cloud template developers do most of their work. This is followed by Automation Service Broker, which you configure to provide catalog items that your consumers can request and manage.

Prerequisites

Tour of the Quickstart changes to Automation Assembler

This tour of Automation Assembler shows you what the Quickstart configured and deployed. It is designed to guide your through the user interface and help you understand some of the tasks you might later perform on your own.

When you log in to VMware Aria Automation, you might see the Identity and Access Management and Branding tab. These tabs are not covered as part of the tour. You use them as you add users and manage your organizations.

For more about identity management and branding, see Administering VMware Aria Automation

Prerequisites

Procedure

  1. As a cloud administrator, log in to VMware Aria Automation.
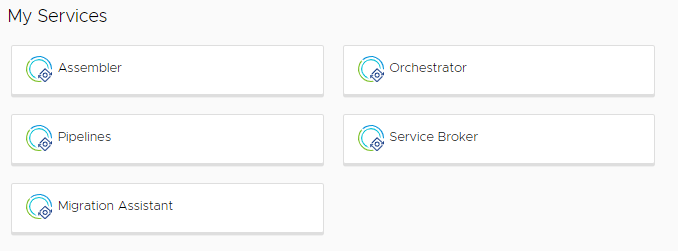
    Cards in the console
  2. Click Assembler.
    Automation Assembler opens with the Deployments page active.

    The deployments in Automation Assembler are the cloud templates that are provisioned on your cloud account platforms. A successfully deployed cloud template represents your final goal as an administrator or cloud template designer. Because this tour is to help you understand your workflow, we start with connecting to cloud accounts first and return to deployments later.

  3. To access Automation Service Broker, click the VMware Cloud Services switcher icon on the tool bar and click Service Broker.
    Automation Assembler deployment with a pending approval policy.
    1. To access Automation Service Broker, click the VMware Cloud Services switcher icon on the tool bar and click Service Broker.
      Consider opening it in a new tab, just be efficient. You'll be back in Automation Assembler to restart the tour in just a few steps.
    2. Log in as the approving user and select Inbox > Approvals.
      Automation Service Broker Approvals page. The action to approve the request is open and highlighted.

      If you do not see the approval request listed, you are an approver. You can set up the user that you assigned, or you can give yourself permission. To give approval permissions to yourself, return to Automation Assembler and give yourself the Manage Approval role. If you see the approval request, skip this permission section.

      1. In Automation Assembler, select Infrastructure > Administration > Custom Roles and click New Custom Role.
      2. Enter a name, select Manage Approvals, and click Create.
      3. On the card or when you open the custom role, click Assign and add yourself as a user.
    3. On the Approvals page in Automation Service Broker, click Actions and select Approve.
    4. Return to Automation Assembler and select Resources > Deployments > Deployments.
      We will continue with the tour when the deployment process is completed. Here is an example of a successful deployment. Deployment created by the Quickstart
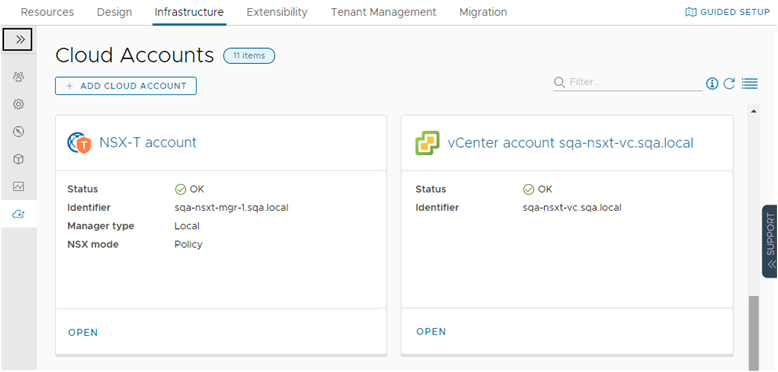
  4. To learn how the vCenter Server Quickstart configured Automation Assembler to support the deployment, begin by selecting Infrastructure > Connections > Cloud Accounts.
    Cloud accounts created by the Quickstart

    Cloud accounts provide the credentials that are used to connect to your target systems. Using the provided credentials, Automation Assembler can monitor the status, collect information, and deploy workloads to those systems. In this example, you can see the NSX and vSphere instances that you provided in the Quickstart.

    Each time you run the Quickstart, a new cloud zone is added.

    1. Click the vSphere cloud account name.
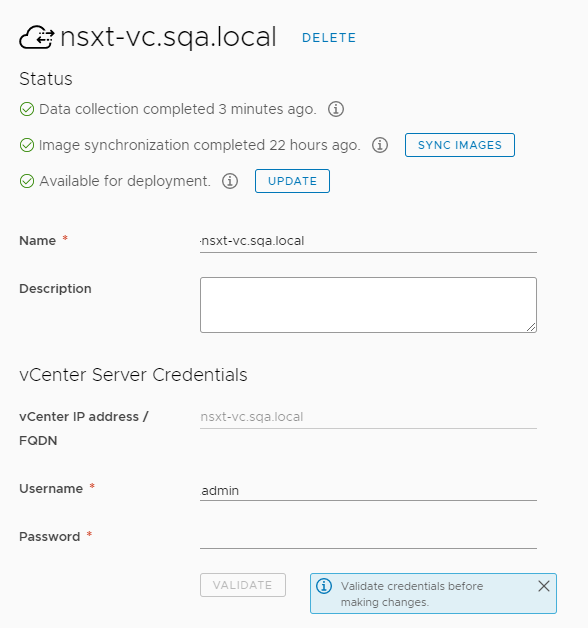
      Example of vSphere cloud account details

      Notice that the account name is based on the vCenter Server FQDN and that the NSX endpoint matches the NSX instance that you provided.

      If you look at the NSX cloud account, you see same relationships regarding name and vSphere endpoint. The endpoint, in this user interface, is the cloud account.

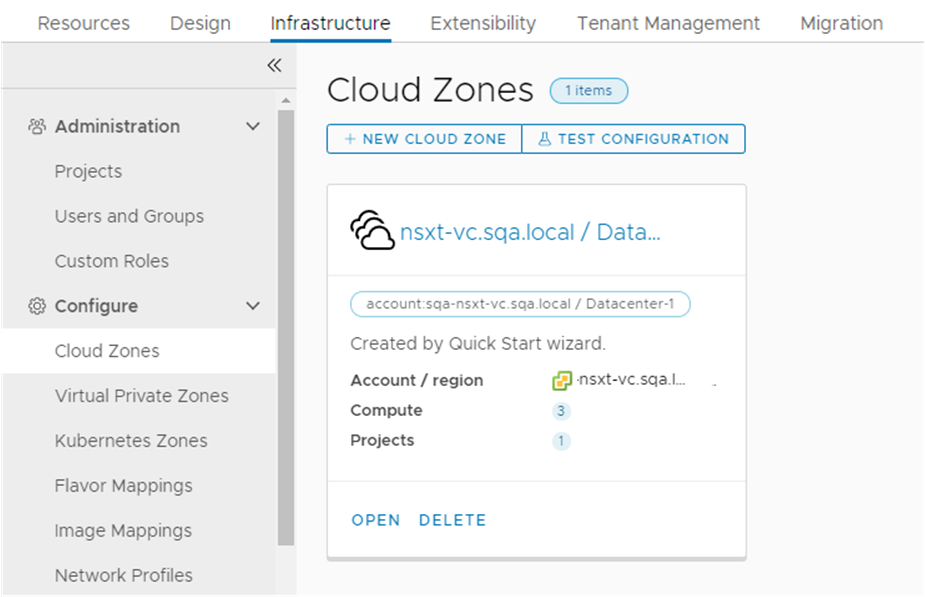
  5. Let's look at the cloud zones that were created from the cloud accounts. Select Infrastructure > Configure > Cloud Zones
    Cloud Zones created by the Quickstart

    Cloud zones are the account regions or data centers that are associated with your cloud account. If your cloud account includes more than one region, then multiple cloud zones might be created from that cloud account. For example, you might have more than one data center or region, and each one becomes a cloud zone. Cloud zones are then associated with projects, allowing you to grant users permission to deploy to a specific set of cloud resources.

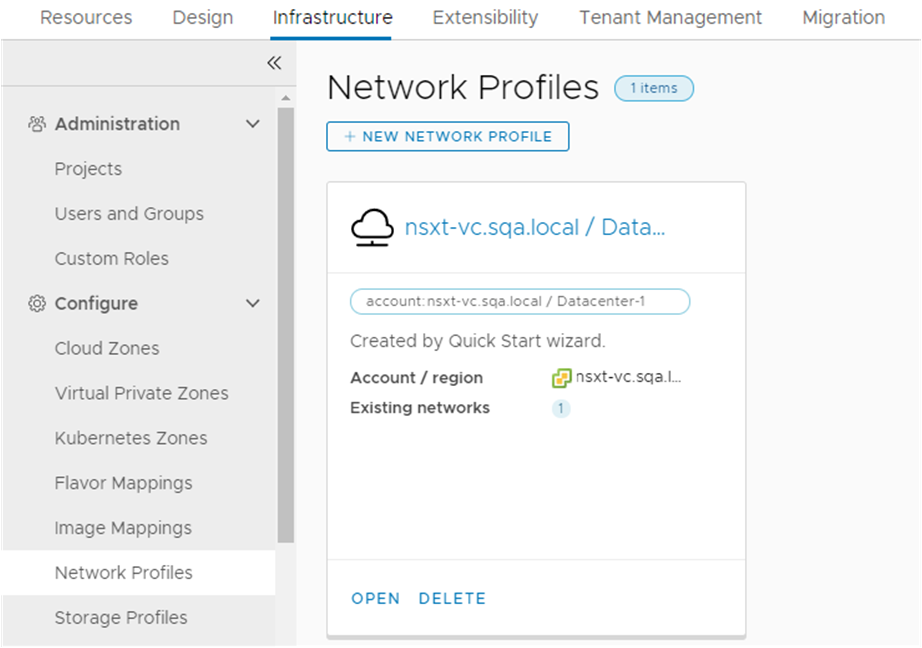
  6. To see the network you configured, select Infrastructure > Configure > Network Profiles.
    Network profile created by the Quickstart

    A network profile defines a group of networks and network settings that are available for a cloud account in a particular region or data center.

    If you run the Quickstart more than once, a network profile is added each time you run it.

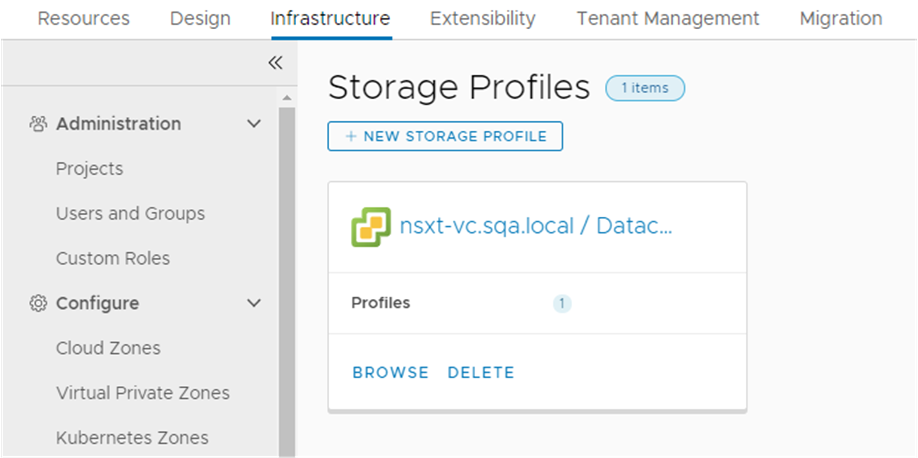
  7. To see the storage you configured, select Infrastructure > Configure > Storage Profiles.
    Storage profile created by the Quickstart

    Storage profiles are organized under cloud-specific regions. One cloud account might have multiple regions, with multiple storage profiles under each region.

    If you run the Quickstart wizard more than once, a storage profile is added to the associated datacenter each time you run the wizard.

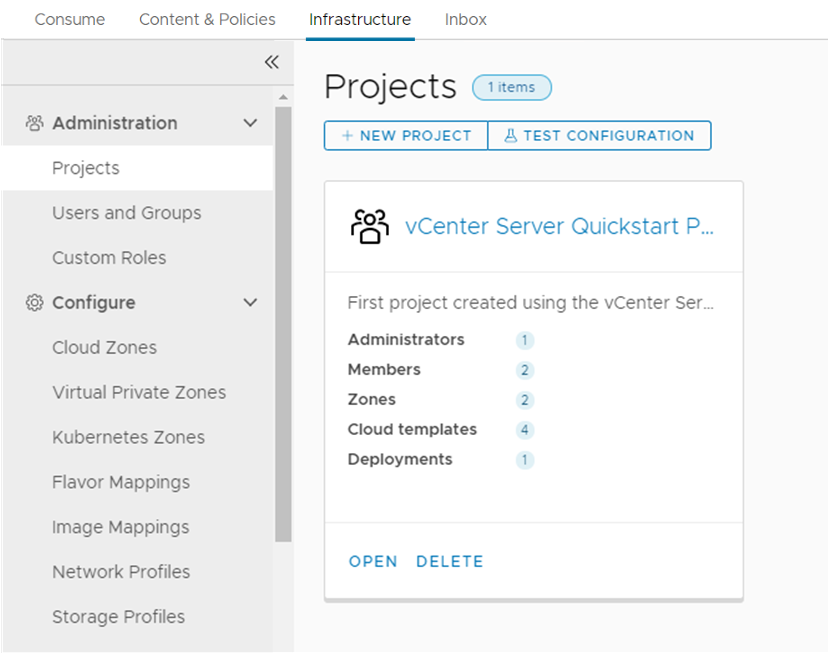
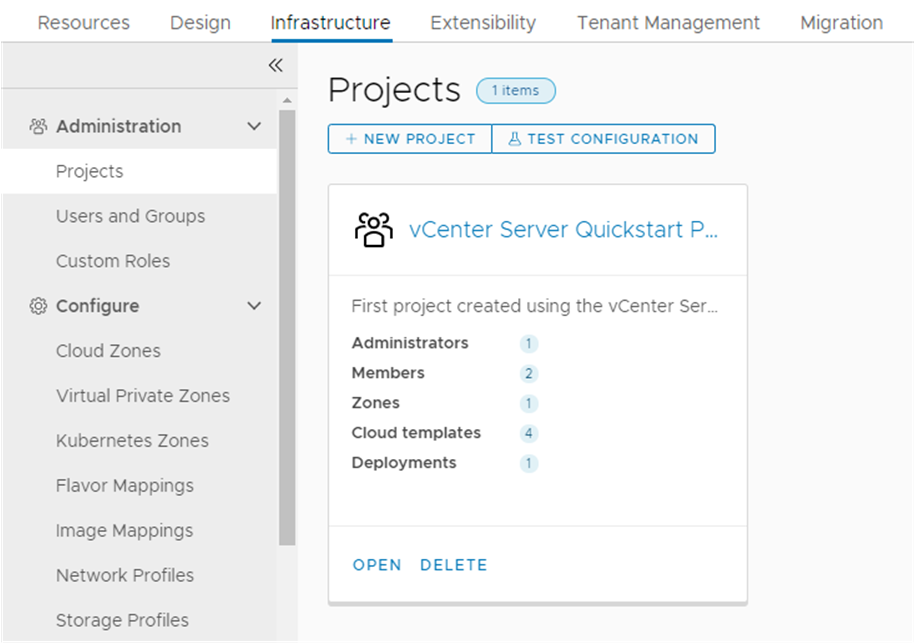
  8. To see the project that was created, even though you provided no specific values, select Infrastructure > Administration > Projects.
    Project created by the Quickstart

    Projects link users and resources so that users can only deploy to the cloud zones that you specify. You might later create other projects to support different development teams.

    1. Click the project name, and then click the Users tab.
      This tab is where you can add more users to a project.
    2. Click the Provisioning tab.
      This tab is where you add or remove the cloud zones. Notice that you have the Quickstart cloud zone.
    3. Scroll down the provisioning page and locate Custom Naming.
      Notice that the custom naming template has the machine name prefix format that you selected in the policies section in the Quickstart. The custom naming is associated with projects.
  9. To see the cloud templates that were created, click the Cloud Templates tab.
    List of cloud templates created by the Quickstart

    As part of the Quickstart, you have three cloud templates. The machine cloud template was deployed, the NSX-T network and load balancer templates are provided as examples and were not deployed.

    If you run the Quickstart wizard more than once, you will have cloud templates that are created for each wizard configuration.

    1. In the Project column, notice that cloud templates are associated with the Quickstart project.
    2. In the Released Versions column, notice that each cloud template is released.
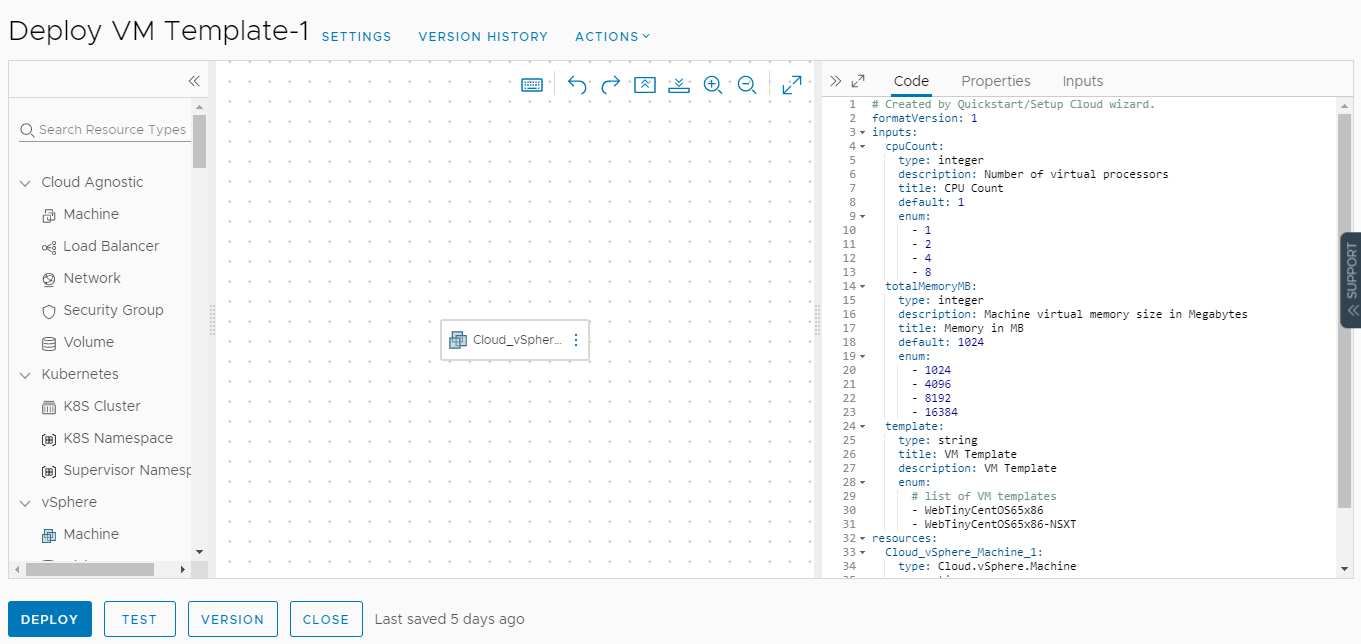
    3. To see the cloud template canvas and where you release the templates, click the name of the template that you selected in the Quickstart. In this example, the cloud template name begins with .
      Cloud template design canvas for the template created by the Quickstart.
    4. In the center is the canvas where you drag components and connect them.
    5. On the right is the cloud template-as-code YAML editor where you can refine all the details for a cloud template.
      The YAML defines the cloud template components.
    6. On the left is the searchable list of components that you can add to the cloud template.
    7. To version the cloud template, click Version and notice that there is already a released version of the template.
      You can deploy cloud templates in Automation Assembler that are released or unreleased. To make templates available in Automation Service Broker, they must be released.
  10. Select Resources > Deployments > Deployments.
    Deployment created by the Quickstart
    If you ran the Quickstart wizard more than once, you will have deployments as validation for each wizard configuration.
    1. Review the information that is provided on the deployment card.
      • Deployment name is Quickstart deployment.
      • Project is Quickstart project.
      • Requestor is Fritz. In your environment, it is the user account that you used to run the Quickstart.
      • Resource name is fritz-001. This name is based on the custom naming that you defined in the Quickstart. If you deploy another resource using this naming convention, the name is likely to be fritz-002.
      • Power status indicates that the resource is On.
      • Expires in the month is the starting lease period. The value will count down to the expiration date.
      • Actions are the deployment level changes you can make, including power off or destroy.
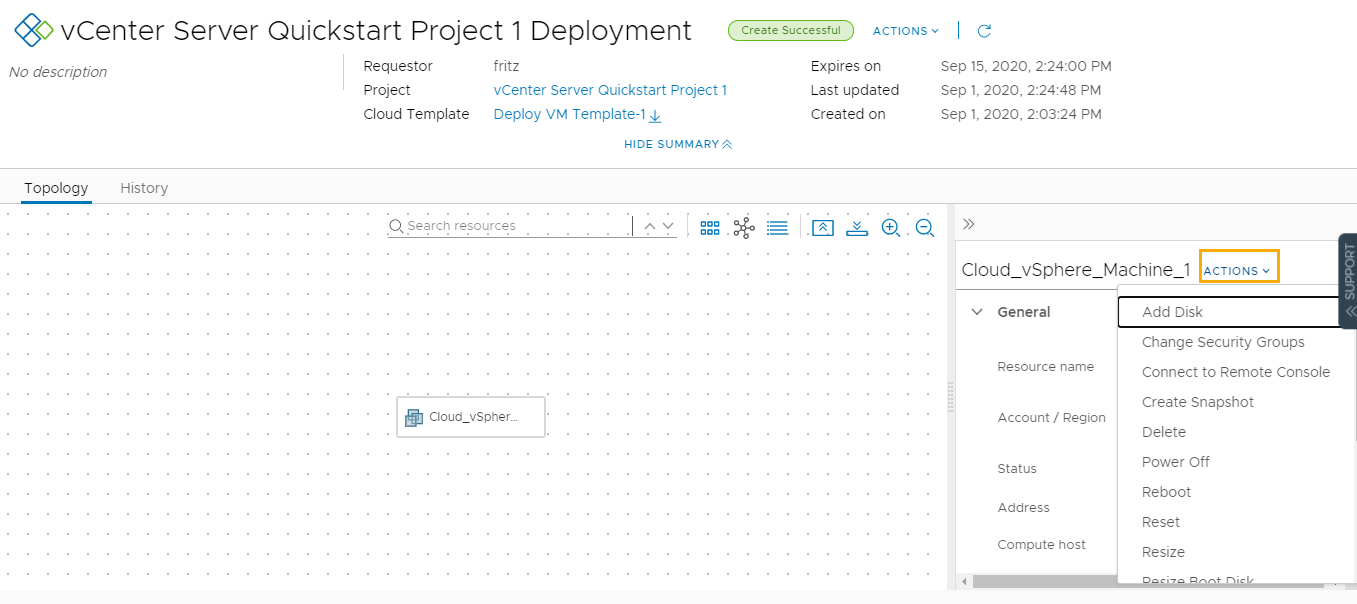
    2. Click the deployment name in the deployments list so that you can see the deployment details and review the available information.

      Deployment details
      • Name of the cloud template that was used to create the deployment. In this example, it is the template that you selected in the Quickstart.
      • The Topology tab provides a visualization of the relationship between the deployed components. This example is a simple machine. If the deployment had multiple machines, networking, and storage, you can see a more robust topology.
      • Tabs for History and Monitor. History as the log of the deployment and any changes that you make using the actions. Monitor is relevant if you integrate with VMware Aria Operations.
      • Account regions where the resource was deployed.
      • Actions that you can run on the selected resource.
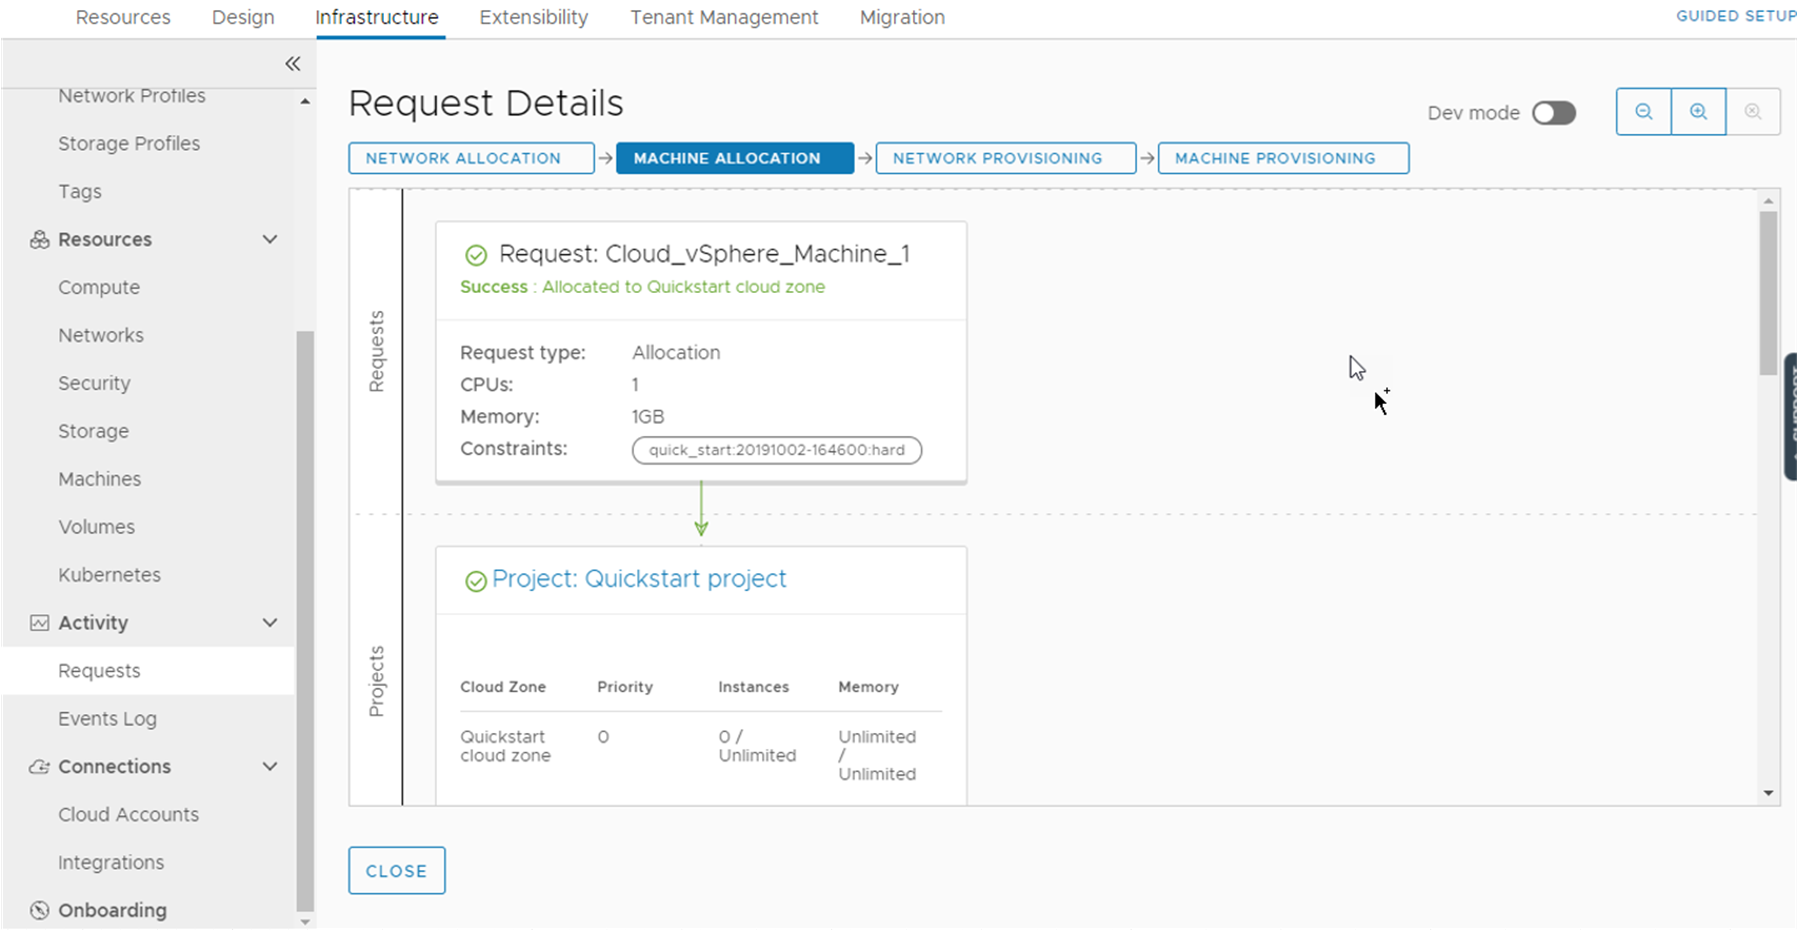
  11. To understand how the deployment was provisioned, select Infrastructure > Activity > Requests, and click the deployment name.
    Request details for the deployment machine allocation process

    The Request Details provide a graphical view of how the deployment request is processed and provisioned. You can look at the project, the machine, and the network allocation and provisioning to see where the workload was placed.

    As you create your infrastructure and cloud templates, the request details provide insights that you can use to troubleshoot unexpected behavior or deployment failures.

What to do next

Continue your tour in Automation Service Broker.

Tour of the Quickstart changes to Automation Service Broker

Automation Service Broker is where you provide your users with a catalog of templates that they can deploy to the cloud accounts that you provide. In this part of the tour, you can see what the Quickstart configured for you.

The tour gets you started learning the user interface and understanding some of the tasks you can later perform on your own.

If you run the Quickstart wizard more than once, you will see representative examples for each run as you progress through this tour.

Prerequisites

Review the tour of Automation Assembler. See Tour of the Quickstart changes to Automation Assembler.

Procedure

  1. To see how your consumers deploy templates, navigate to Automation Service Broker using the menu in the upper right corner.
    1. Click the navigation matrix in the upper right corner.
    2. Select Service Broker.
      Automation Service Broker catalog with catalog items created by the Quickstart.

      Notice that the three catalog items are the released VMware cloud templates from Automation Assembler.

    3. To see what the Quickstart deployed, select Consume > Deployments > Deployments .
      Deployment provisioned by the Quickstart

      Notice that this deployment is the same one that we saw in Automation Assembler.

  2. To review how Quickstart configured Automation Service Broker to provide the templates in the catalog, select Content and Policies.
    1. Click Content Sources.
      Content source added by the Quickstart

      In this case, the templates are the content source. You can also add Amazon Web Services CloudFormation templates, Automation Orchestrator workflows, and templates that you want to provide to your consumers.

    2. Click Content.
      Content added to Automation Service Broker by the Quickstart

      This list is where you see the list of all the content in Automation Service Broker, including the templates from Automation Assembler.

    3. Select Policies > Definitions.
      Lease policy created by the Quickstart.

      You create and manage policies in Automation Service Broker, including lease policies that apply to Automation Assembler deployments.

    4. To review the project and the custom name that you created in the Quickstart, and that you saw in the Automation Assembler part of the tour, select Infrastructure > Administration > Projects.
      The project created by the Quickstart.

      Notice that only a limited number of the infrastructure options that you saw in Automation Assembler are available in Automation Service Broker. Only the options that you must use to set up the catalog for your consumers are provided.

What to do next

To add another cloud account, configure the infrastructure to support it, and deploy a template to support it, use the guided setup. See How do you get started with Automation Assembler using the Guided Setup.