The Compression tab permits one to view or edit the application profile’s compression settings.
To configure compression,
Procedure
- Navigate to
- Click Create to create a new profile or use the existing application profile as required.
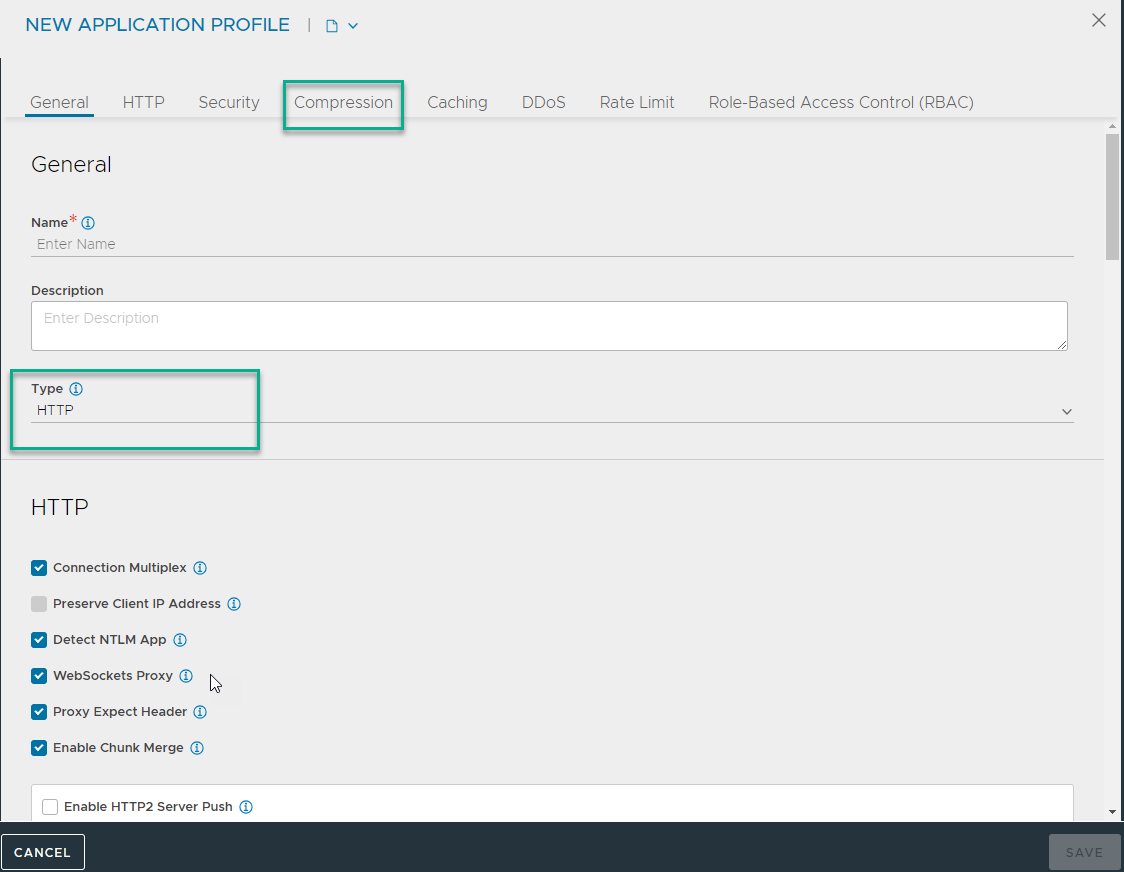
- Enter a Name for the Application Profile.
- Select the Type as HTTP.
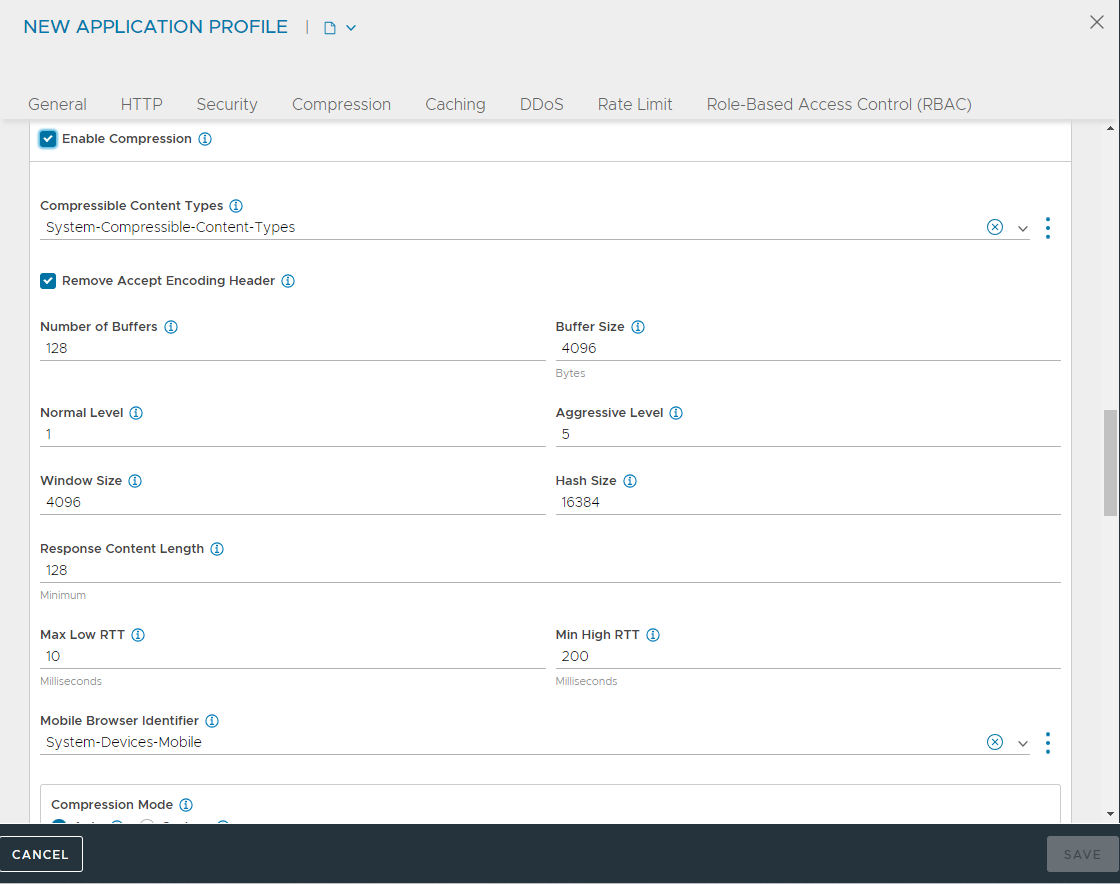
- Click Compression tab and select Enable Compression.
- Select Compressible Content Types to determine which HTTP Content-Types are eligible to be compressed. This field points to a String Group which contains the compressible type list.
- Select Remove Accept Encoding Header to remove the Accept Encoding header, which is sent by HTTP 1.1 clients to indicate they are able to accept compressed content. Removing the header from the request prior to sending the request to the server allows Avi Load Balancer to ensure the server will not compress the responses. Only Avi Load Balancer will perform compression.
- Specify the Number of Buffers to use for compression output and Buffer Size to specify the size of each buffer used for compression output, this should ideally be a multiple of pagesize.
- Normal Level — Specify the level of compression to apply on content selected for normal compression.
- Aggressive Level — Specify the level of compression to apply on content selected for aggressive compression.
- Specify the Window Size used by compression, rounded to the last power of 2.
- Specify the Hash Size used by compression, rounded to the last power of 2.
- Specify the minimum Response Content Length to enable compression.
- Max Low RTT — If client RTT is higher than this threshold, enable normal compression on the response.
- Min High RTT — If client RTT is higher than this threshold, enable aggressive compression on the response.
- Mobile Browser Identifier — Select the values that identify mobile browsers in order to enable aggressive compression.
- Select the Compression Mode as Auto or Custom to enable different levels of compression for different clients. For instance, filters can be created to provide aggressive compression levels for slow mobile clients while disabling compression for fast clients from the local intranet.
| Option |
Description |
Auto |
Auto is recommended, to dynamically tune the settings based on clients and available Service Engine CPU resources. Auto mode enables Avi Load Balancer to determine the optimal settings.
|
Custom |
Custom mode allows the creation of custom filters that provide more granular control over who must receive what level of compression. |
- Click Save.
Results
View the compression percentage achieved using the Client Logs tab of the virtual service. This may require enabling full client logs on the virtual service’s Analytics tab to log some or all client requests. The logs will include a field showing the compression percentage with each HTTP response.