


The basic setup enables quick creation of required objects, in particular the pool containing servers.
Procedure
- Navigate to .
- Select Basic Setup.
- If Avi Load Balancer is configured for multiple cloud environments, such as VMware and Amazon Web Services (AWS), select required the cloud for the virtual service deployment. If Avi Load Balancer exists in a single environment, skip this step.
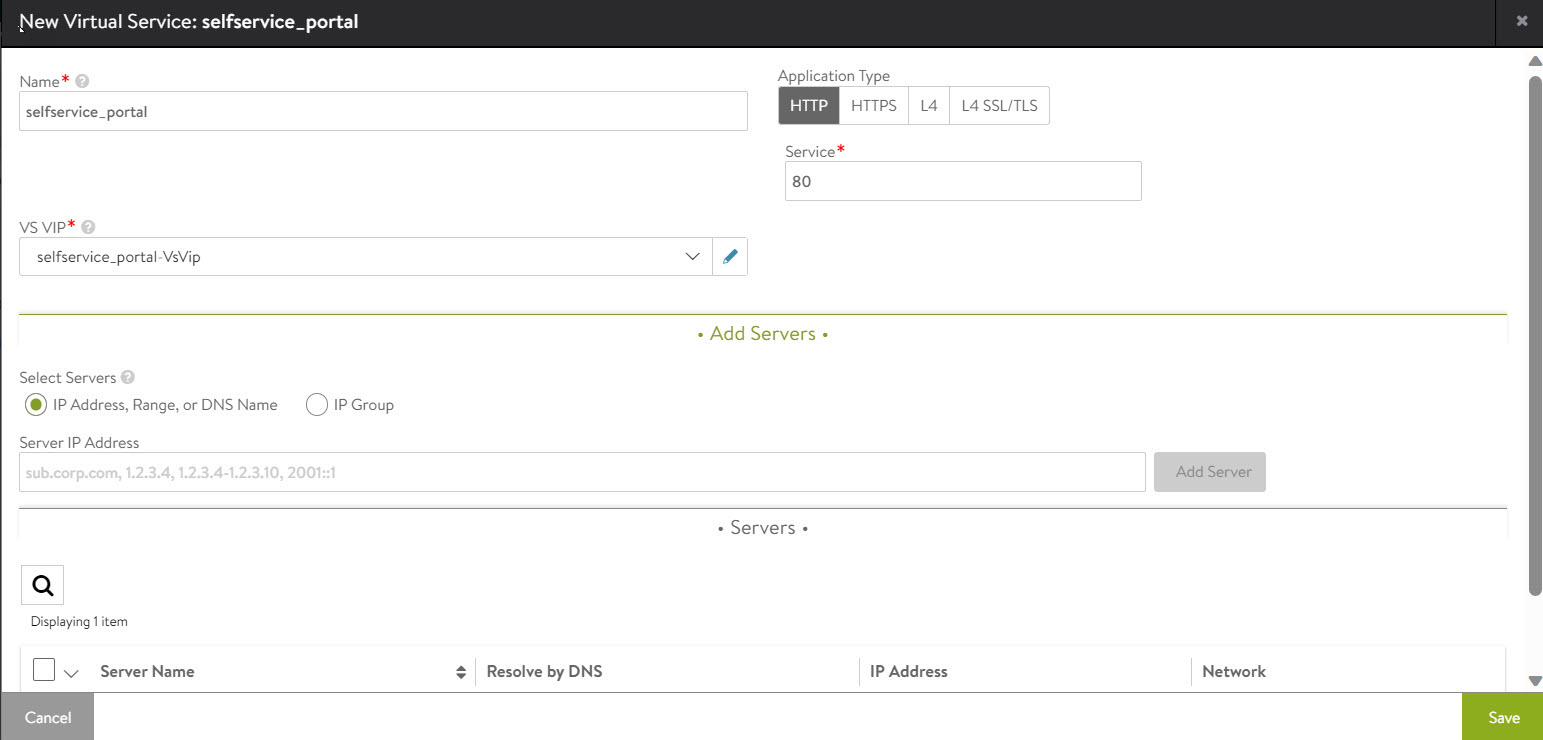
- Enter a unique Name for the virtual service.
- Enter either the DNS resolvable name or an IP address for the virtual service as the VS VIP address. VSVIP is used during creation of shared virtual services. VS VIP has entities which can be shared across virtual service. Use the drop-down option available to create a new VS VIP. When using a DNS name, Avi Load Balancer attempts to resolve the name and populate the IP Address field if successful. If the name resolves to more than one IP address, select the address to use from the list shown. If the name cannot be resolved, it will appear in red. VIP allocation through DHCP is not supported.
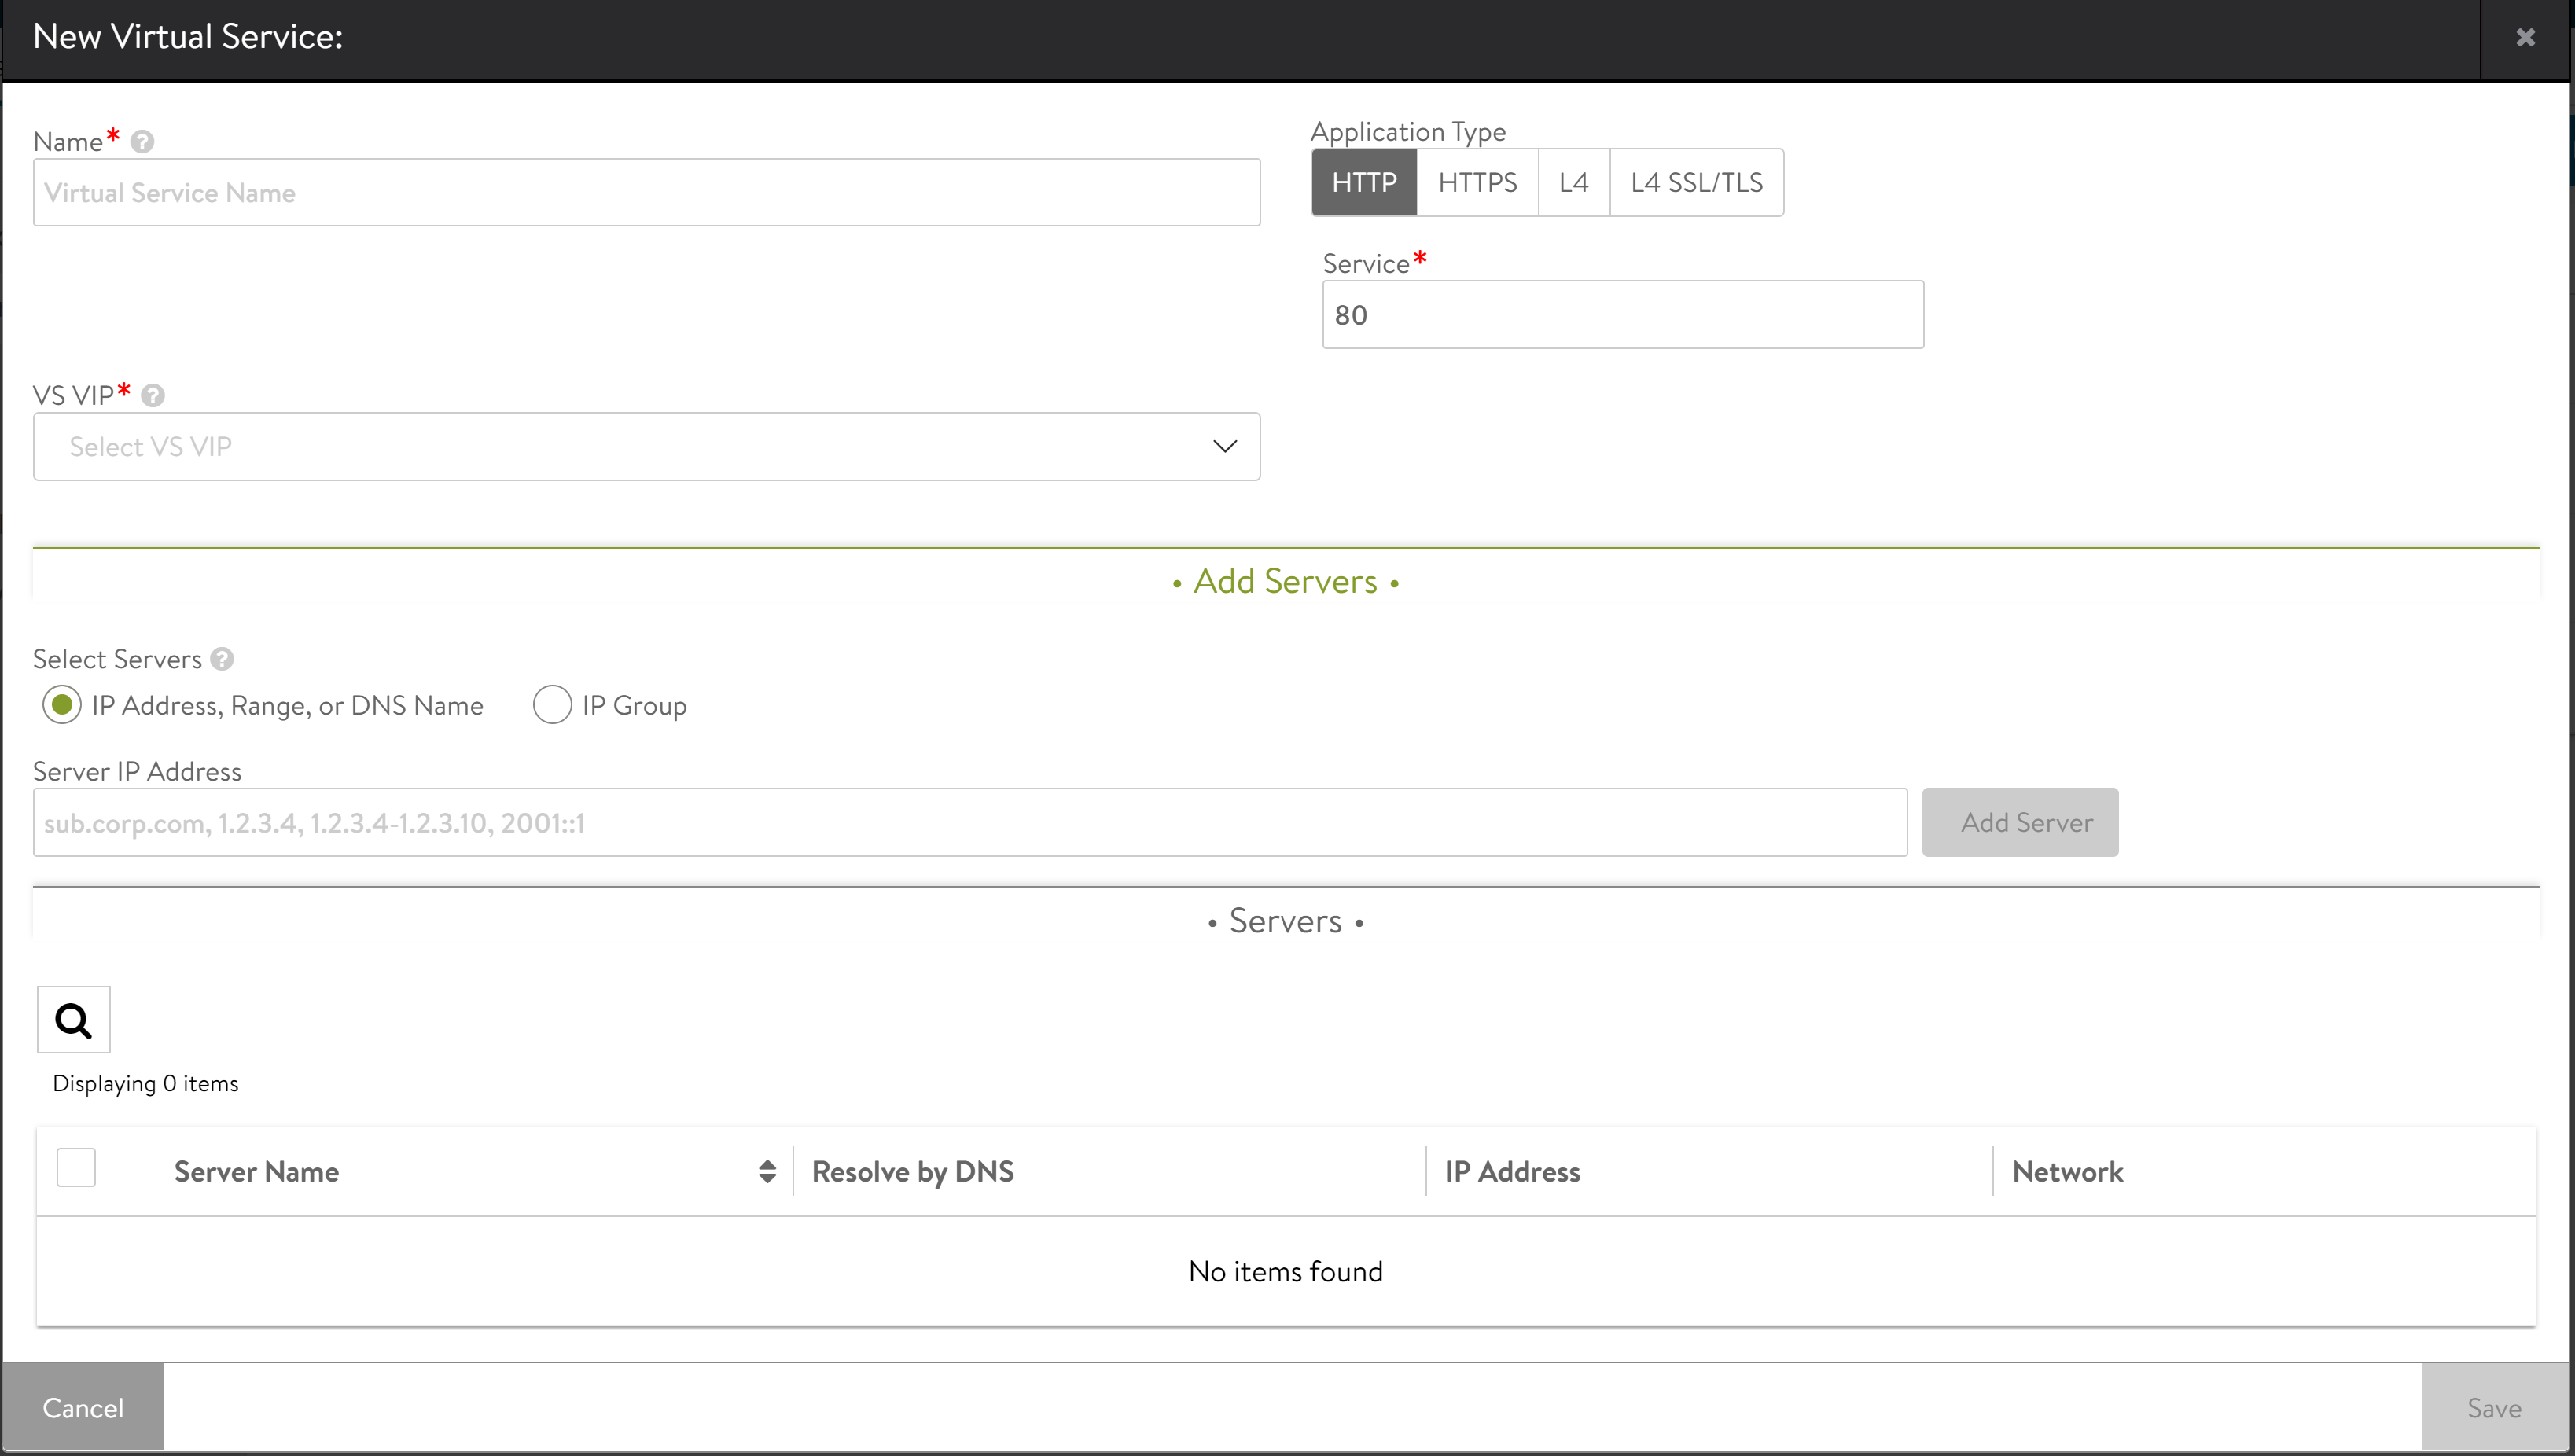
- Select the Application Type.
Option Description HTTP
The virtual service will listen for non-secure Layer 7 HTTP. Selecting this option auto-populates the Service Port field to 80. Override the default with any valid port number; however, clients must include the port number when accessing this virtual service. Browsers default to append the standard port 80 to HTTP requests automatically. Selecting HTTP enables an HTTP application profile for the virtual service. This allows Avi Load Balancer to proxy HTTP requests and responses for better visibility, security, acceleration, and availability.
HTTPS
The virtual service will listen for secure HTTPS. Selecting this option auto-populates port 443 as the service port. Override this default with any valid service port number. However, clients must include the port number when accessing this virtual service as browsers automatically append the standard port 443 to HTTPS requests.
When selecting HTTPS, use the Certificate drop-down menu to reference an existing certificate or create a new self-signed certificate. A self-signed certificate will be created with the same name as the virtual service and be an RSA 2048 bit cert and key. The certificate can be swapped out later if a valid certificate is not yet available during virtual service creation.
L4
The virtual service will listen for layer 4 requests on the port you specify in the Service Port field. Select this option to use the virtual service for non-HTTP applications, such as DNS, mail, or a database.
L4 SSL/TLS
The virtual service will listen for secure layer 4 requests. Selecting this option auto-populates port 443 in the Service Port field. Override this default with any valid service port number.
- In the Service field, accept the default port displayed for the selected Application Type. Alternatively, you can enter the service port manually, as required. To add multiple service ports or ranges, edit the virtual service after creation.
- The pool directs load balanced traffic to the defined list of destination servers. The servers can be configured by IP address, name, network or IP Address Group. Add one or more servers to the new virtual service by using one of the options:
Select IP Address, Range, or DNS Name and enter the Server IP Address required. Click Add Server.
Select IP Address, Range, or DNS Name and click Select Servers by Network to open a list of reachable networks to add the server from. For more information, see Select Servers by Network .
Click the option IP Group to select an IP group from a list of servers from the IP Address Group available.
- Click Save.
Results
The virtual service is assigned automatically to a Service Engine. If an available SE already exists, the virtual service will be deployed and be ready to accept traffic. If a new SE must be created, it may take a few minutes before it is ready.
In some environments, Avi Load Balancer may require more networking information, such as IP addresses or clarification of desired networks, subnets, or port groups to use prior to a new Service Engine creation. The UI will prompt for more information if this is required.
