


The POP3 (Post Office Protocol version 3) health monitor is used to monitor POP services. It will issue LIST command to get messages present in mailbox, after executing CAPA (capabilities) and verifying user using user name and password. On successful completion of these commands, POP3 monitor will mark the server UP, else it will mark the server DOWN.
Configuring POP3 Specific Monitor
Field |
Description |
|---|---|
Username |
Mail client username (present under general health monitor configuration under authentication). |
Password |
Mail client password (present under general health monitor configuration under authentication). |
Health Monitor Port |
It is used instead of the port defined for the server in the pool. If the monitor succeeds at this port, the load-balanced traffic will still be sent to the port of the server defined within the pool. |
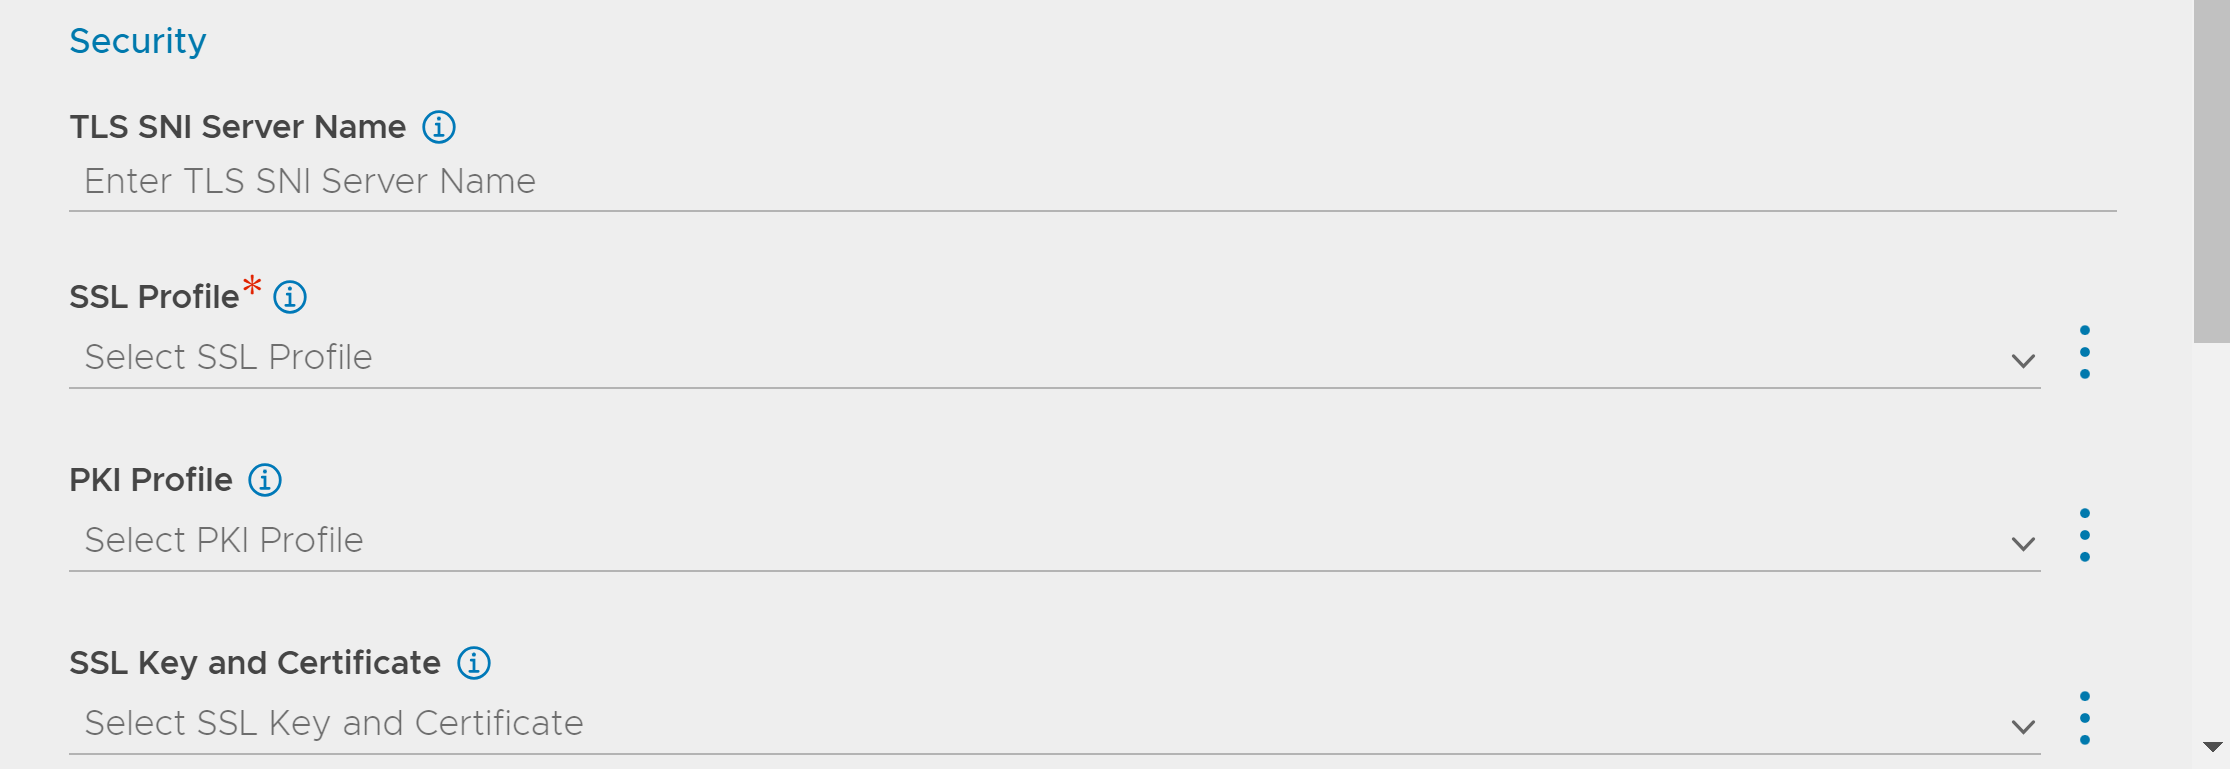
TLS SNI Server Name |
It is an FQDN hostname that is used in the TLS SNI extension in server connections indicating SNI is enabled. |
SSL Profile |
This defines the ciphers and SSL versions to be used for the health monitor traffic to the backend servers. |
PKI Profile |
This is used to validate the SSL certificate presented by the server. See Creating PKI Application Profile for more information. |
SSL Key and Certificate |
This SSL certificate will be presented to the server by service engines. |
|
Required for POP3S (secure pop3) monitor. |
Configuring POP3 Health Monitor using UI
Navigate to .
Under General, select POP3 as Type and enter the details in the fields. For more information, see Creating New Health Monitor.
Under POP3, enter the details in the fields.

Under RBAC, click Add to add the Key & values as required. For more information, see RBAC.
Click SAVE.
Configuring POP3 Health Monitor using CLI
A POP3 health monitor can be configured as shown below:
[admin:avi-controller]: > configure healthmonitor example-basic-pop3-hm
[admin:avi-controller]: healthmonitor> type health_monitor_pop3
[admin:avi-controller]: healthmonitor> authentication
[admin:avi-controller]: healthmonitor:authentication> username user1
[admin:avi-controller]: healthmonitor:authentication> password gjgksad
[admin:avi-controller]: healthmonitor:authentication> save
[admin:avi-controller]: healthmonitor> save
Configuring POP3S Health Monitor using UI
Navigate to .
Under General, select POP3S as Type and enter the details in the fields. For more information, see Creating New Health Monitor.
Under POP3S, enter the details in the fields.

Under Security, enter the details in the fields.
Under RBAC, click Add to add the Key & values as required. For more information, see RBAC.
Click SAVE.
Configuring POP3S Health Monitor using CLI
A POP3S health monitor can be configured as shown below:
[admin:avi-controller]: > configure healthmonitor example-pop3s-hm
[admin:avi-controller]: healthmonitor> type health_monitor_pop3s
[admin:avi-controller]: healthmonitor> pop3s_monitor
[admin:avi-controller]: healthmonitor:pop3s_monitor> ssl_attributes
[admin:avi-controller]: healthmonitor:pop3s_monitor:ssl_attributes> ssl_profile_ref System-Standard
[admin:avi-controller]: healthmonitor:pop3s_monitor:ssl_attributes> save
[admin:avi-controller]: healthmonitor:pop3s_monitor> save
[admin:avi-controller]: healthmonitor> authentication
[admin:avi-controller]: healthmonitor:authentication> username user1
[admin:avi-controller]: healthmonitor:authentication> password njkhasdkj
[admin:avi-controller]: healthmonitor:authentication> save
[admin:avi-controller]: healthmonitor> save
